

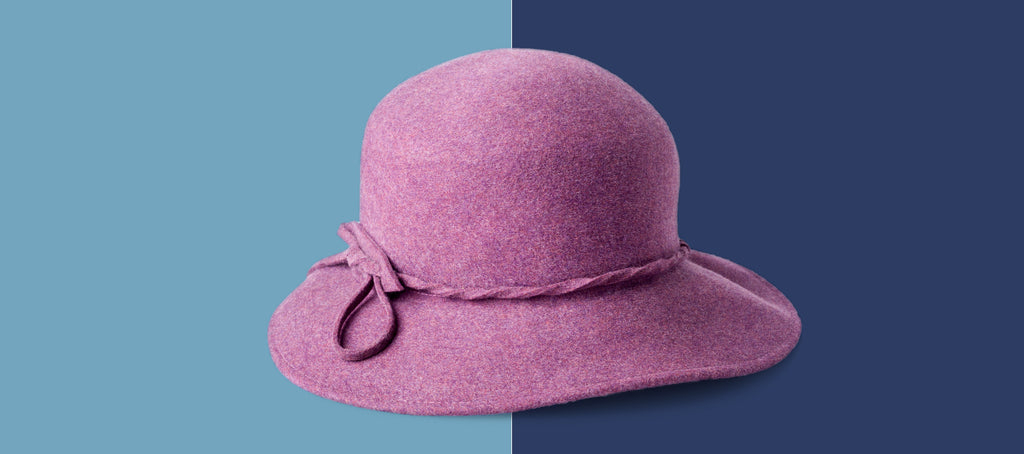
Changing the background color of your product photo allows you to repurpose photos and add pop and color to your shots. With just a few steps, you can remove a plain white background and replace it with a unique, eye-catching—and on-brand—color.
You can also take this a step further by automating the background-changing process using Photoshop actions, allowing you to change the background color of multiple product photos at a time.
How to change the background color in Photoshop when the original background is white
Step 1: Duplicate your background layer
Open your product image in Photoshop.
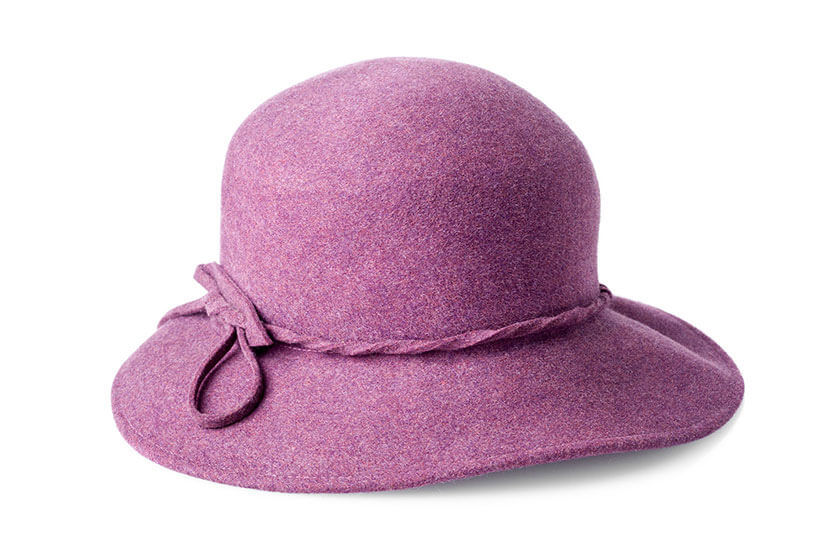
Source: Tiler84 / Adobe stock
Open the Layers panel. By default, the Layers panel is located to the right of your image, but if you don't see it you can bring it up by choosing Window > Layers from the dropdown menu at the top of the application window.

In your Layers panel, double-click on the locked Background layer. Click OK to rename it to Layer 0.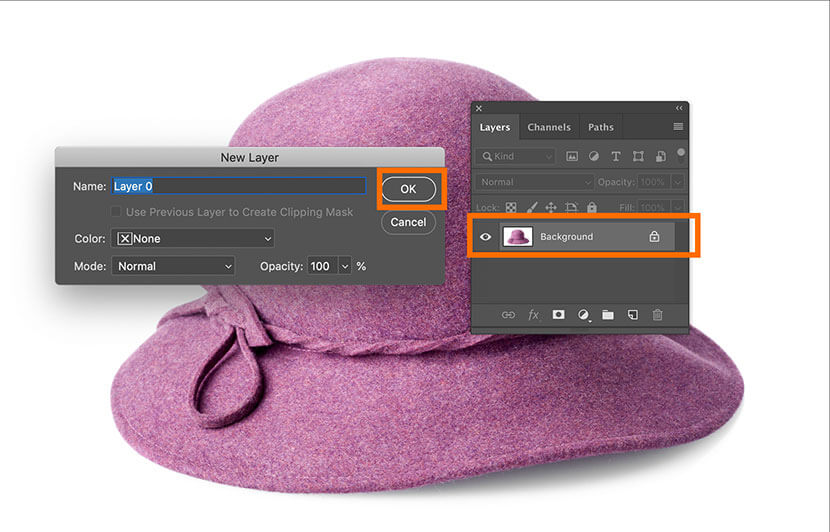
Duplicate Layer 0 by selecting Layer 0 in the Layers panel, clicking on the panel menu (which looks 4 tiny horizontal lines in the upper right-hand side of the panel), and choosing Duplicate Layer....

In the dialog box that appears, rename the layer to Product and click OK.
Click the "eye" icon next to Layer 0 to make it invisible.

Step 2: Select the product
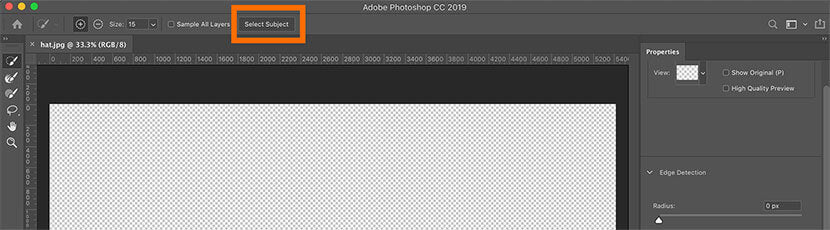
Select the Magic Wand tool from the Toolbar and click on Select and Mask from the Options bar at the top of the application window.

In the window that appears, choose Select Subject.
Under View (in the Properties tab in the upper right-hand corner), choose On Layers (Y). Under Output Settings (in the lower right-hand corner), choose Output To: Layer Mask.

Use the tools in the upper left-hand corner to refine your selection. For instance, you may need to take out a shadow.

For a detailed tutorial on using the Magic Wand tool and the Select and Mask feature, see our magic wand tutorial.
Once you're satisfied with your selection, click OK.
Step 3: Create a new fill layer
Select your original Layer 0 in the Layers panel.
Choose Layer > New Fill Layer > Solid Color from the dropdown menu at the top of the application window.

Give your New Layer a name, such as New Background.
Leave the Color field as-is; changing this won't actually change your background color; it will only change the color label applied to your layer.
Change Mode to Multiply.

Click OK.
A Color Picker window will appear. This is where you actually change your background color.
Move your cursor around the color selection box and the color ramp to adjust the foreground color to what you want your new background to be.
If you know the exact RGB or hexadecimal values for your color, you can type that into the corresponding fields in the Color Picker window, and the color will adjust to your specified value.
Once the color is correct, click OK.

Finally, go into your Layers panel and make your original Layer 0 visible again by clicking on the "eye" icon next to the layer name.

If you did the above steps correctly, you should have your product image against a different color background, but any shadows that you had on your original product will show through the new color.

Not happy with the shadows in your shot? You can learn how to add a natural shadow in Photoshop to fix them in post-processing.
How to change the background color when the original background is NOT white
If you want your new background color to be completely opaque because you need to cover an existing background (solid or otherwise), repeat all steps above except change the blend mode of the new Fill Layer to Normal.
You can do this either when you create the Fill Layer, or afterward from the Layers panel. This will result in a completely opaque background color, so no shadows from the original photo will show through.
How to change the background color for multiple photos at one time
If you have a large batch of product photography with images that need the same color background, you can create a Photoshop action to change the background color, and then run a batch to change all the backgrounds at once.
This technique works best on photos where the subject is well-isolated from its background in the original photo (like against a white background), and where the product has little to no visible shadow.
If you've never used actions before in Photoshop, don't worry. With a bit of preparation you can create and run them with ease. Once you get the hang of actions, you'll wonder why you've never used them before!
Step 1: Place all product photos in a separate folder
Create a new folder, and copy all the product photos that you want to change the background color into this new folder. Give the folder a name that will allow you to identify it easily, such as "Old Background Photos."
Create another folder called "New Background Photos" and leave it empty.
Step 2: Create the action
Open the first image in your Old Background Photos folder.
Open the Actions panel by choosing Window > Actions from the dropdown menu at the top of the screen.

Click on the panel menu (the four tiny, horizontal lines in the upper-right hand corner of the panel) and choose New Action….

In the pop-up dialog box, name your action "Change Background Color" or something similar so you can identify it later. (In the example below the action is named "Change Background Blue" since the new action will change the background to dark blue.) You can leave this action in the Defaults set for now.

Click Record.
Select the Magic Wand tool, click Select and Mask, and in the new window that appears, choose Select Subject. Click OK.
In your Layers panel, create a new layer and move the new layer under the layer containing your product.
Fill the new layer with your chosen color by choosing Edit > Fill. In the dialog box that appears, choose Color... from the dropdown menu and use the Color Picker dialog box to determine the exact background color. Click OK.
Click the stop button on the Actions panel.

Close the image without saving it.
Step 3: Run a batch
With no files open in Photoshop, choose File > Automate > Batch from the dropdown menu at the top of the screen.

In the window that appears, choose your new action next to Action.
Choose Folder next to Source, and click Choose... to navigate to the folder containing the product photos you wish to modify.
In the next column, next to Destination, choose Folder. Then, click Choose… and navigate to the empty folder you created to hold your modified product photos.
Click OK.

Step 4: Monitor the batch
Photoshop will open each product photo in your folder, apply the action, and then save that photo into the new folder with your new background color attached. If your original file format is anything but PSD, you will be prompted to save each file as a PSD file into the new folder.
This is fine; you want to keep these new product photos as layered PSD files in case you need to do any clean up after the background color has been changed.
Step 5: Clean up and convert to JPG
Go through each of your new background product photos and make sure there are no halos or areas where the mask needs to be adjusted. Regardless of the background of your original product photos, you can save yourself quite a bit of time by using actions, even if you need to clean up individual photos after the batch has run. Since these are saved as layered files with layer masks, you can make whatever adjustments you need easily.
Once your photos look the way you want, you can individually save them in a web-ready format by choosing File > Export > Export As… or create another action to crop them to the same size and save them as a JPG.


![How to Create a Clipping Path in Photoshop [Updated for 2022]](http://pathedits.com/cdn/shop/articles/image14.jpg?v=1639448433 "How to Create a Clipping Path in Photoshop [Updated for 2022]")


