
Convert raster to vector for crisp, clean graphics that you can enlarge as much as you want without losing quality.
Vector conversion services
Save tons of time and get images that you can print in any size
Starting at $3.99 per image
Getting a clean vector image takes way too much work
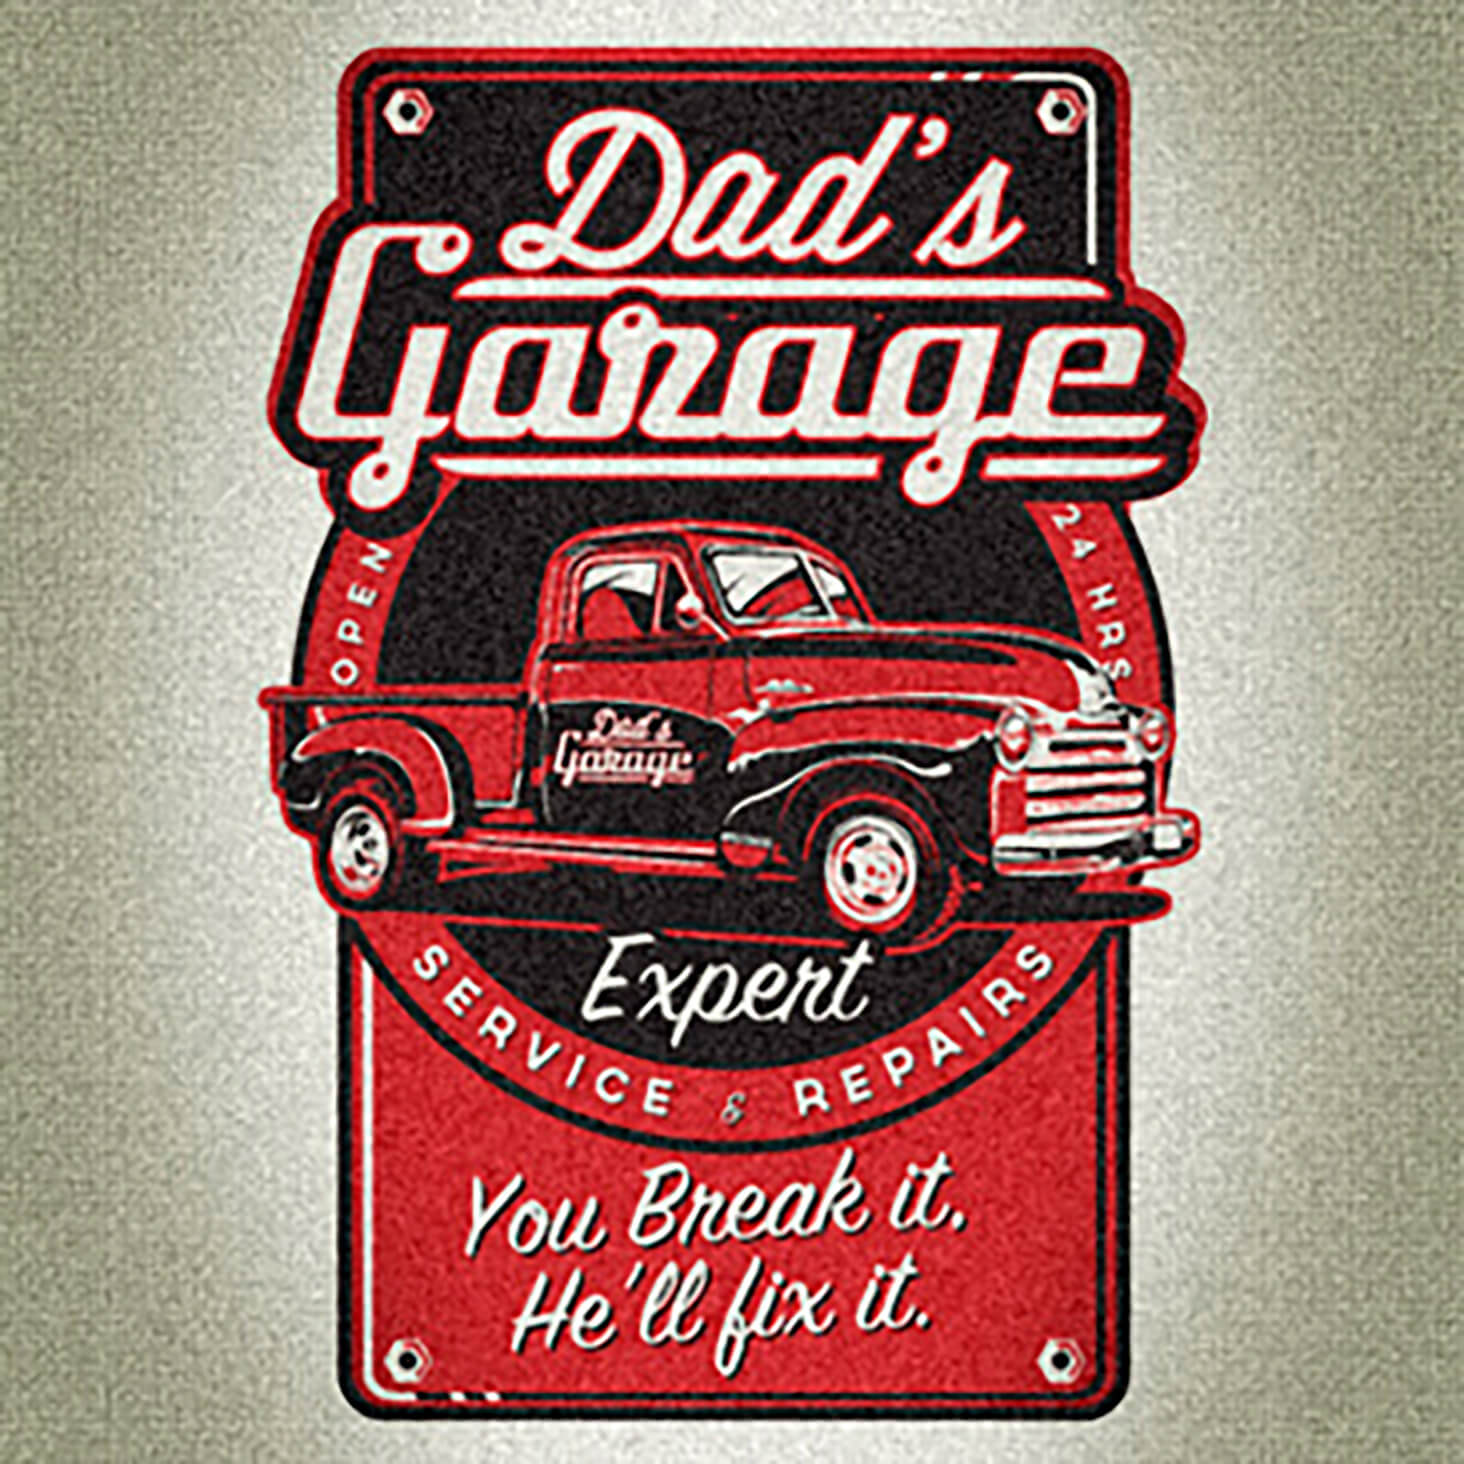
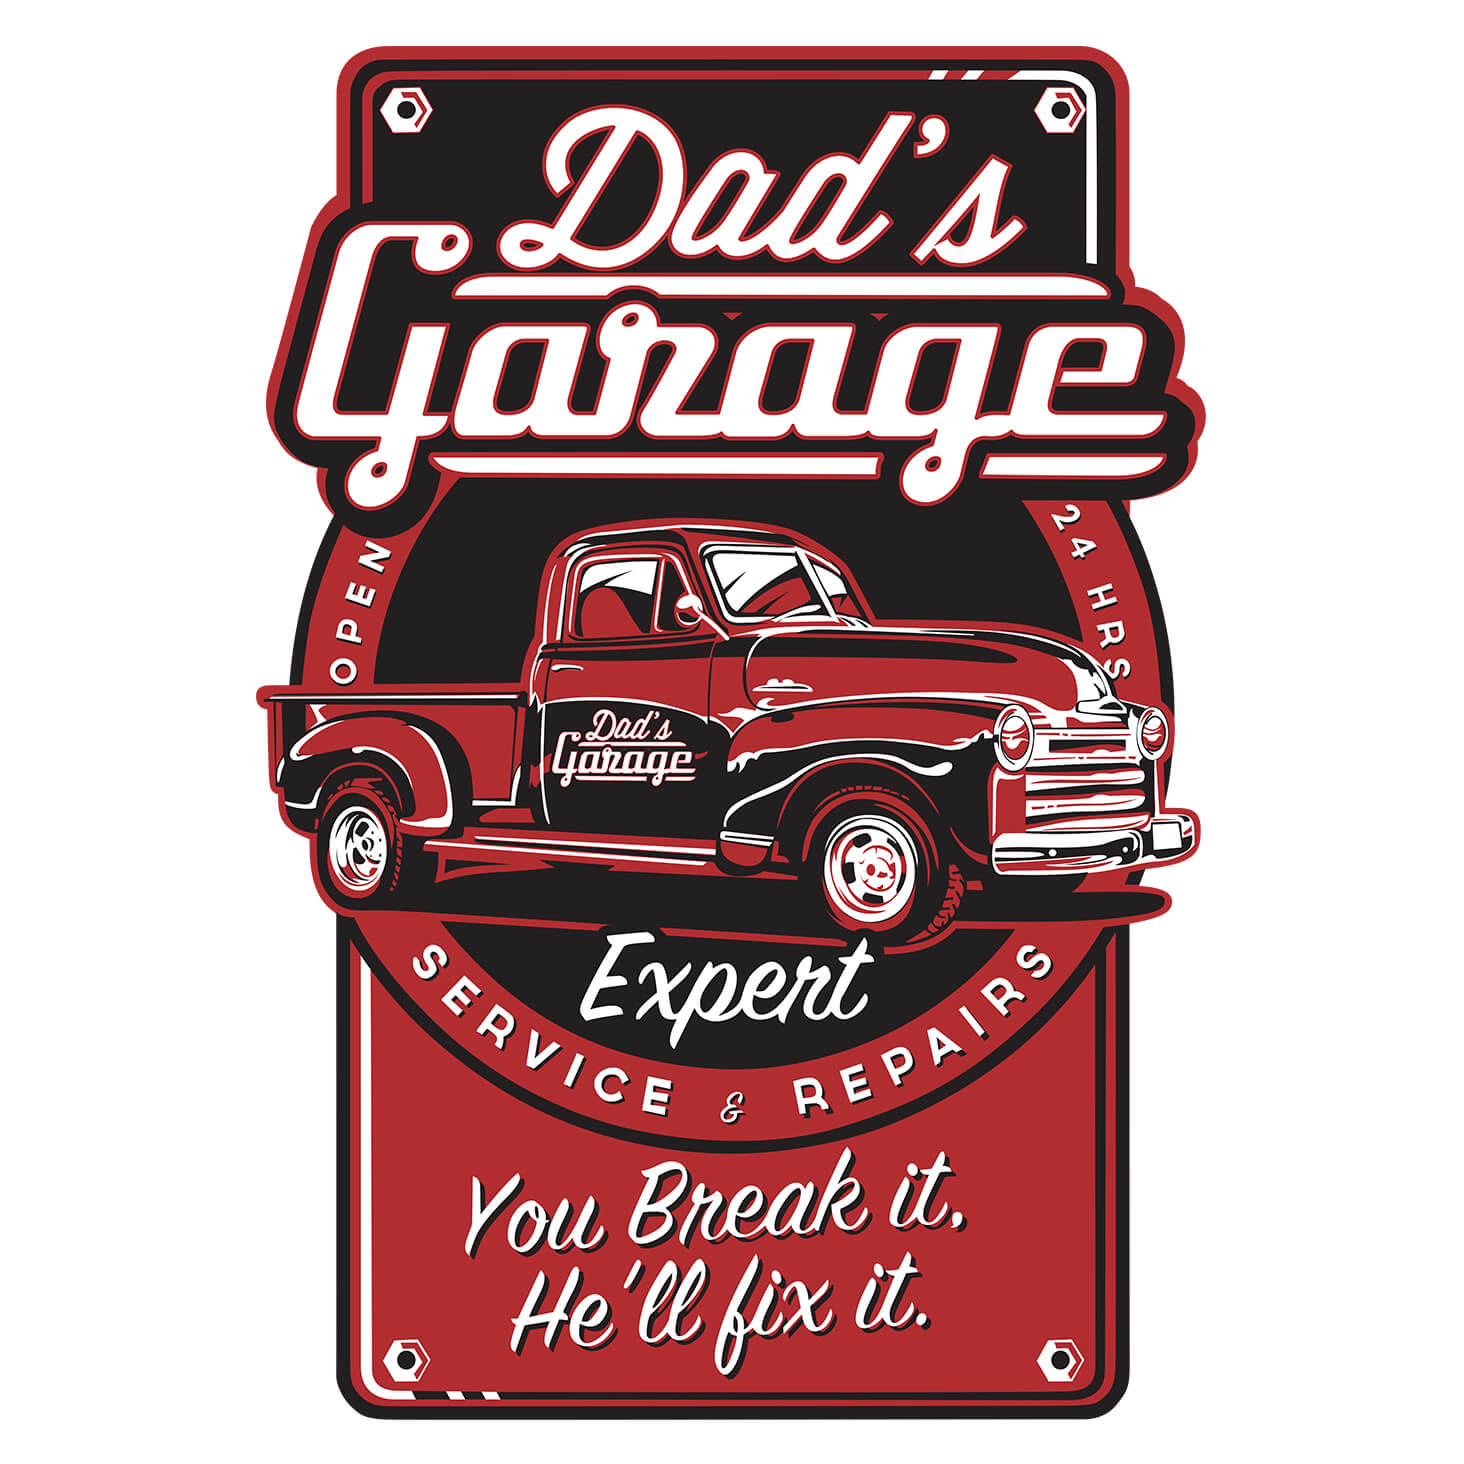
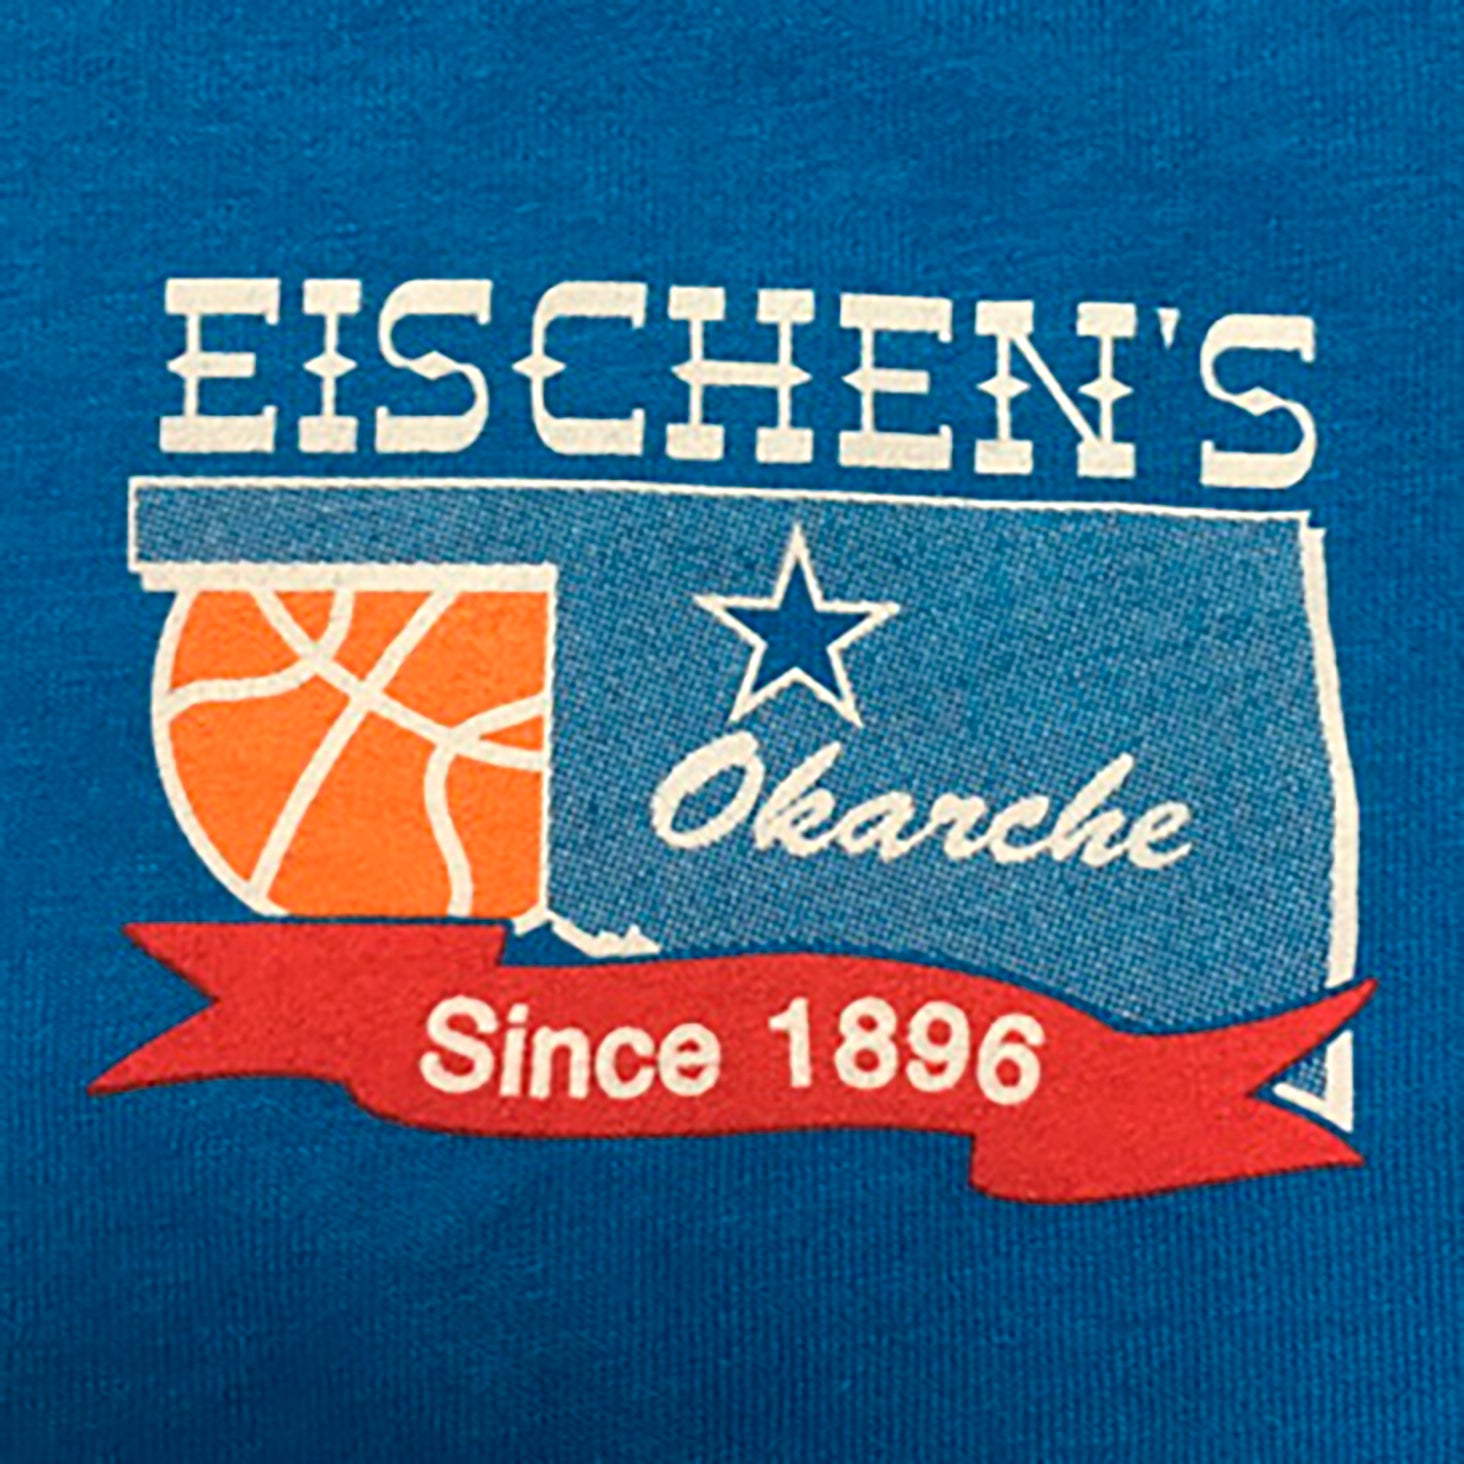
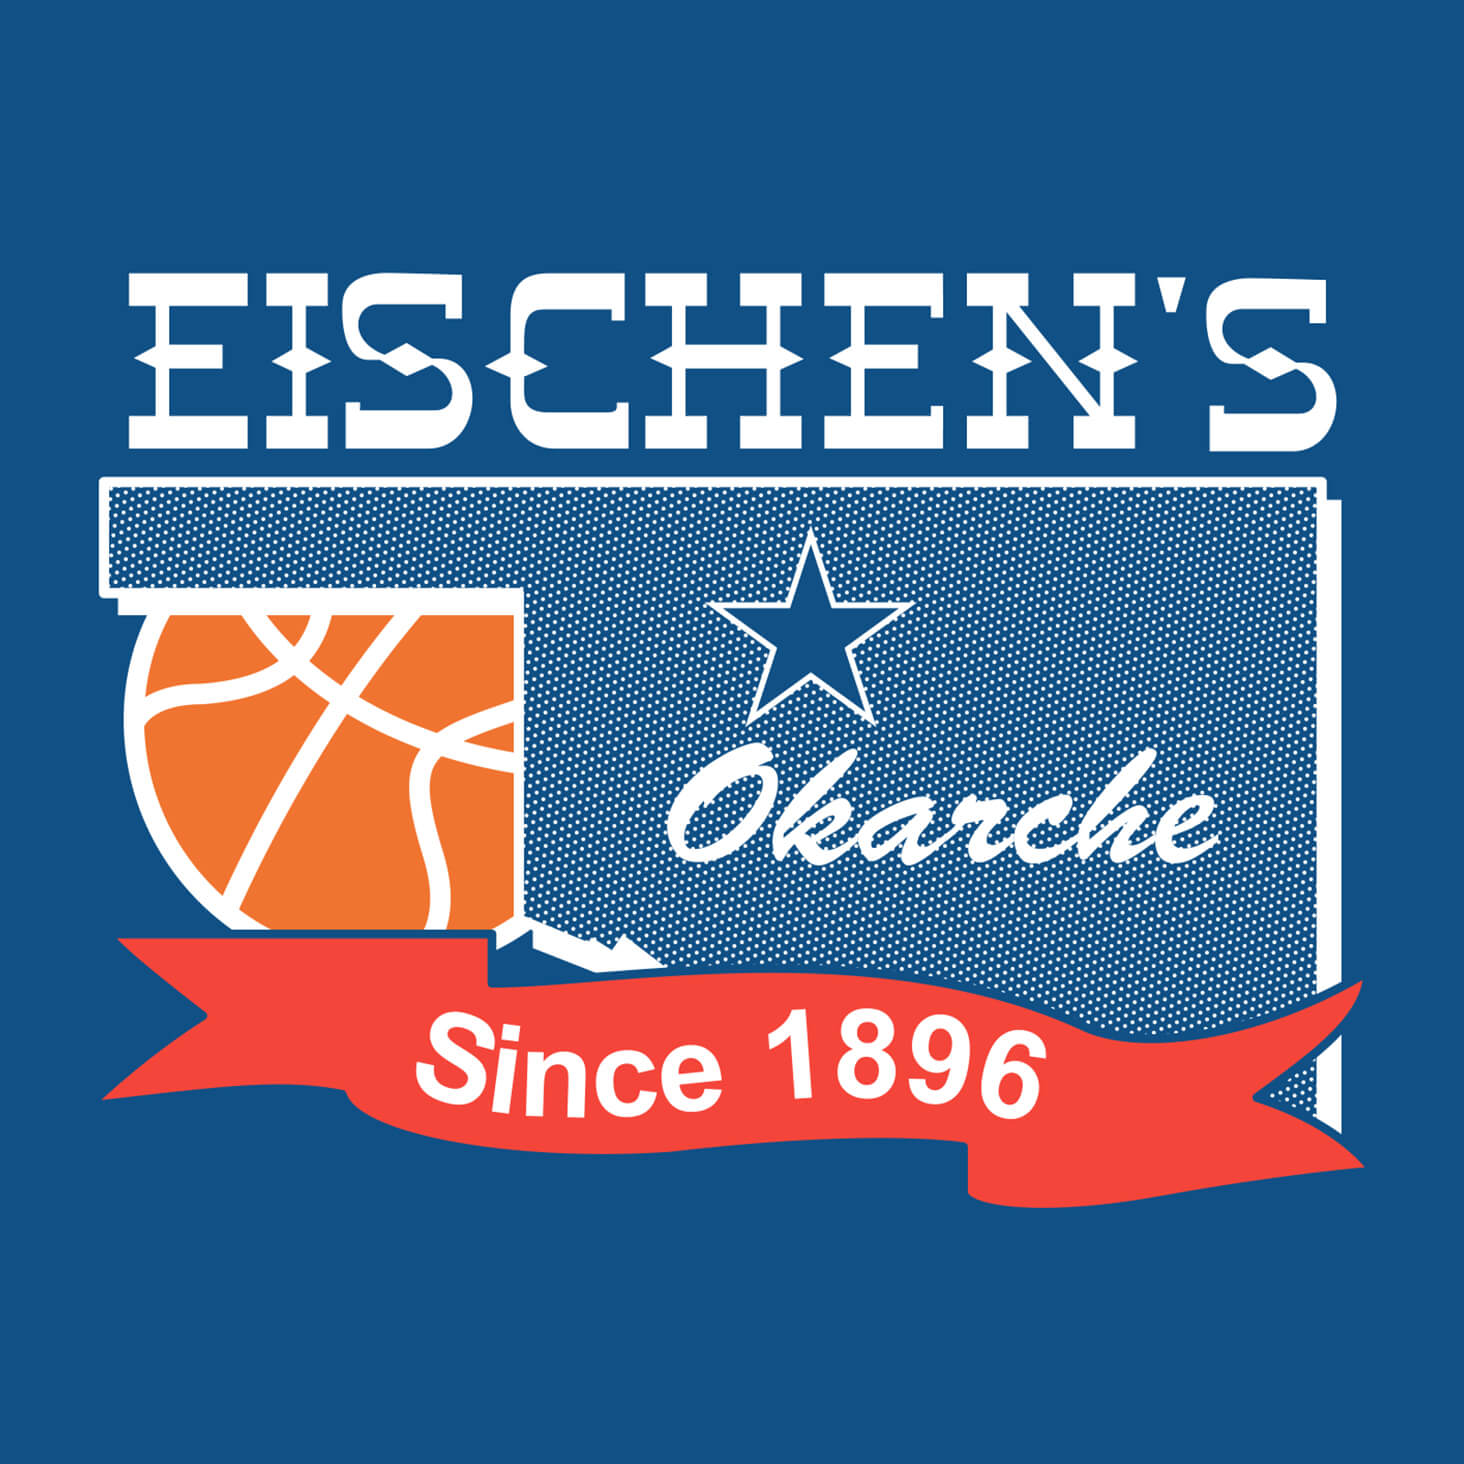
Vector conversion is the way to go when you need to enlarge logos or blurry images for print or screen. Converting raster to vector preserves those fine details so you get large images with crisp, clean lines.
Getting vector conversions right takes time and patience. But you don’t have to waste all that time perfecting each vector in Photoshop yourself.
Leave it to the experts
Outsource even your most intricate vector conversion projects to our team of experts, starting at $3.99 per image. Get your complicated images converted to vectors quickly and affordably, in as little as 6 hours.
We expertly recreate the original image by hand, so you can use your graphic anywhere — banners for your next trade show, t-shirts for your team, or even on a billboard.
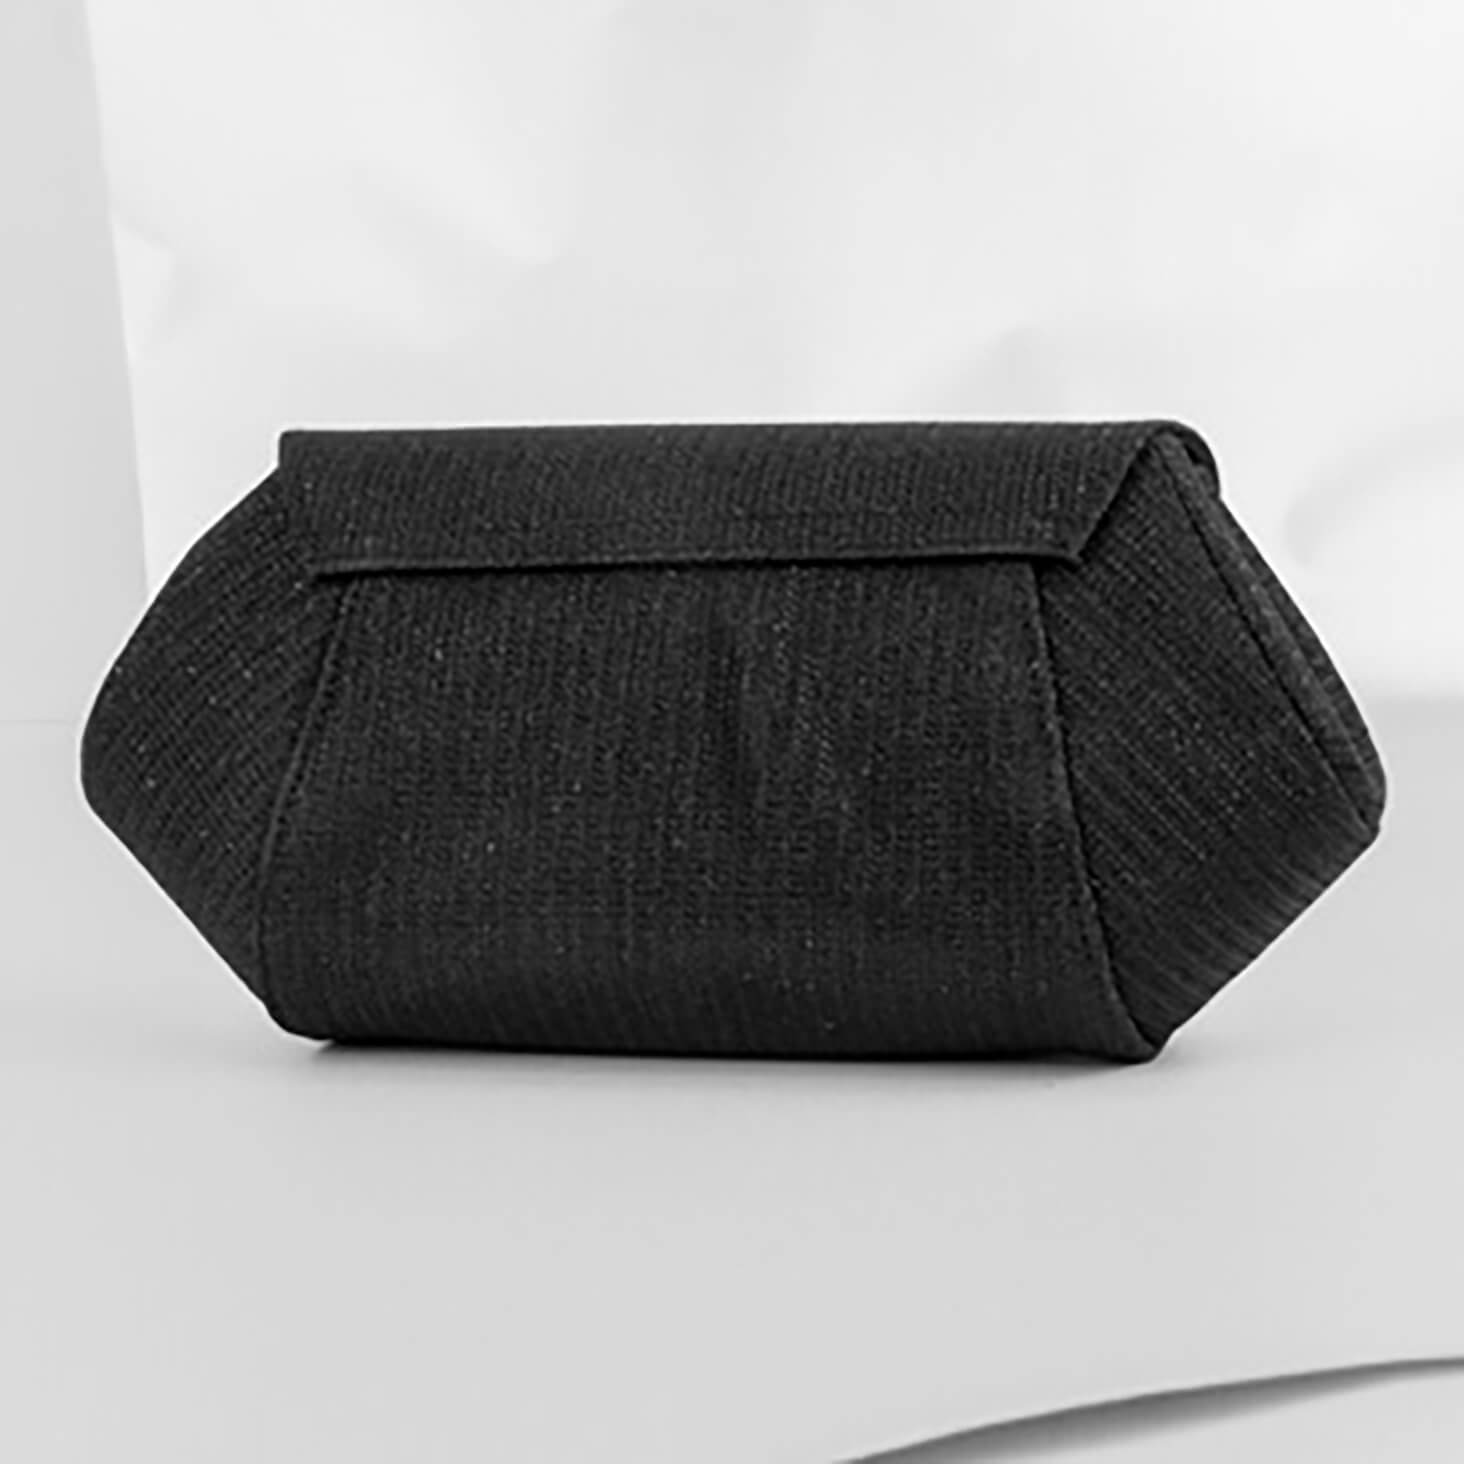
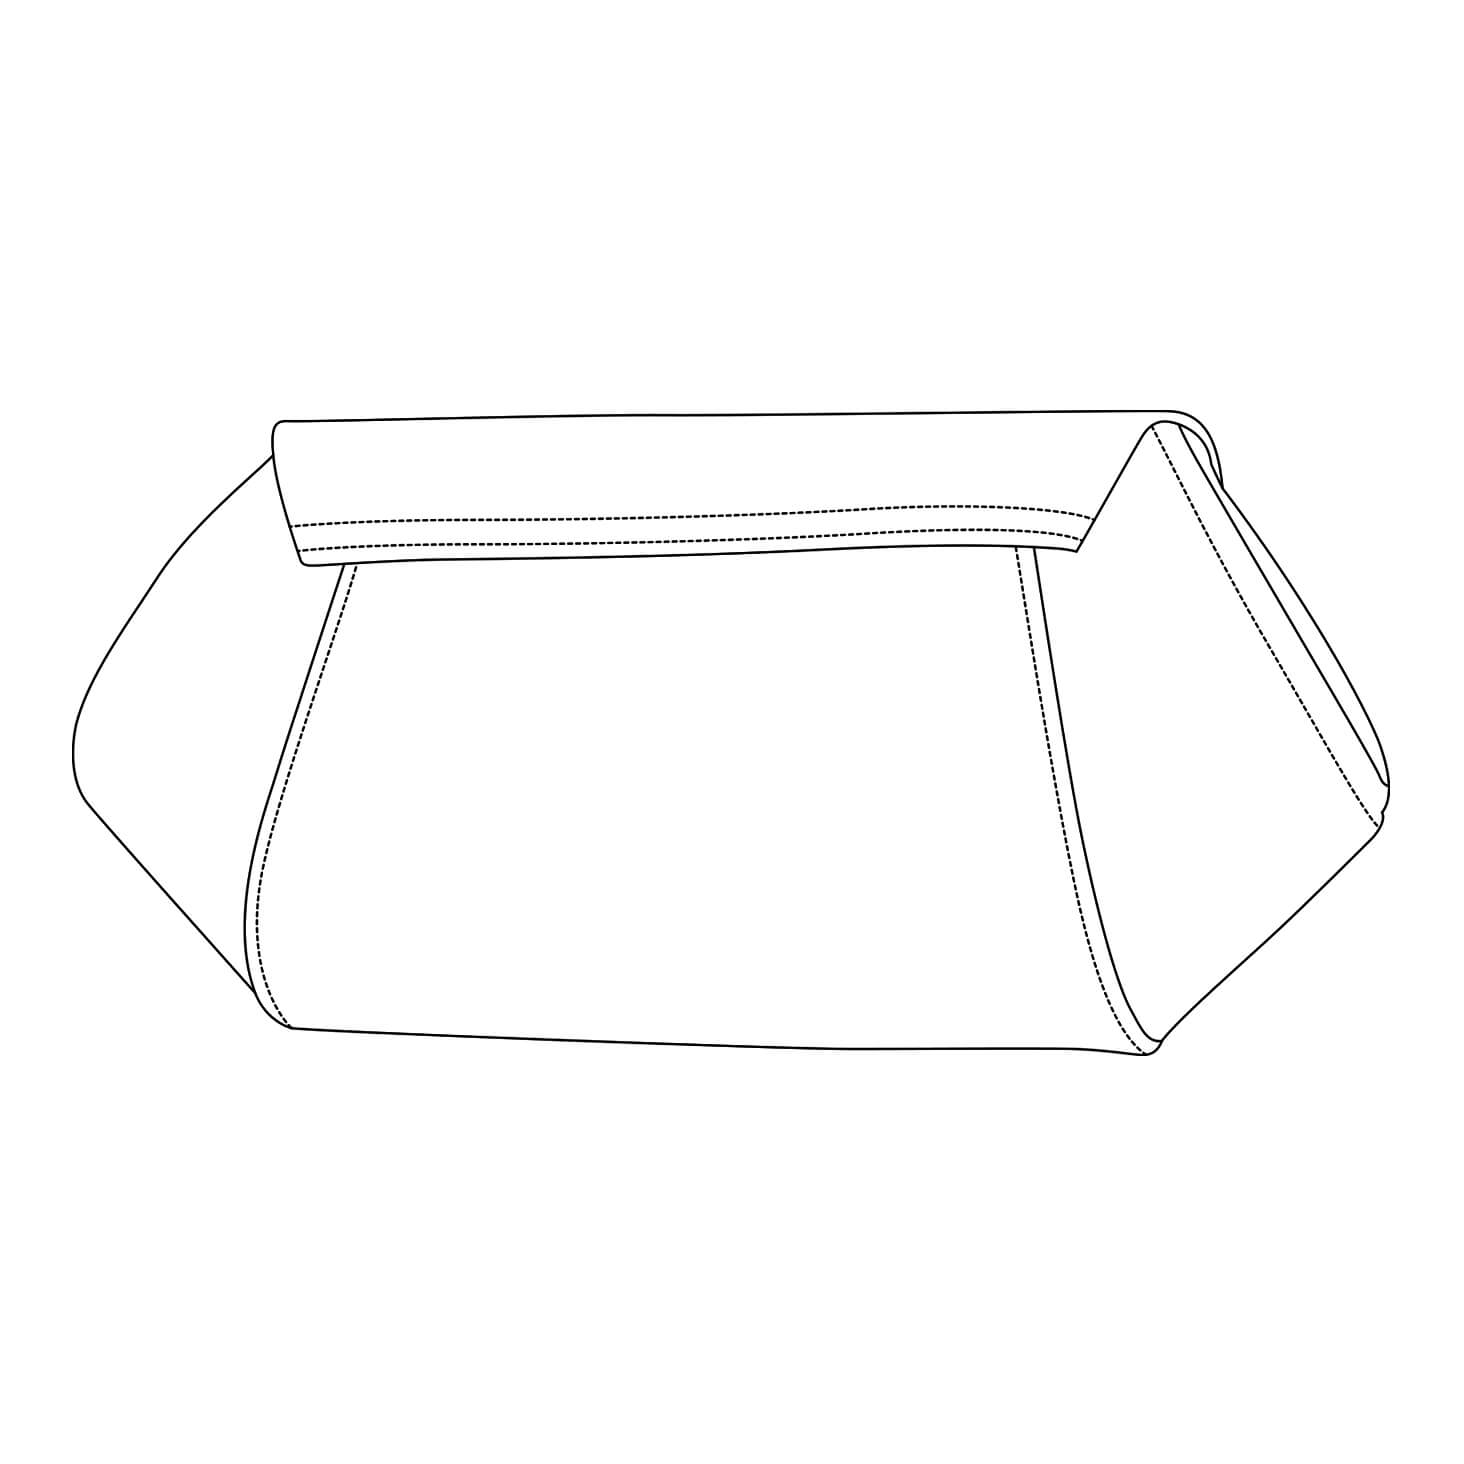
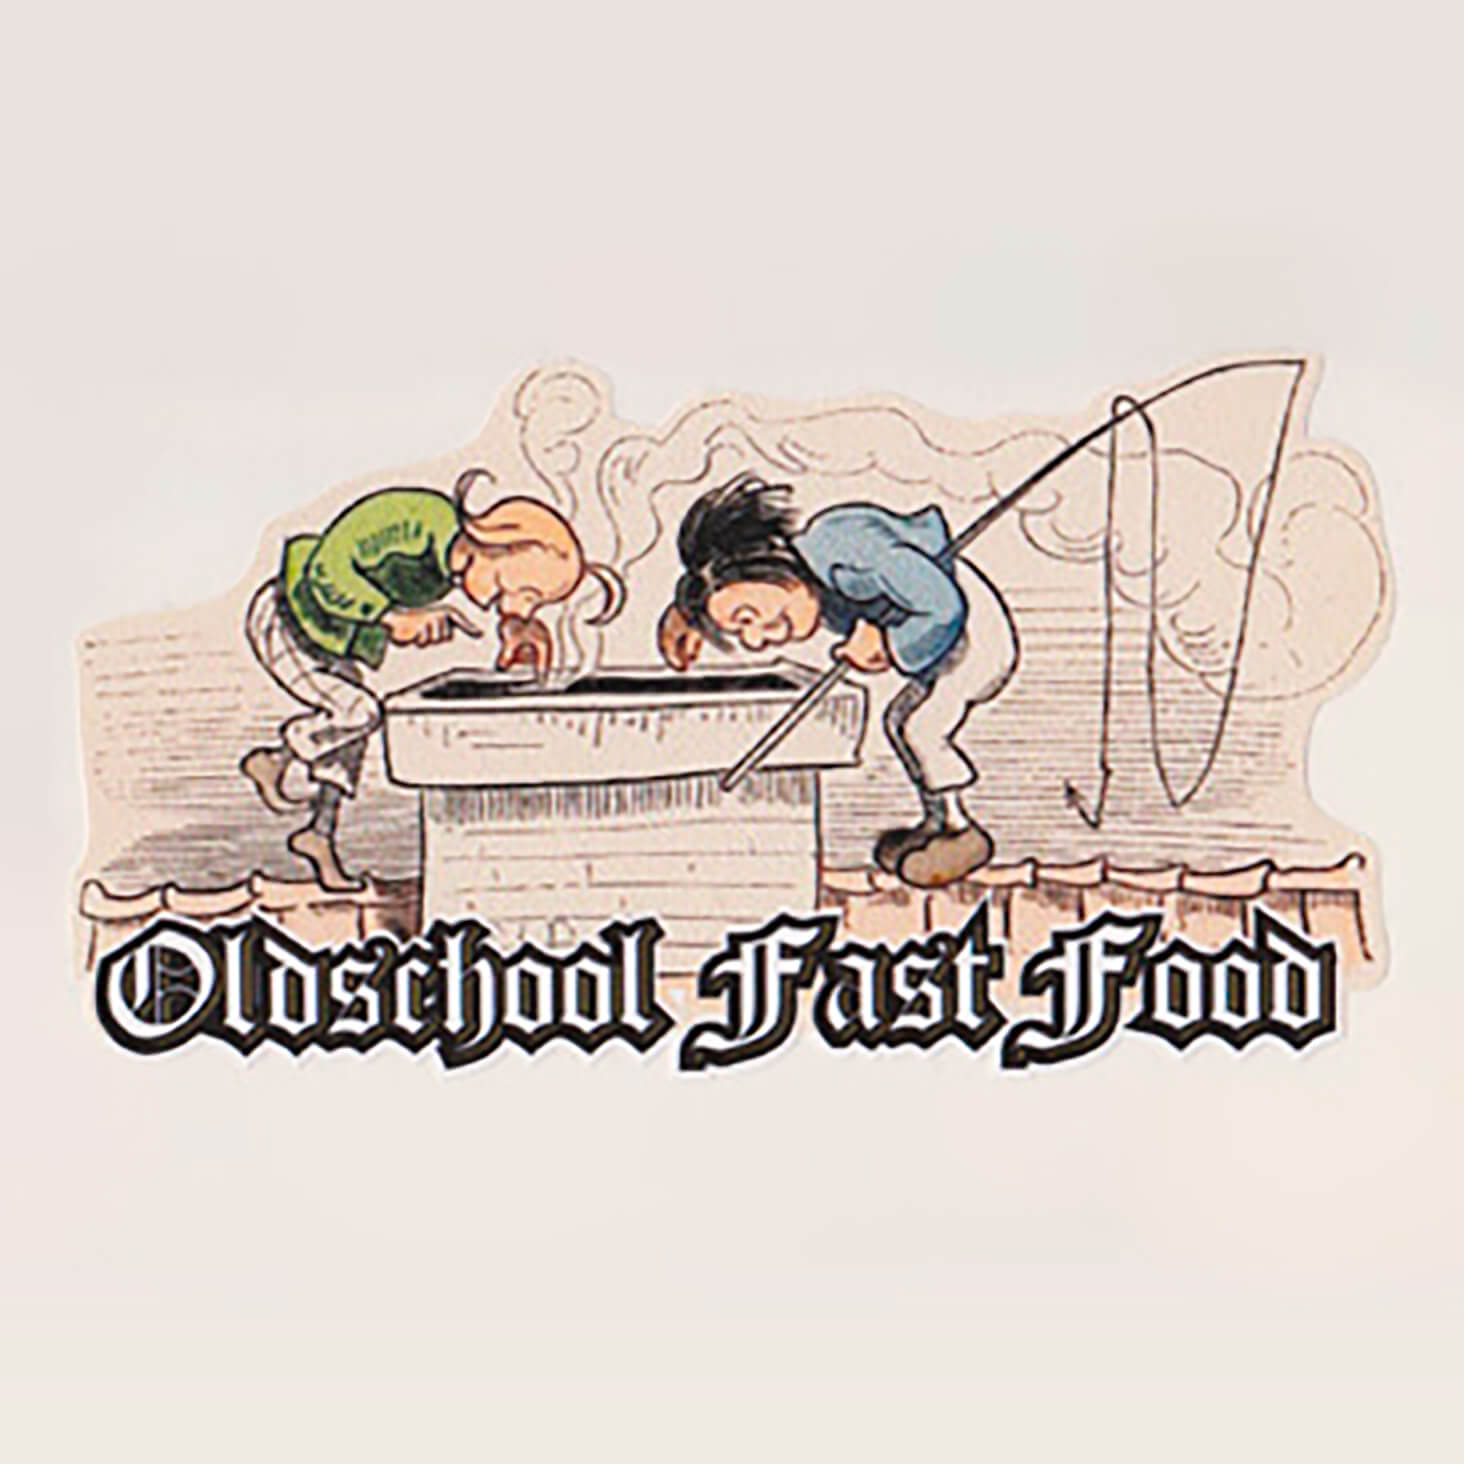
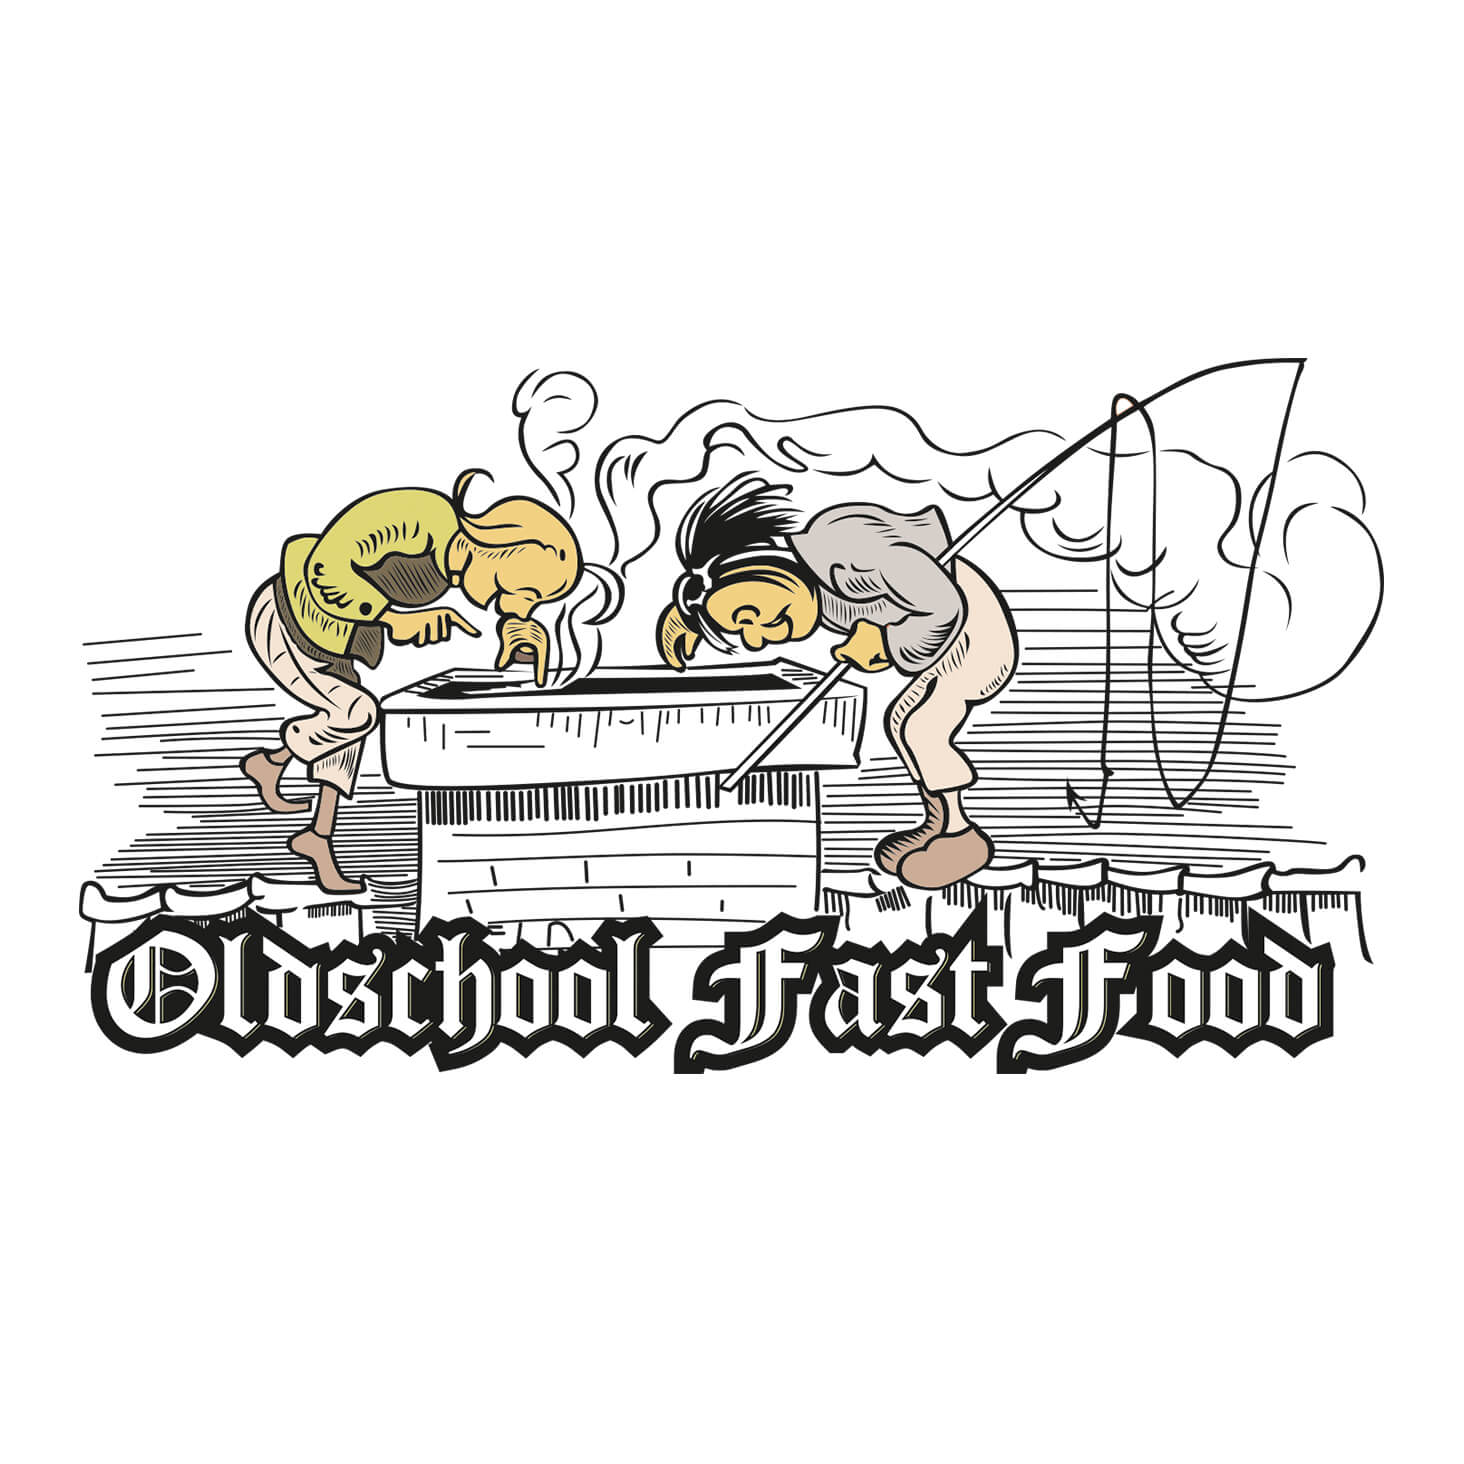
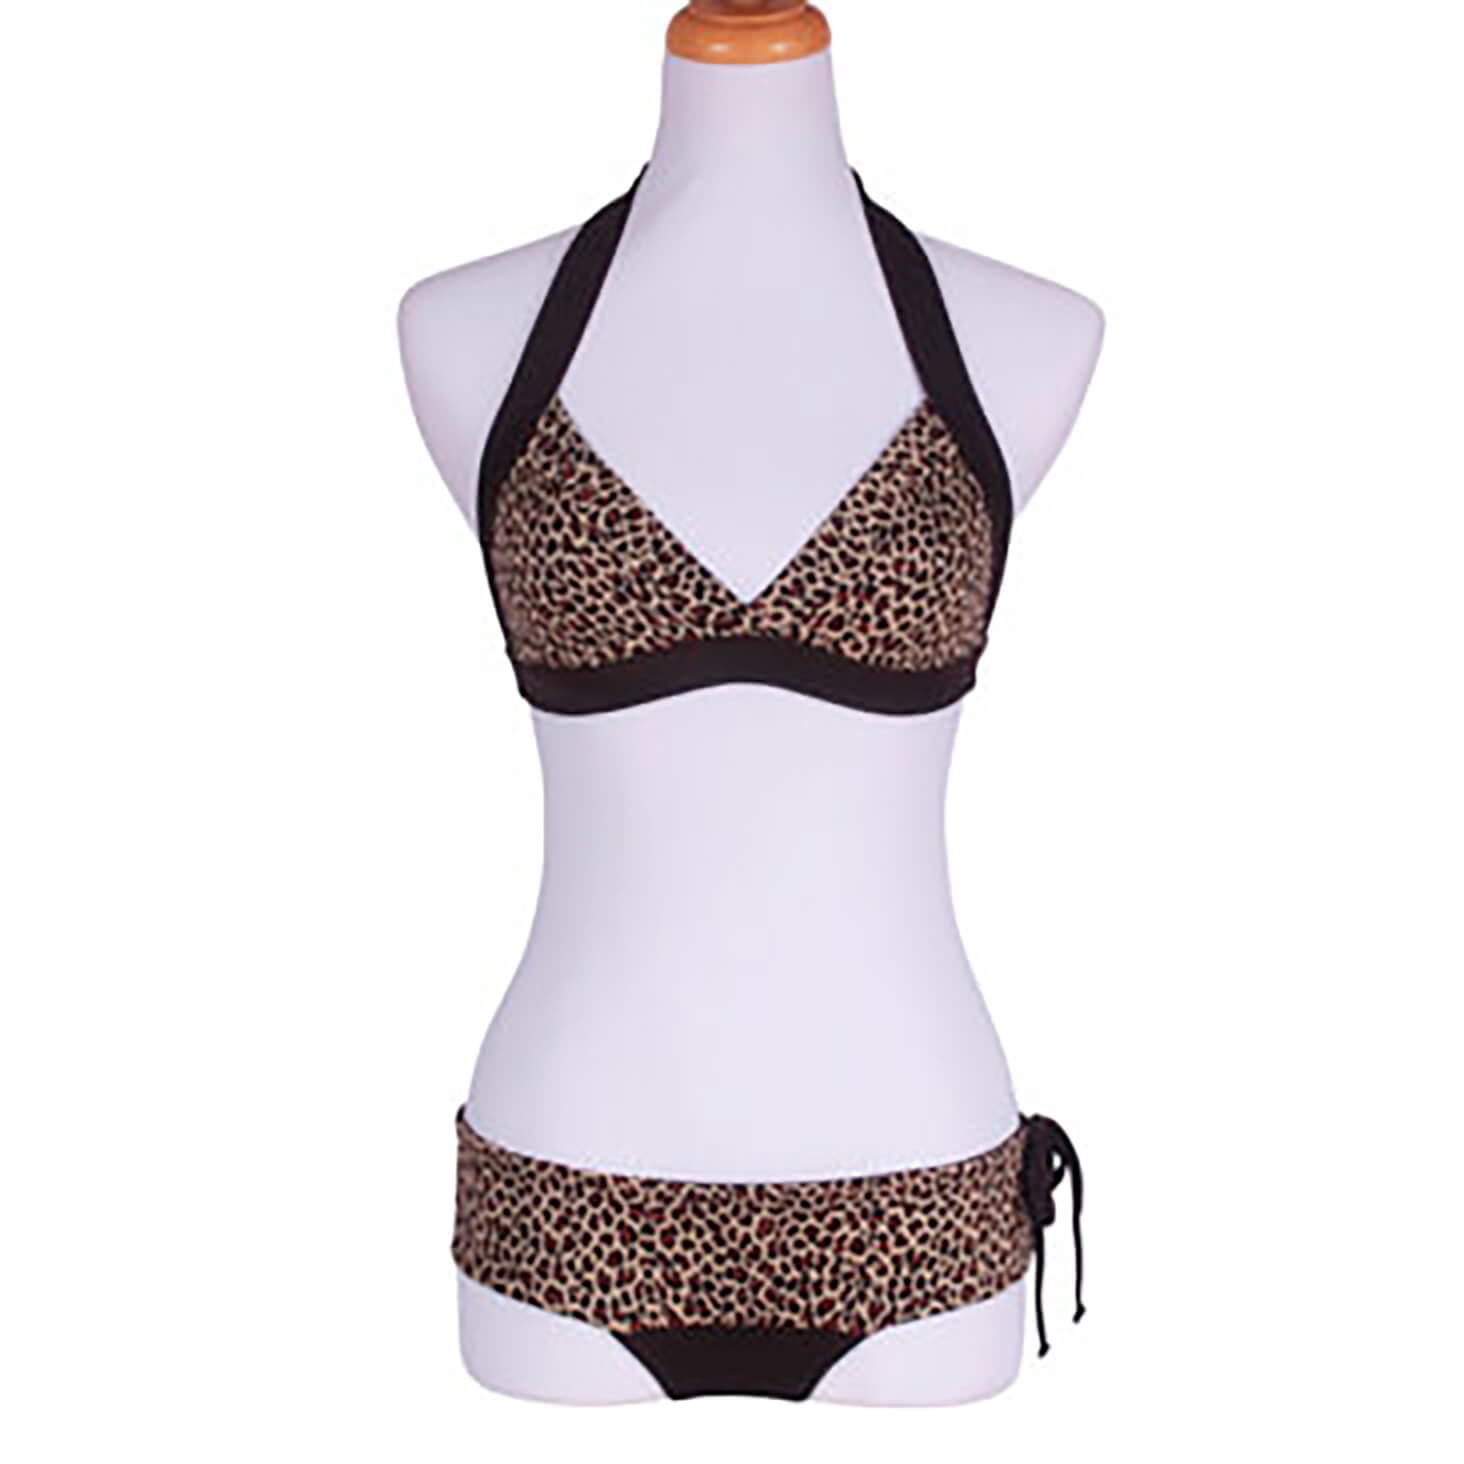
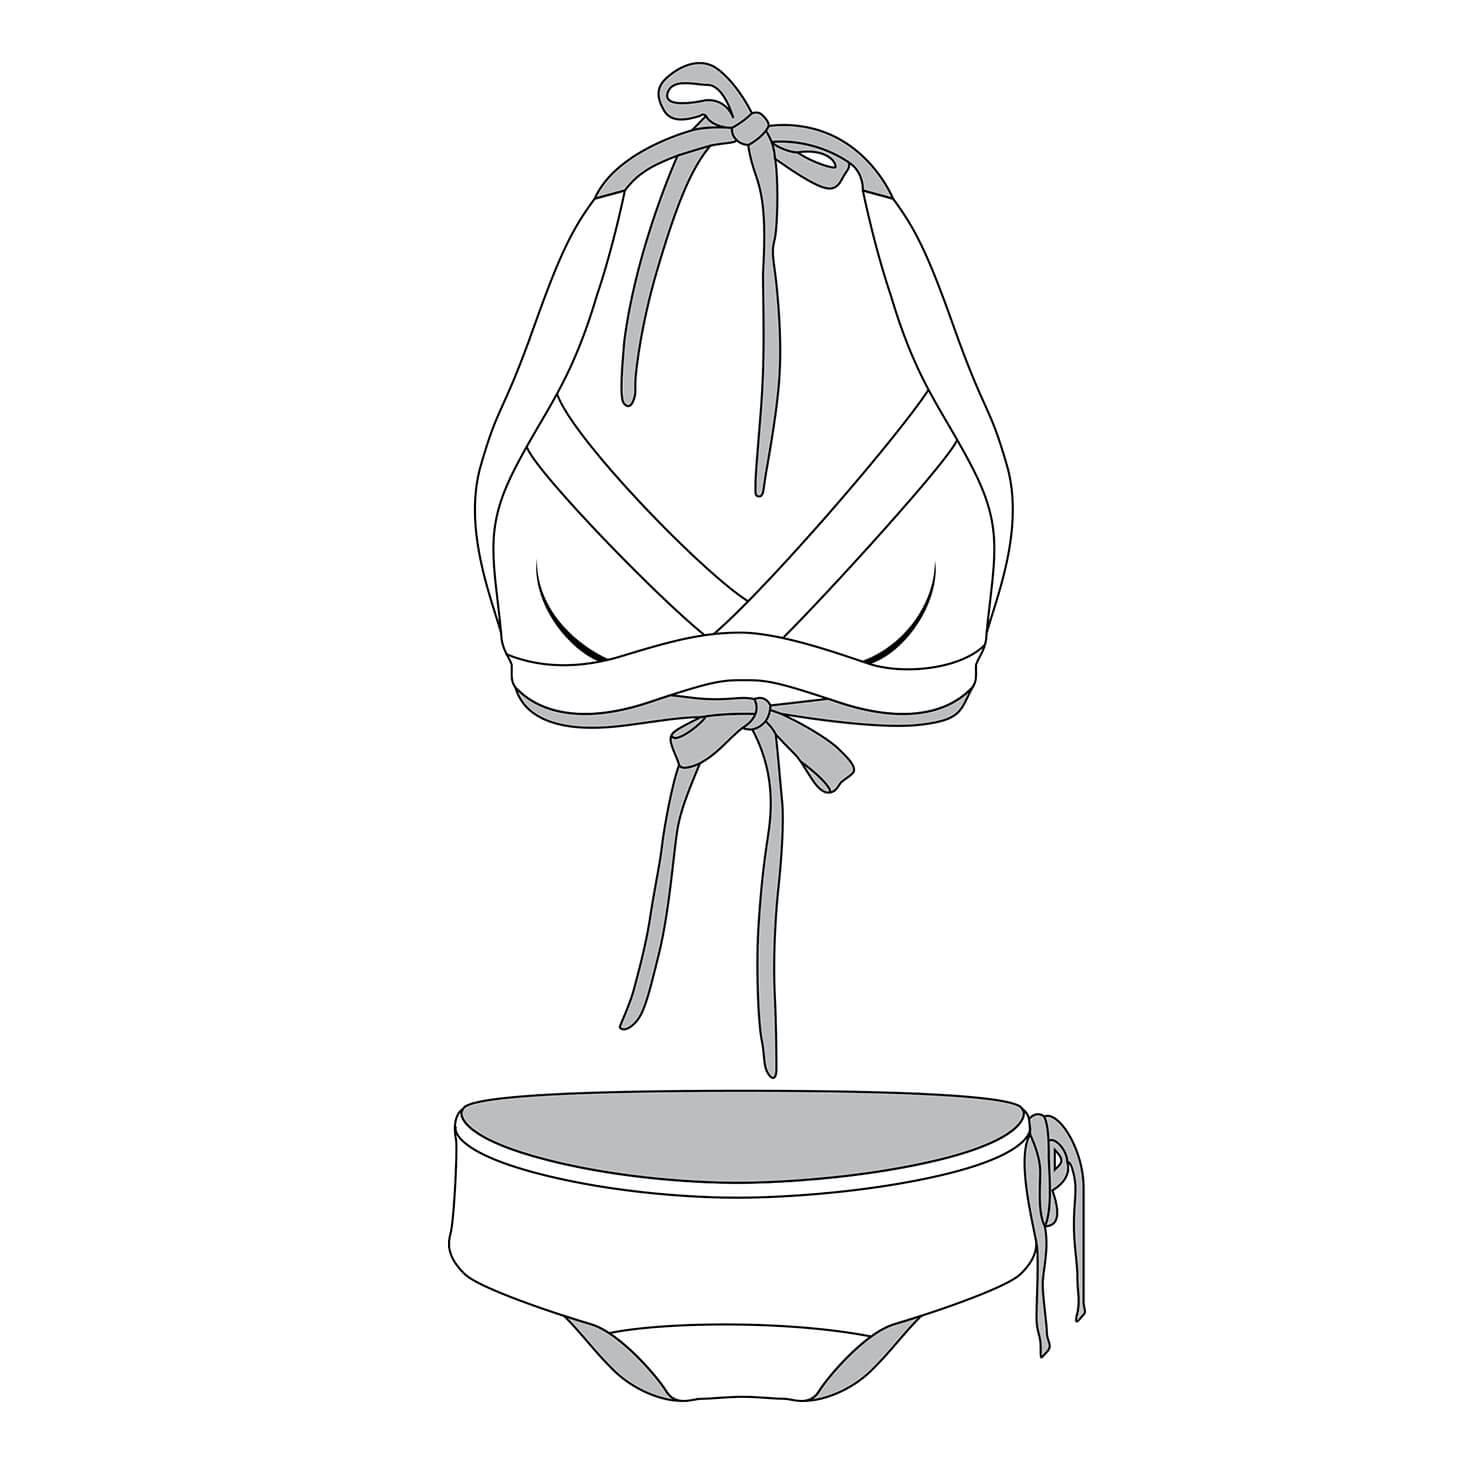
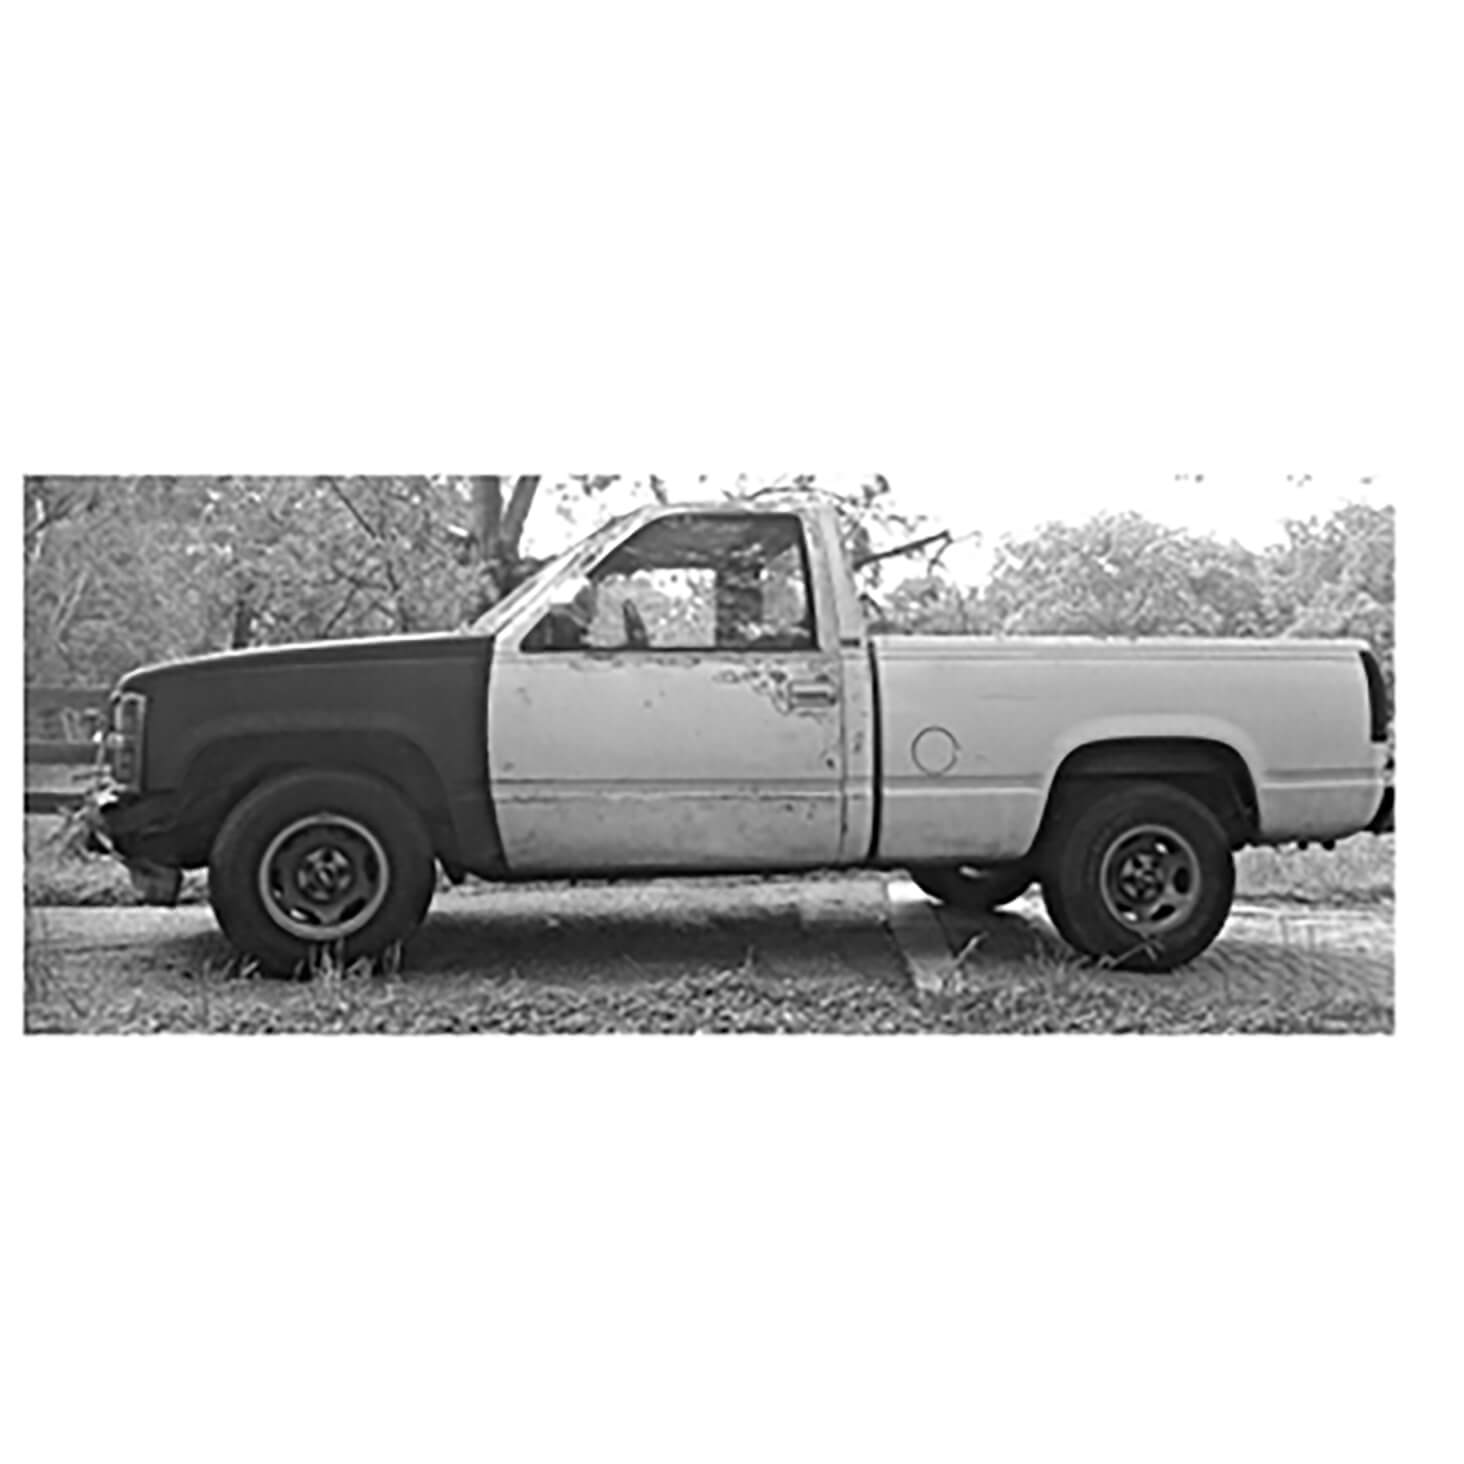
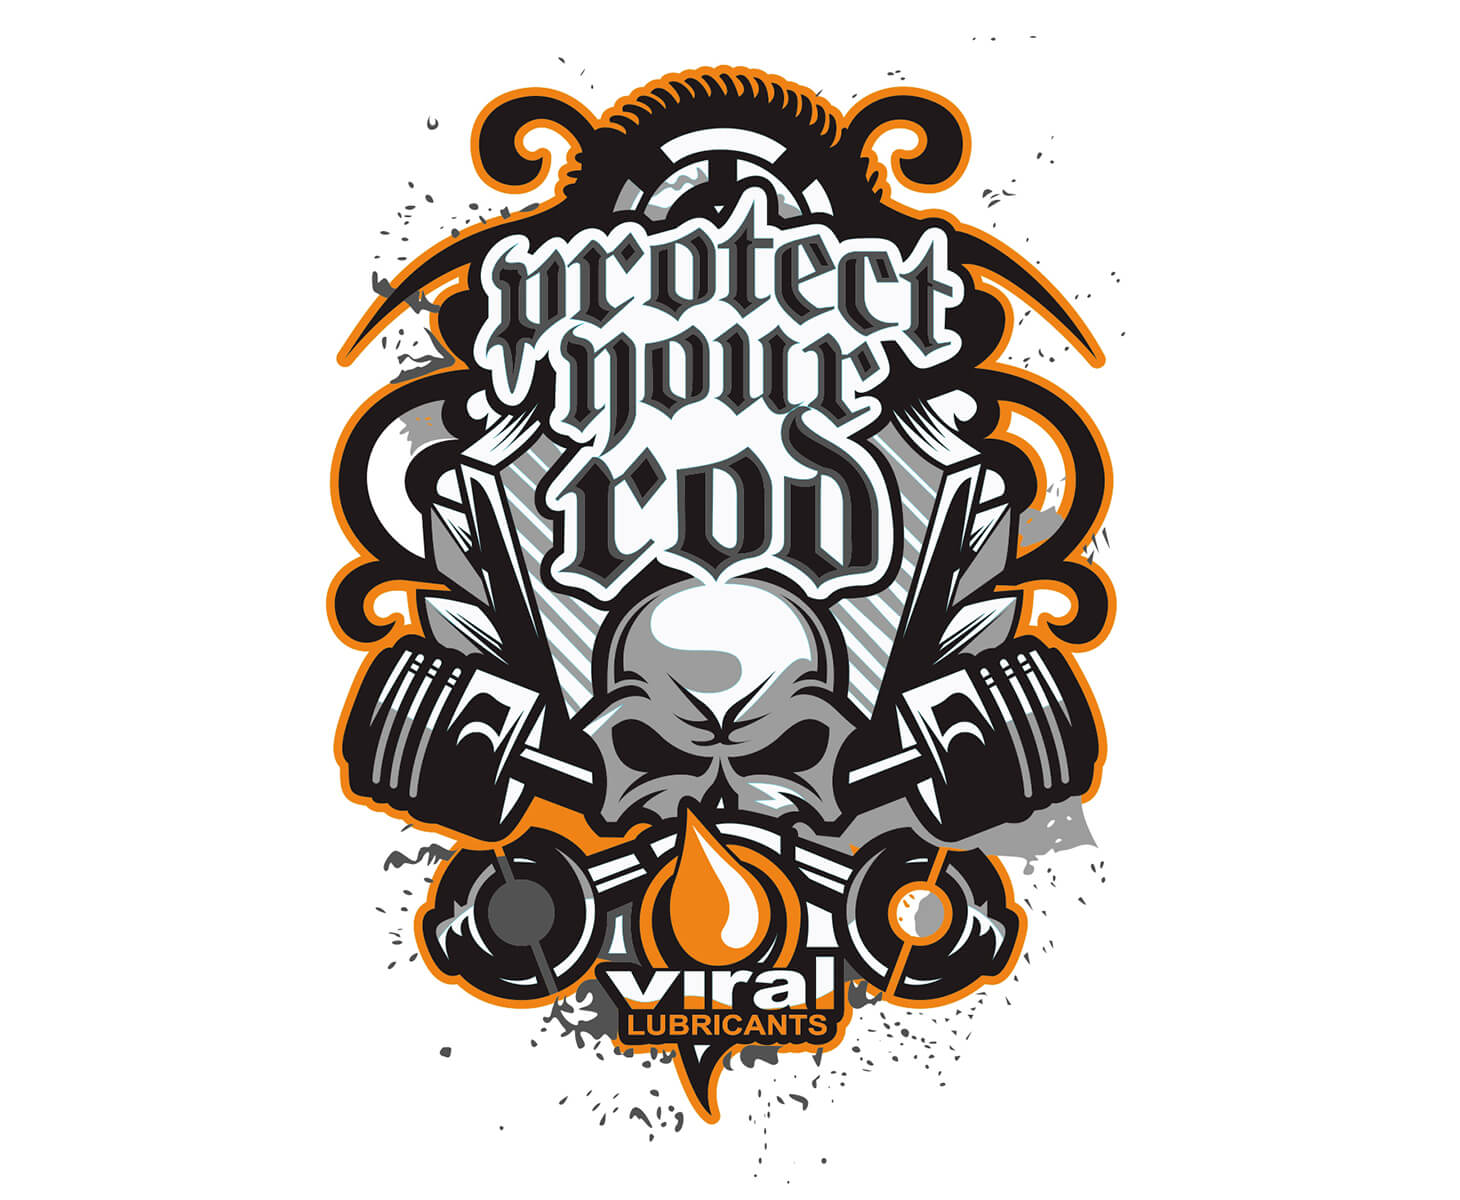
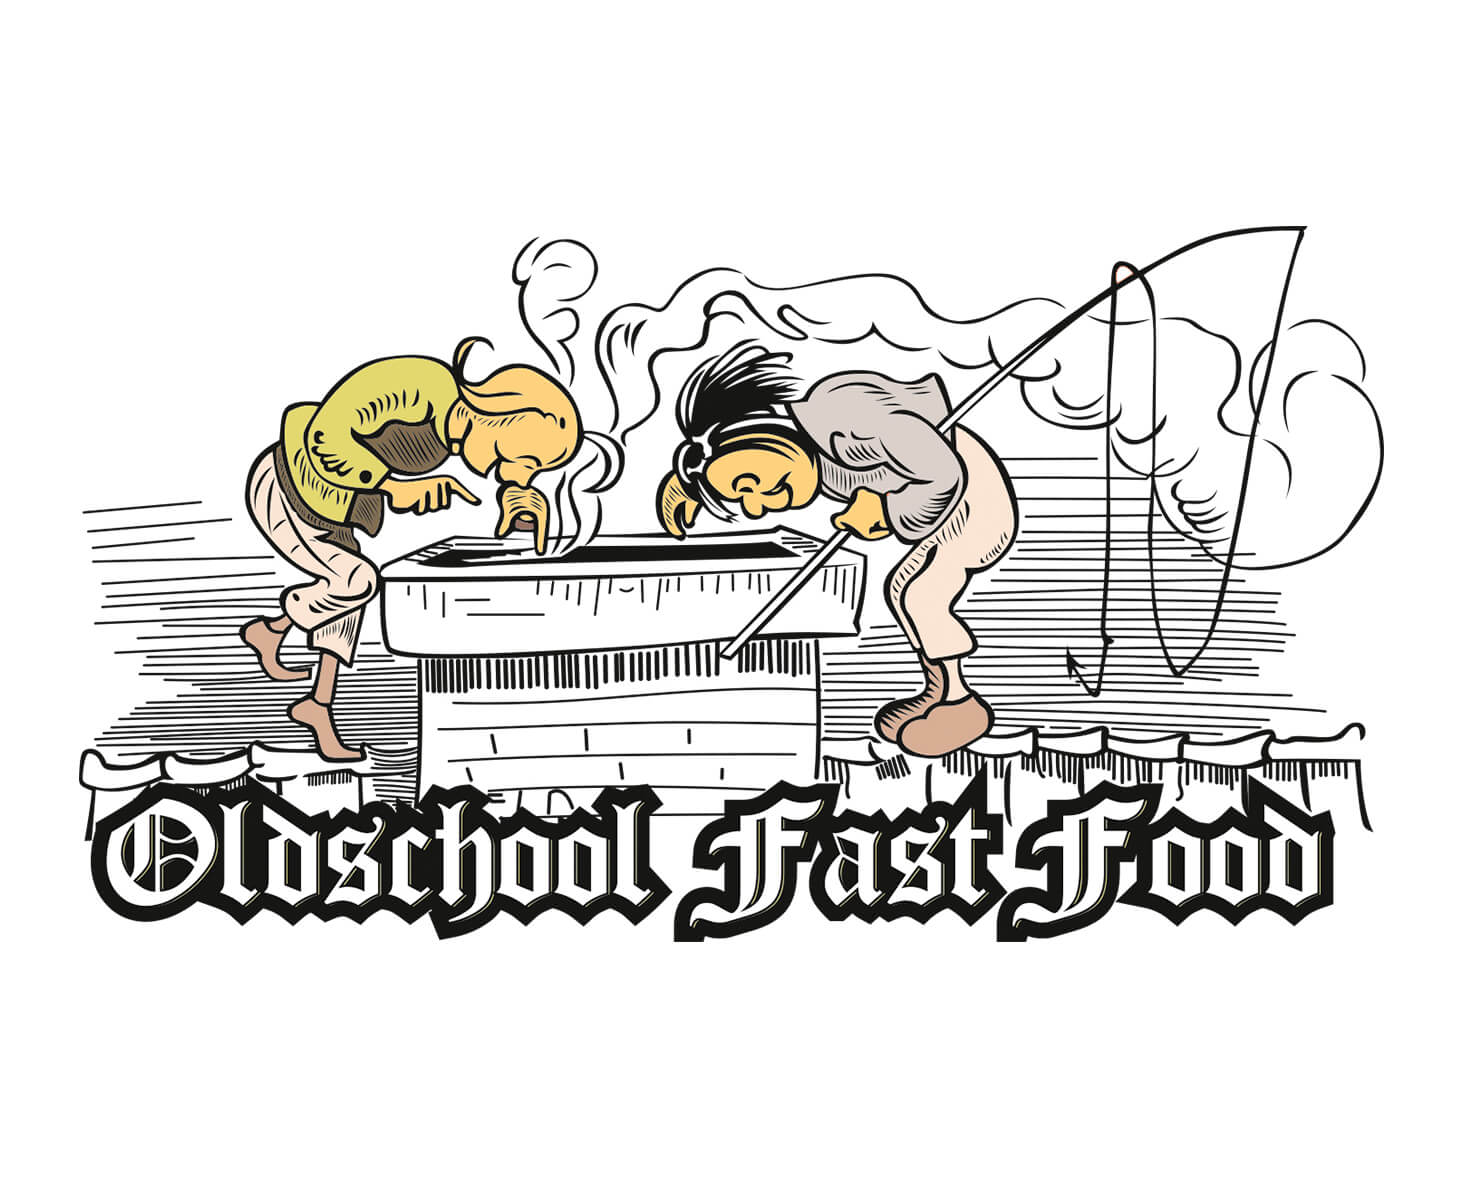
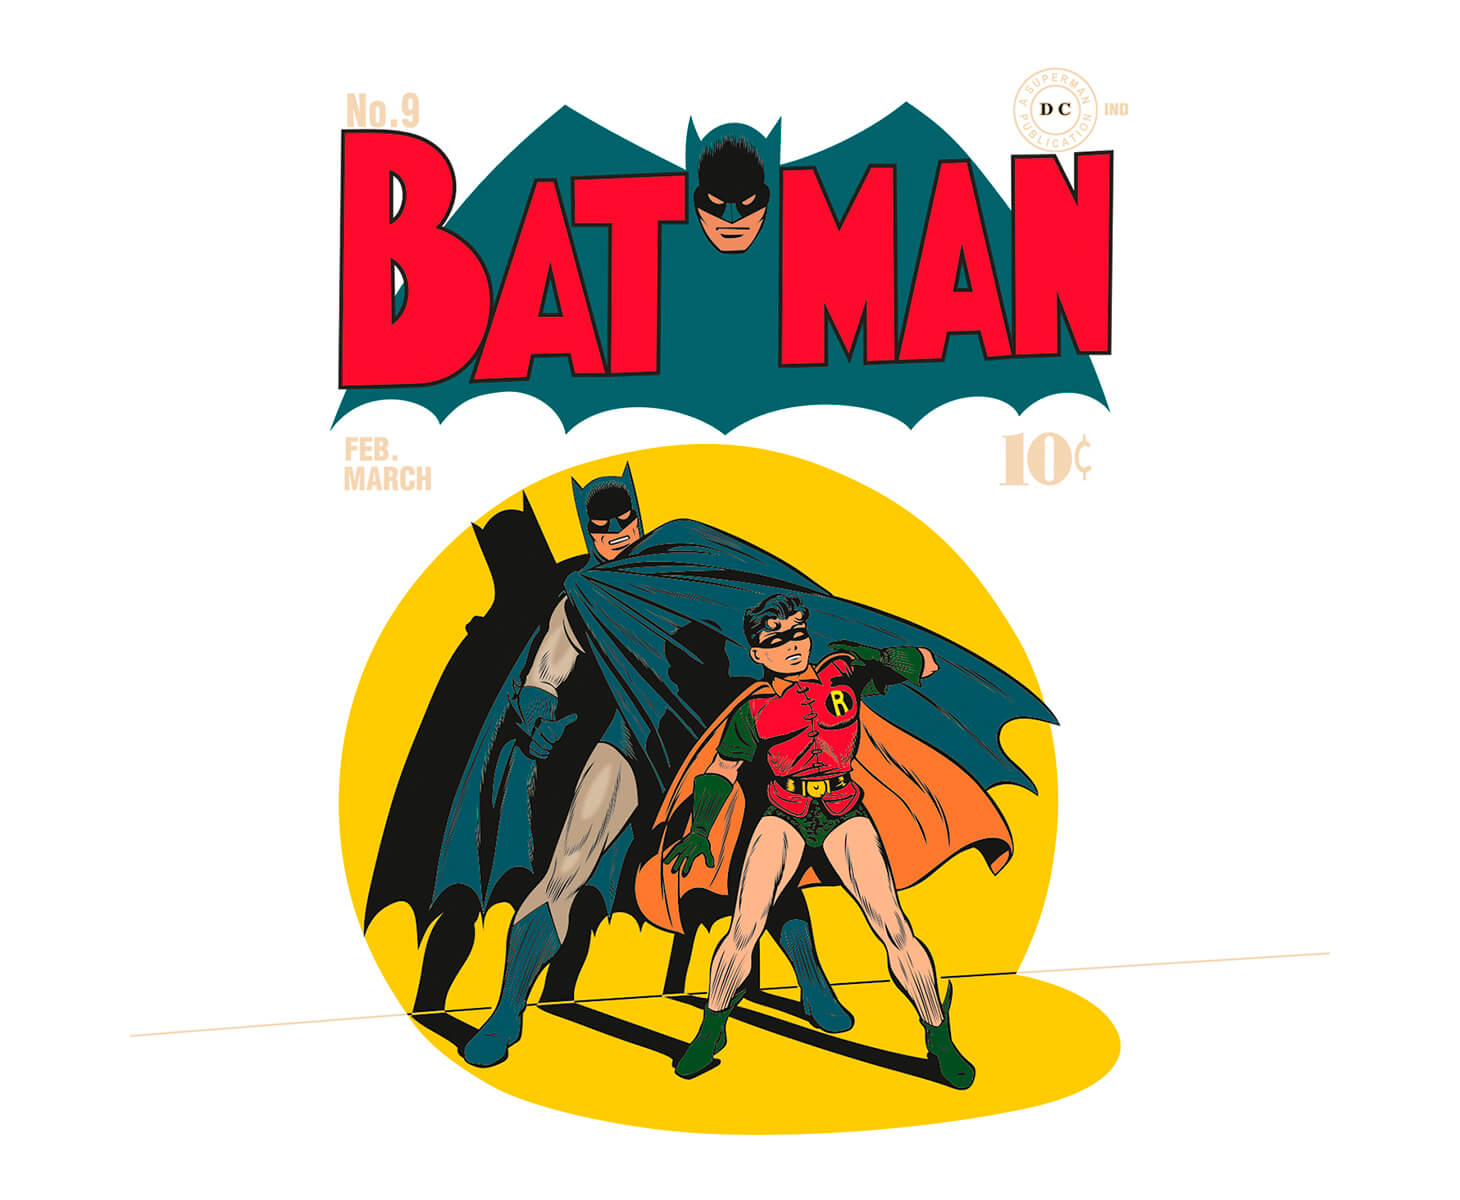
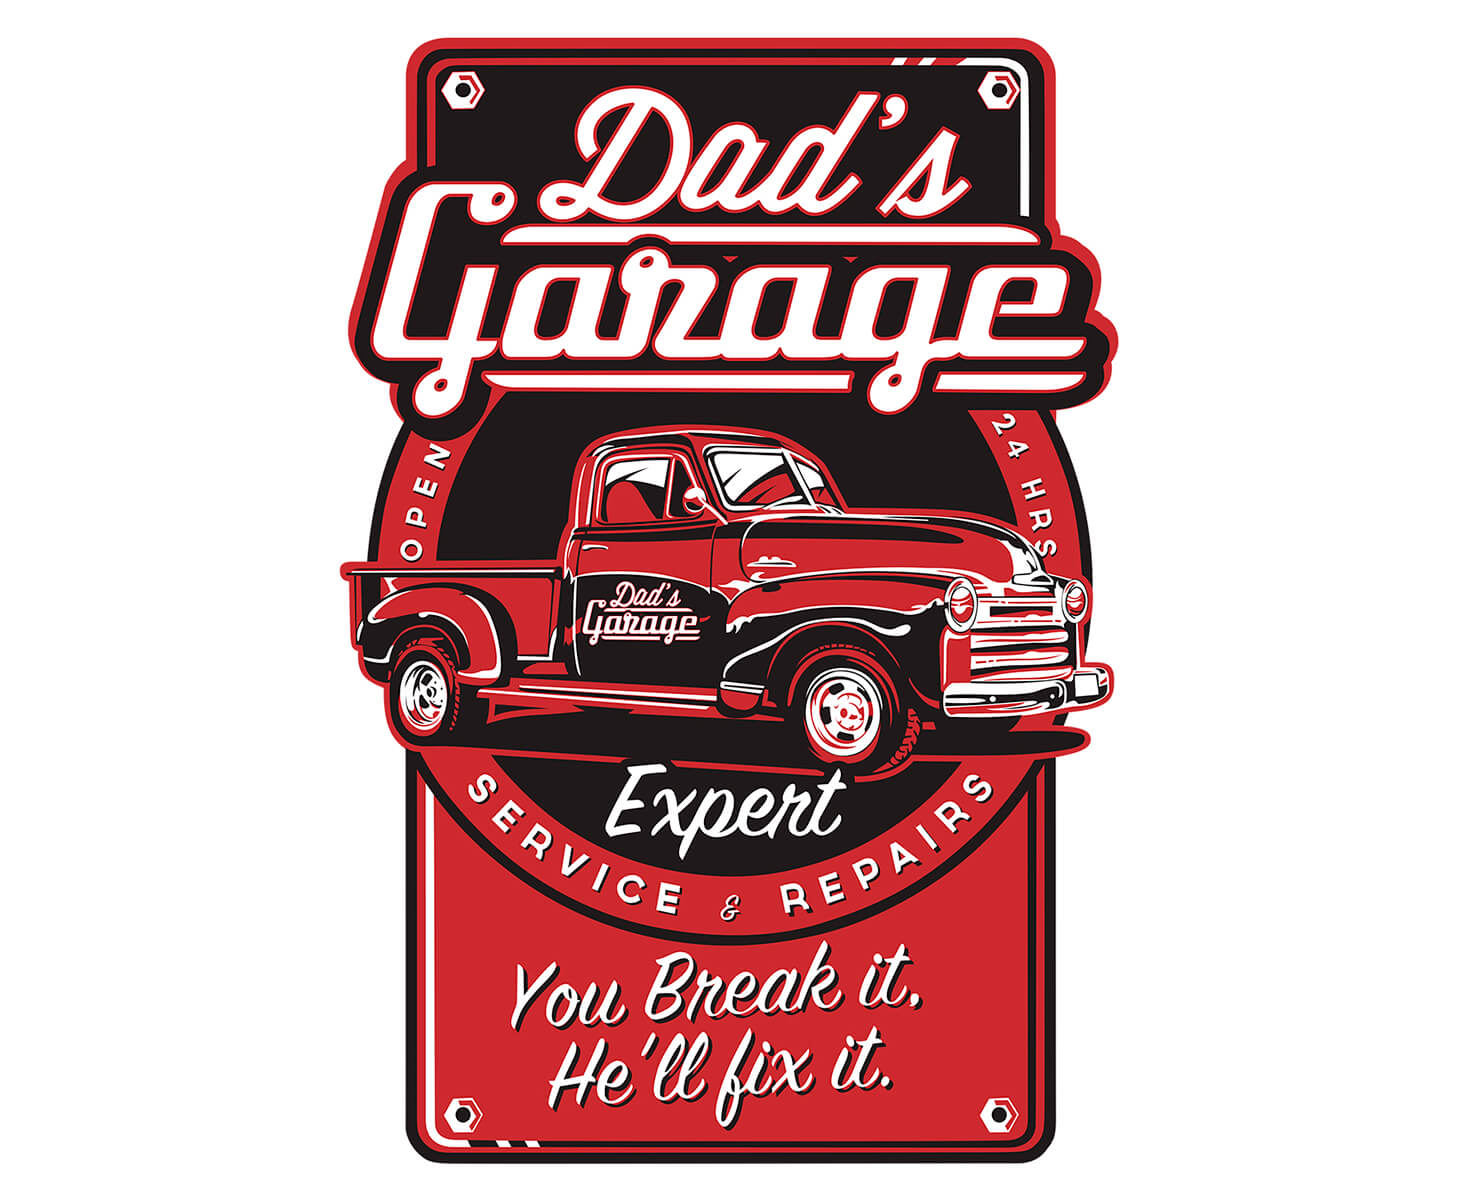
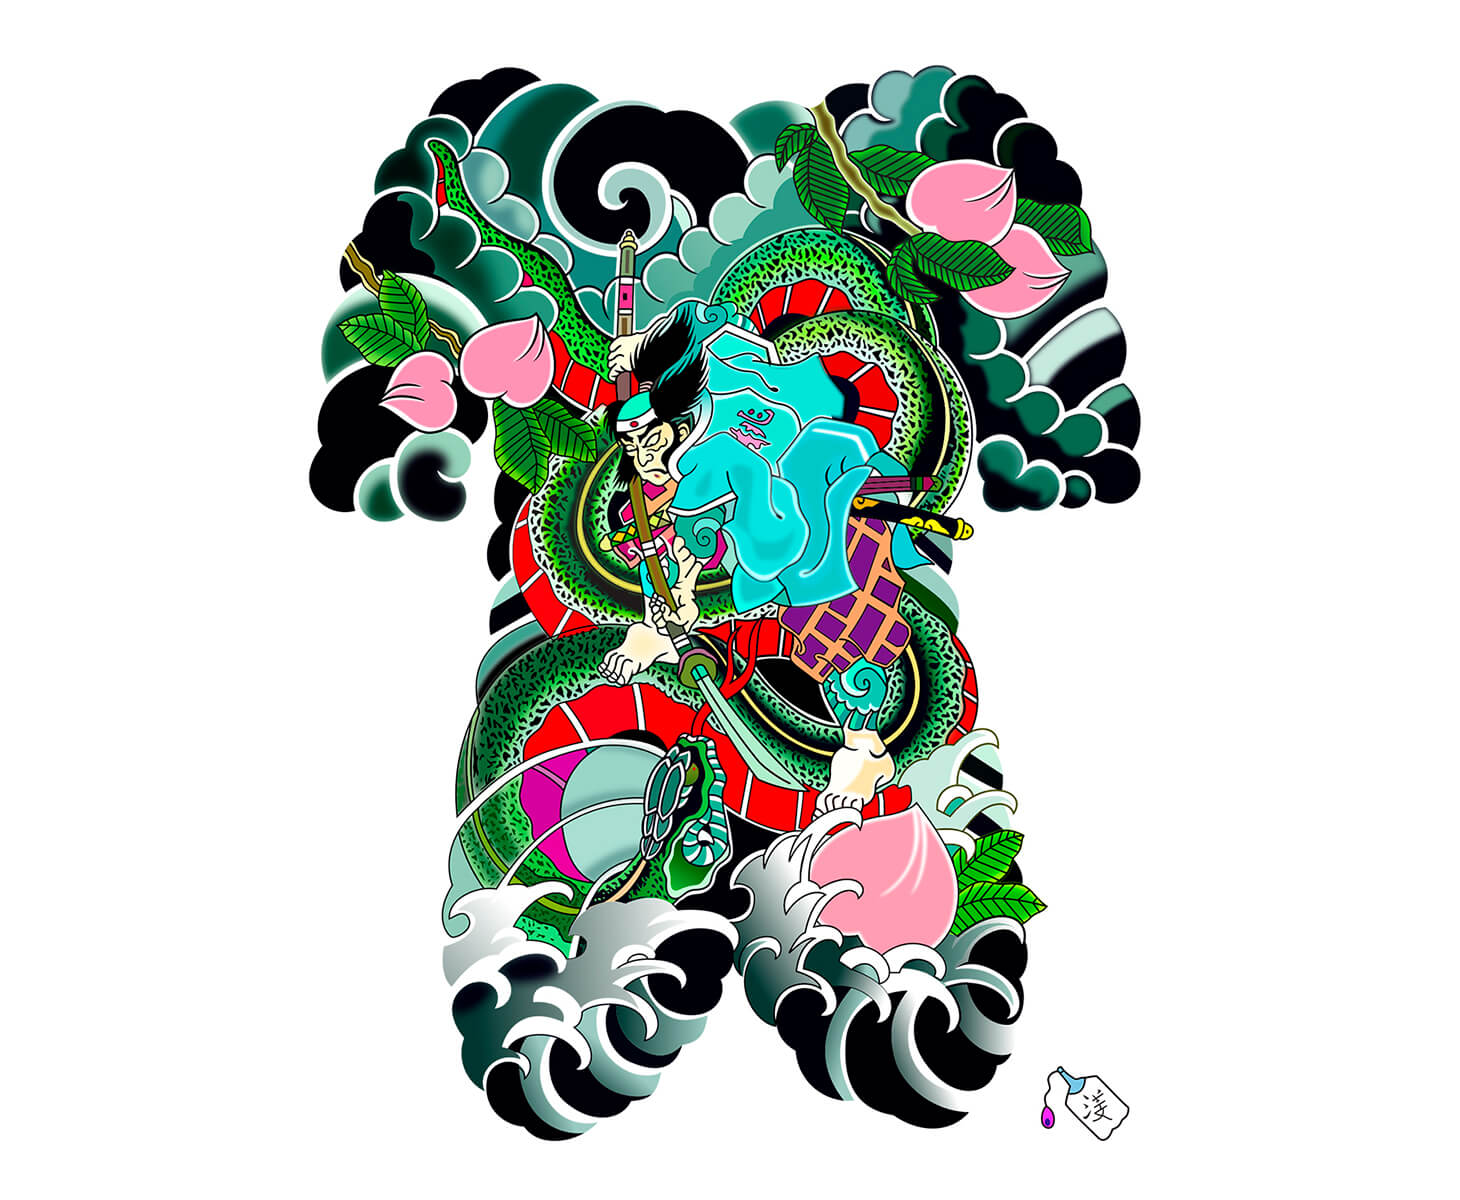
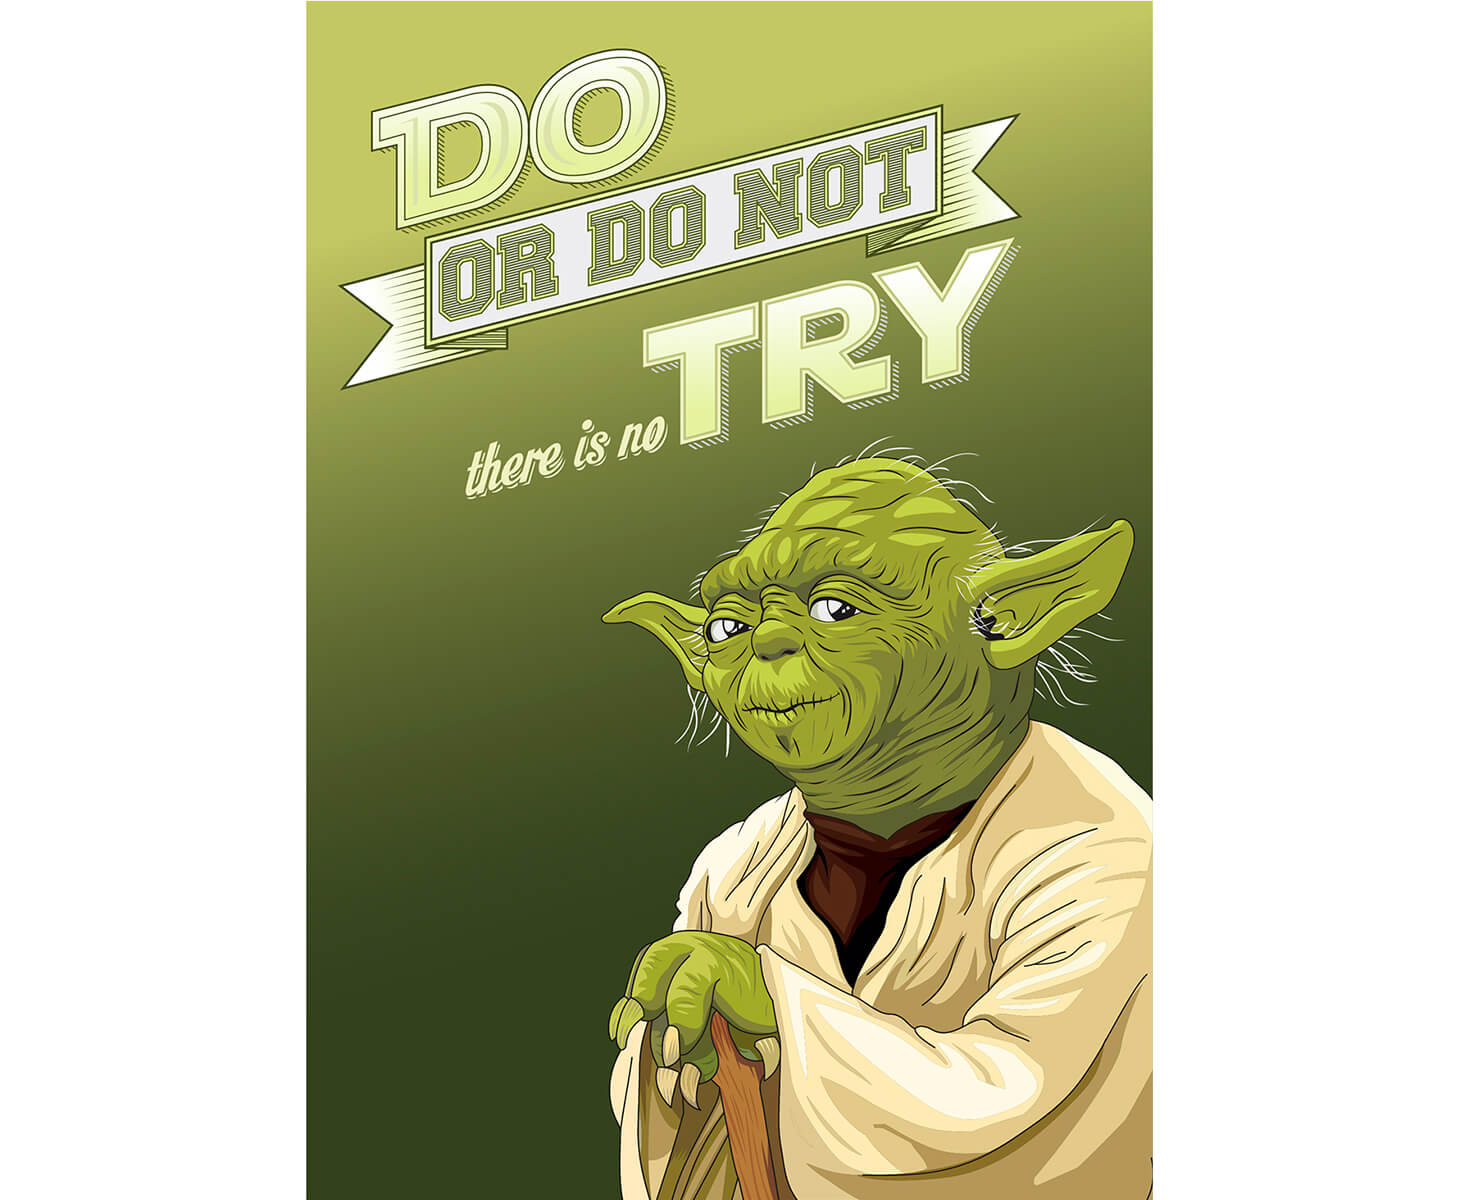
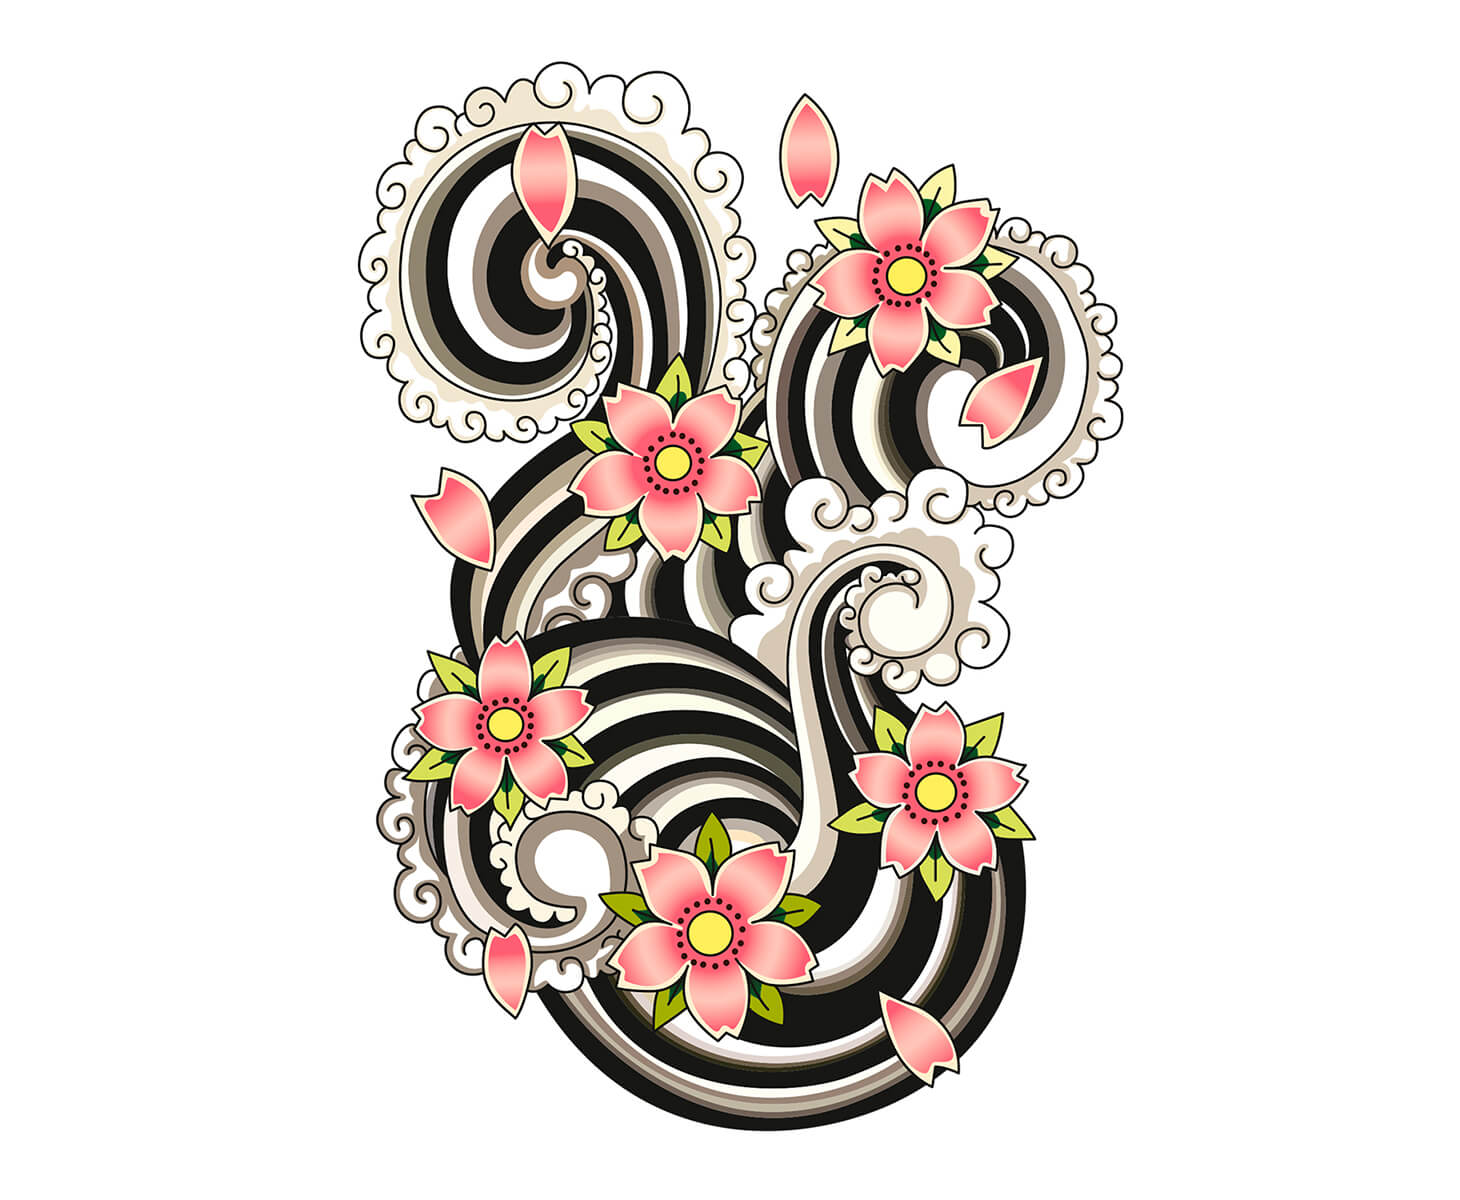
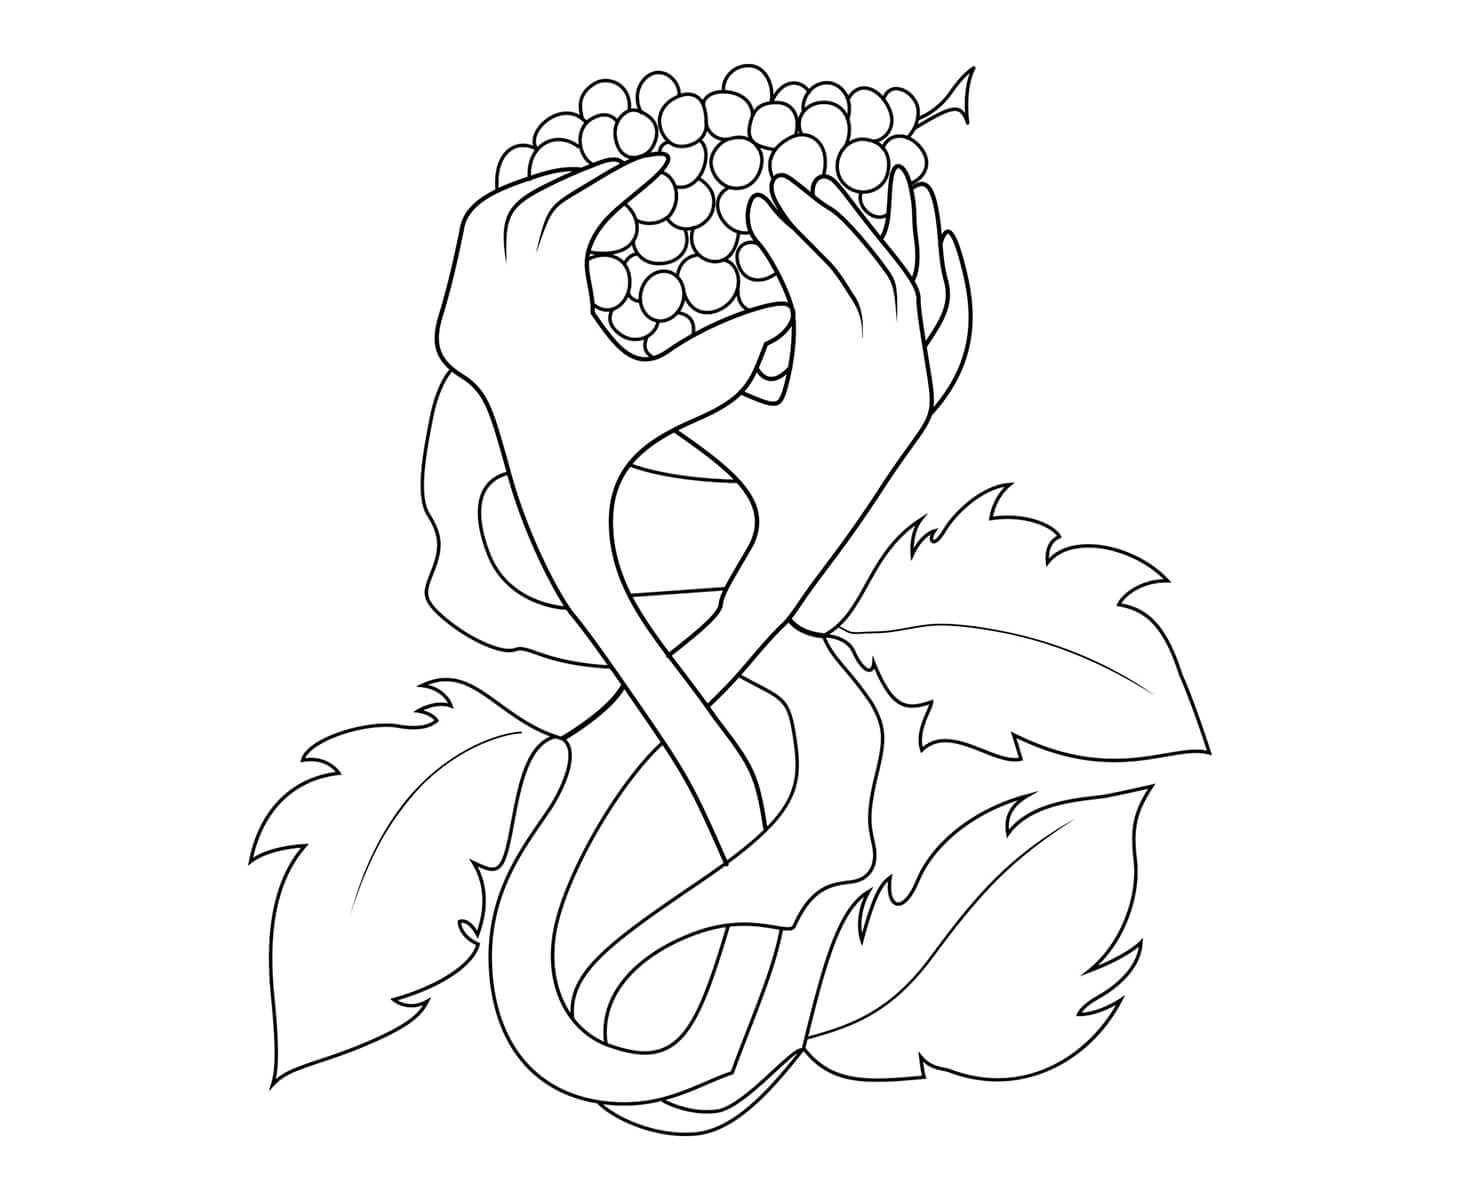
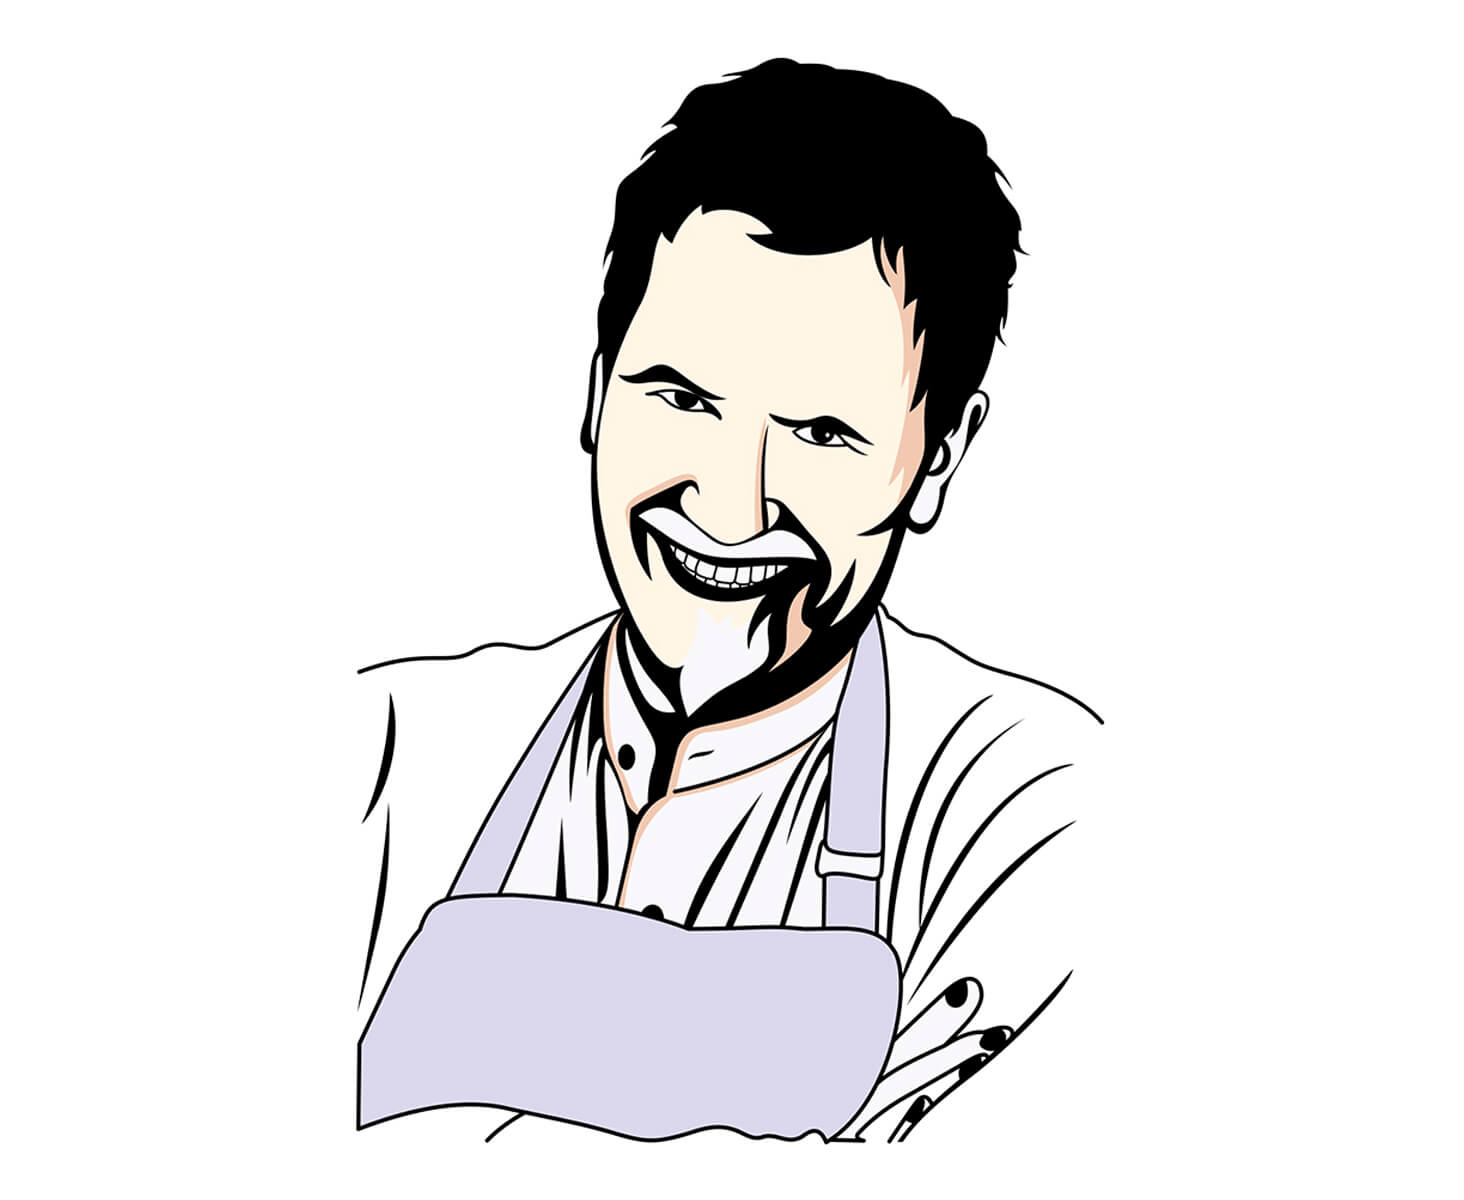
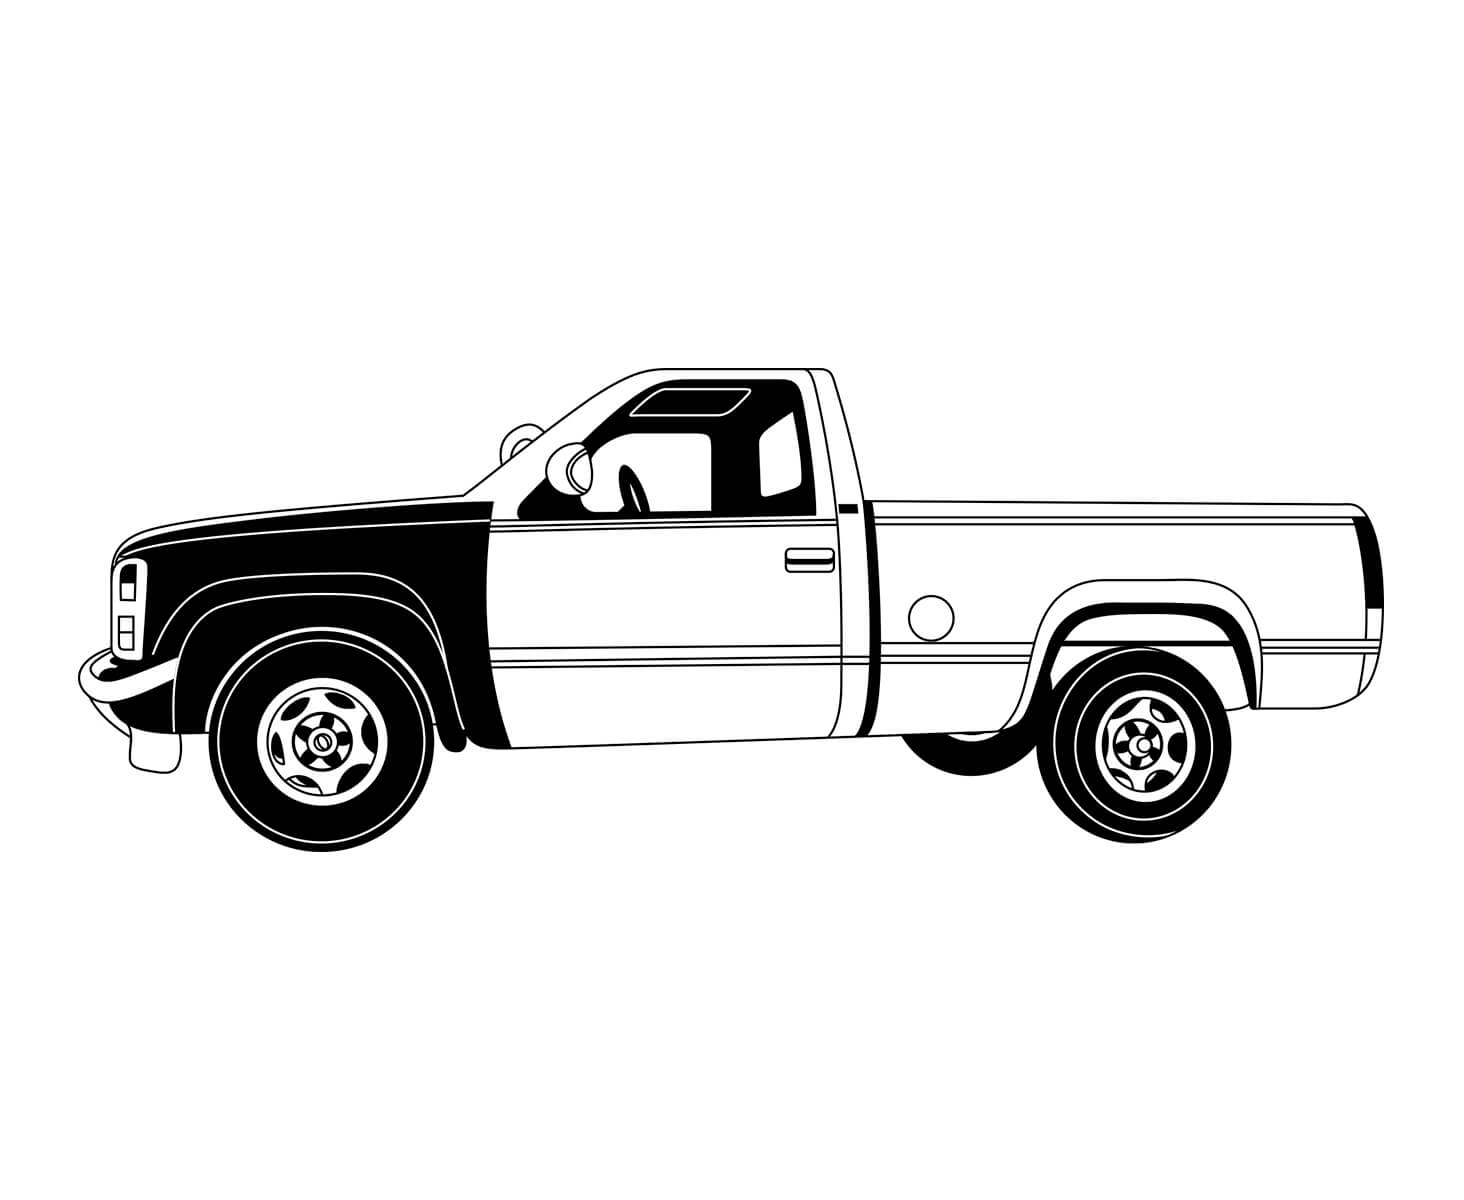
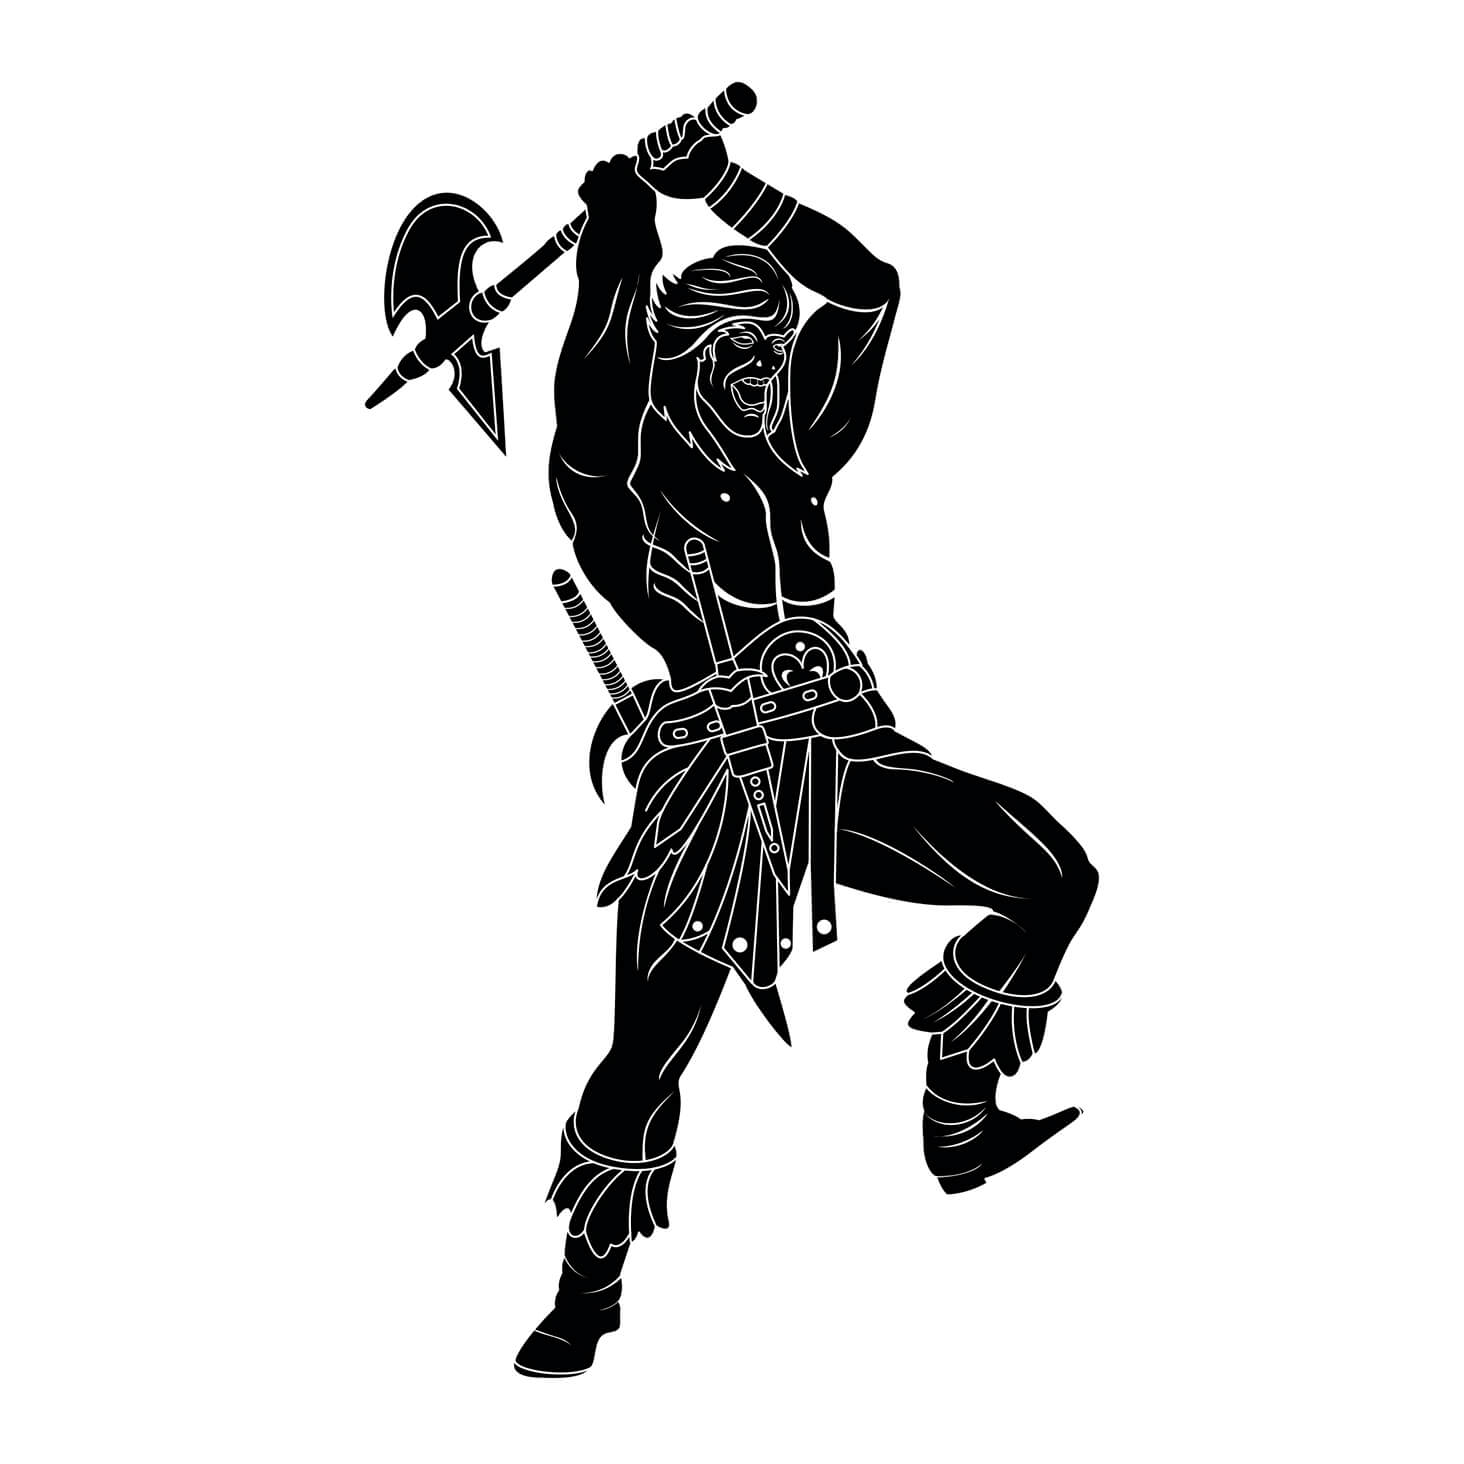
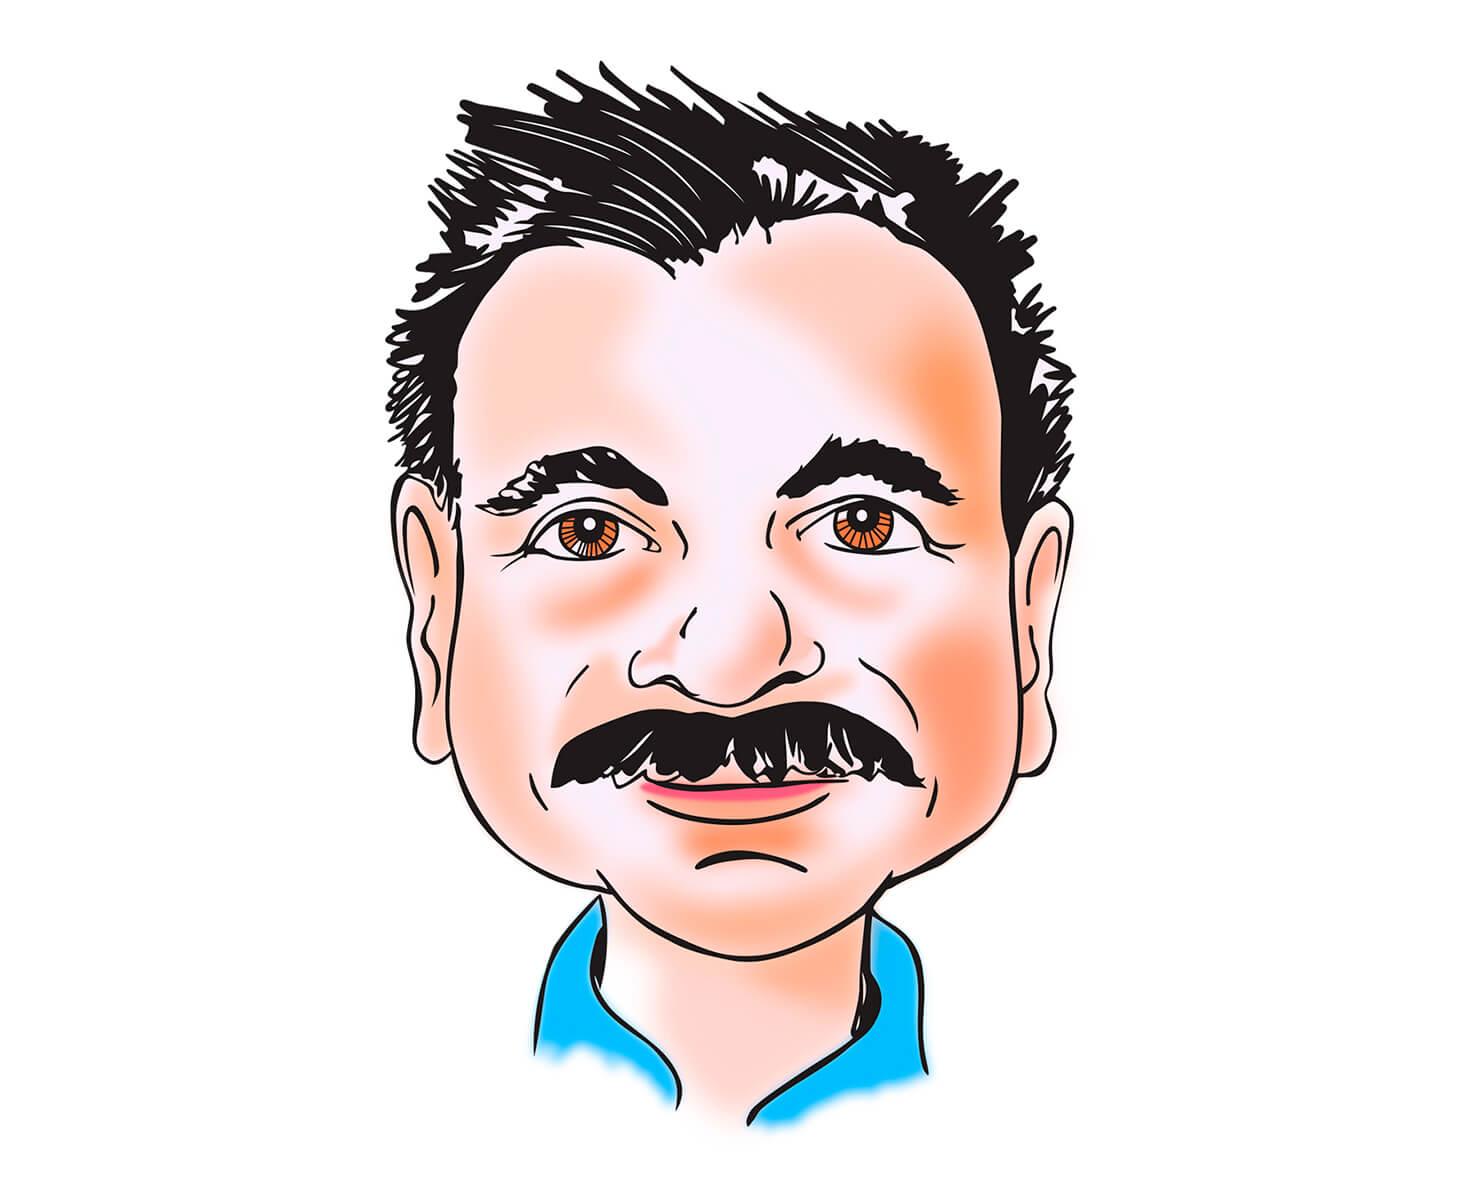
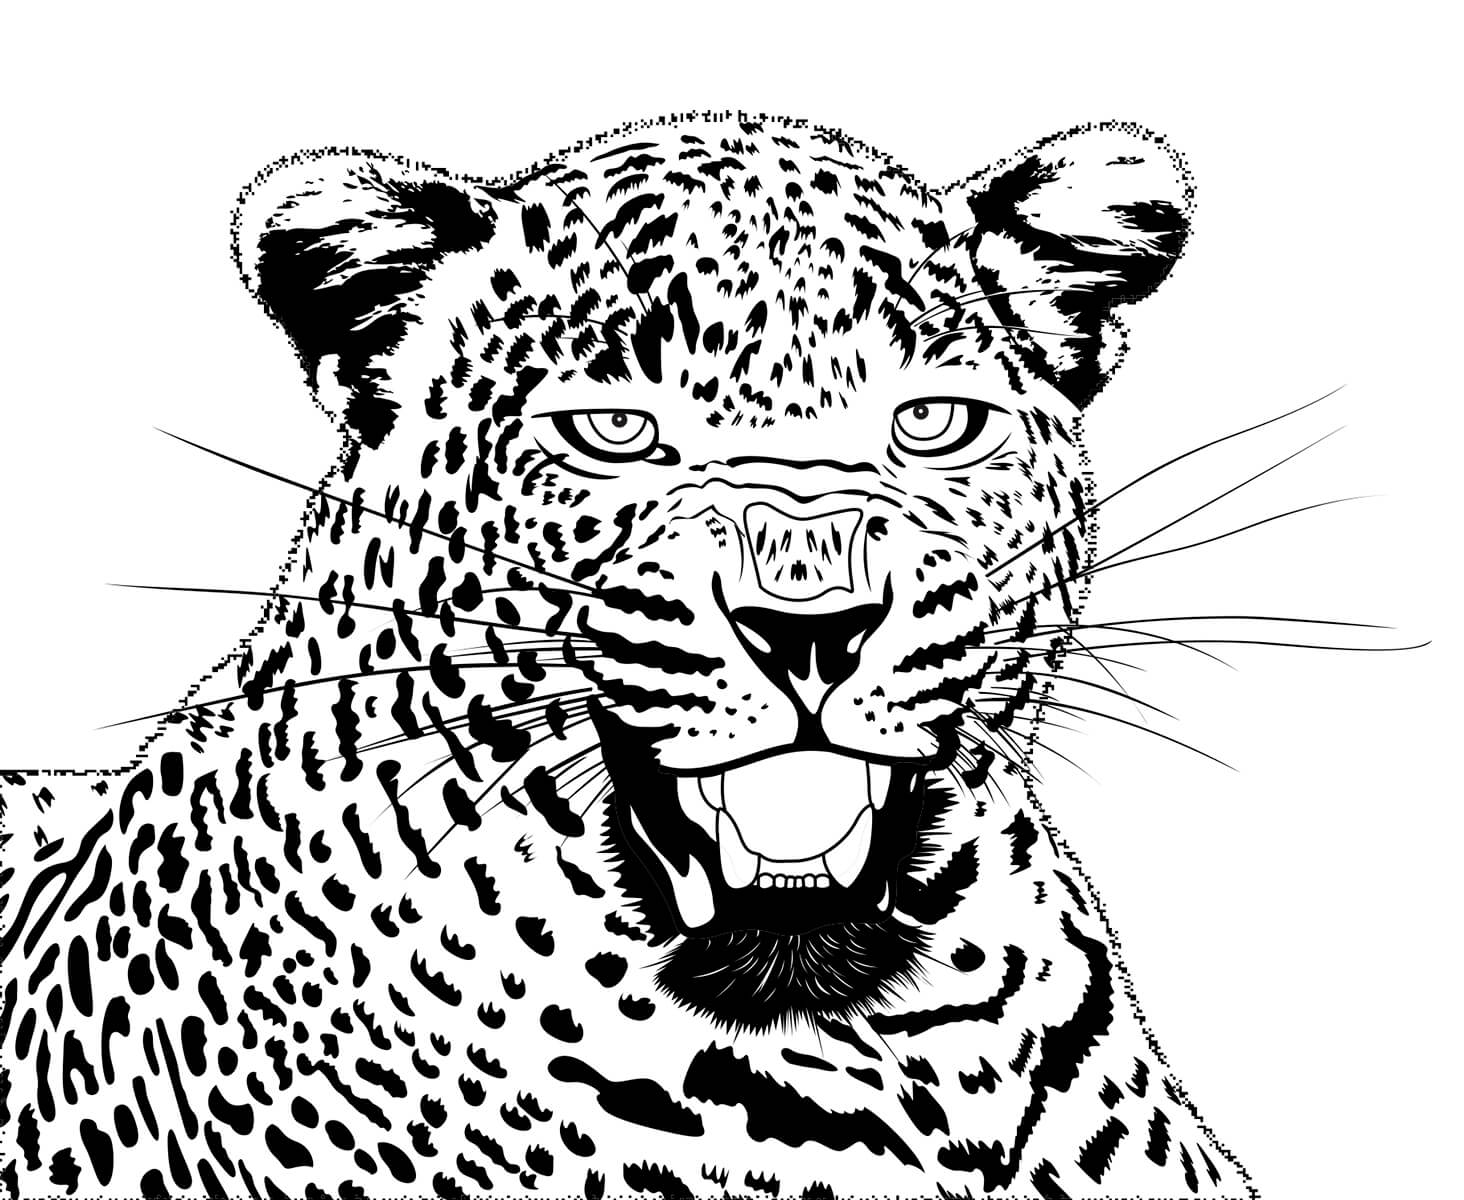
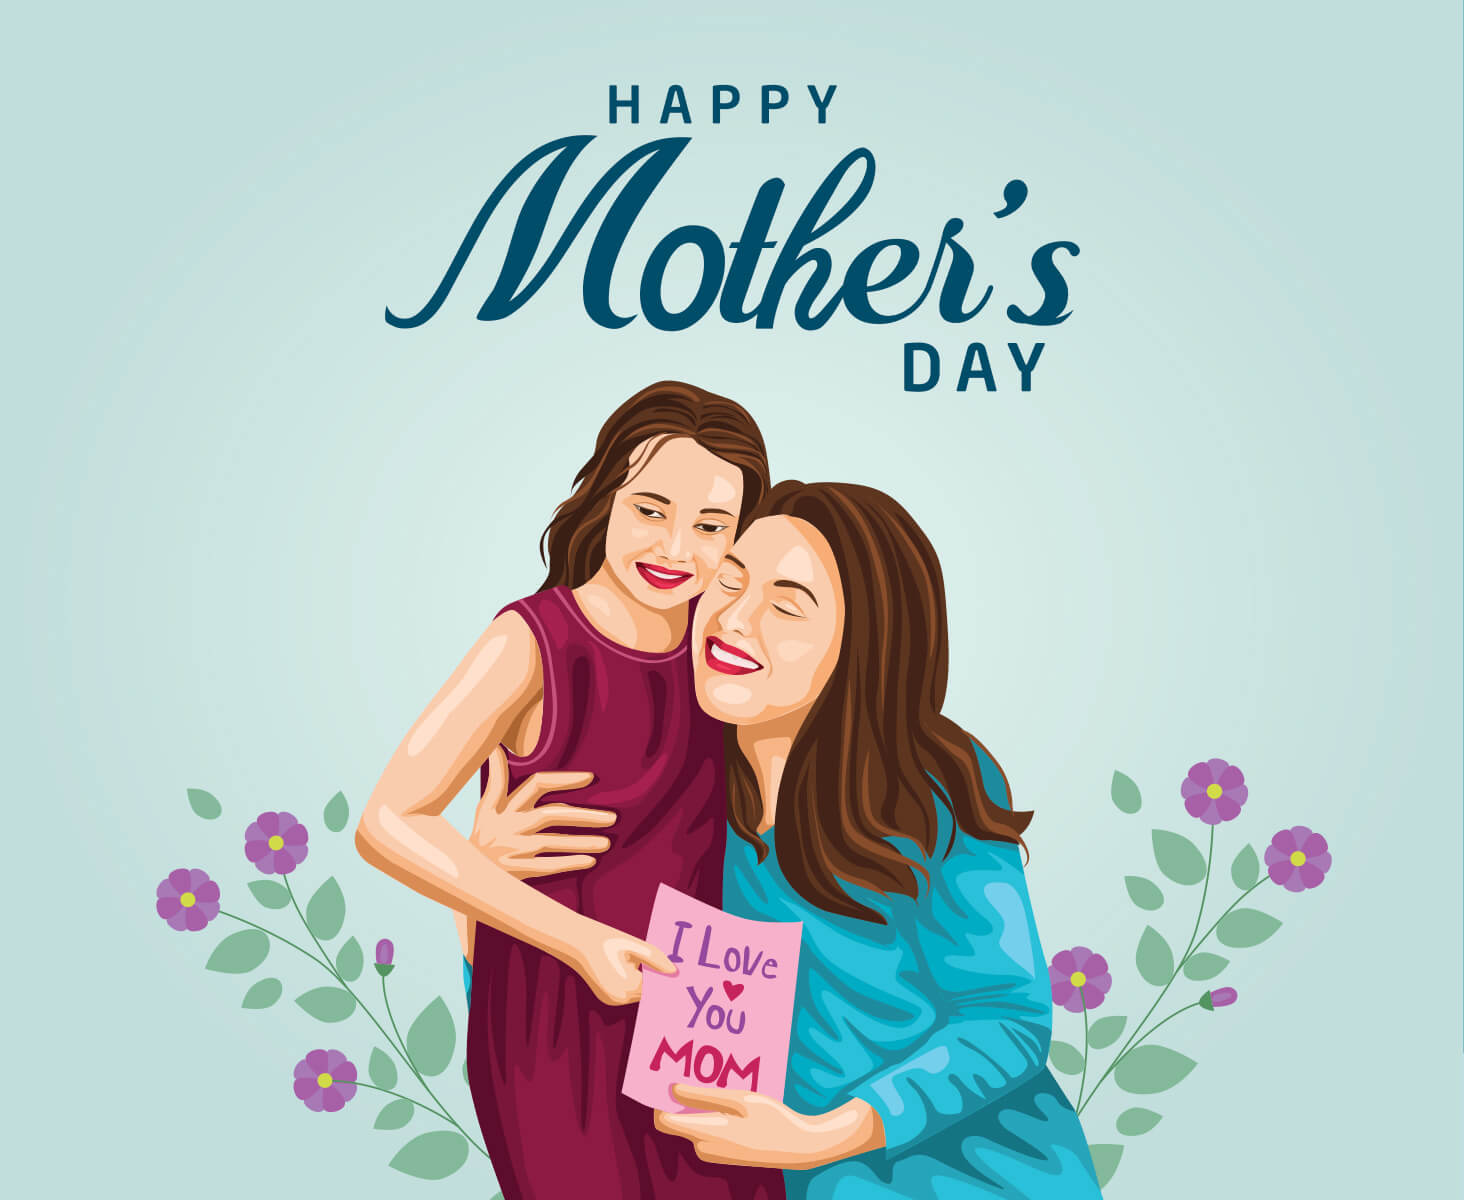
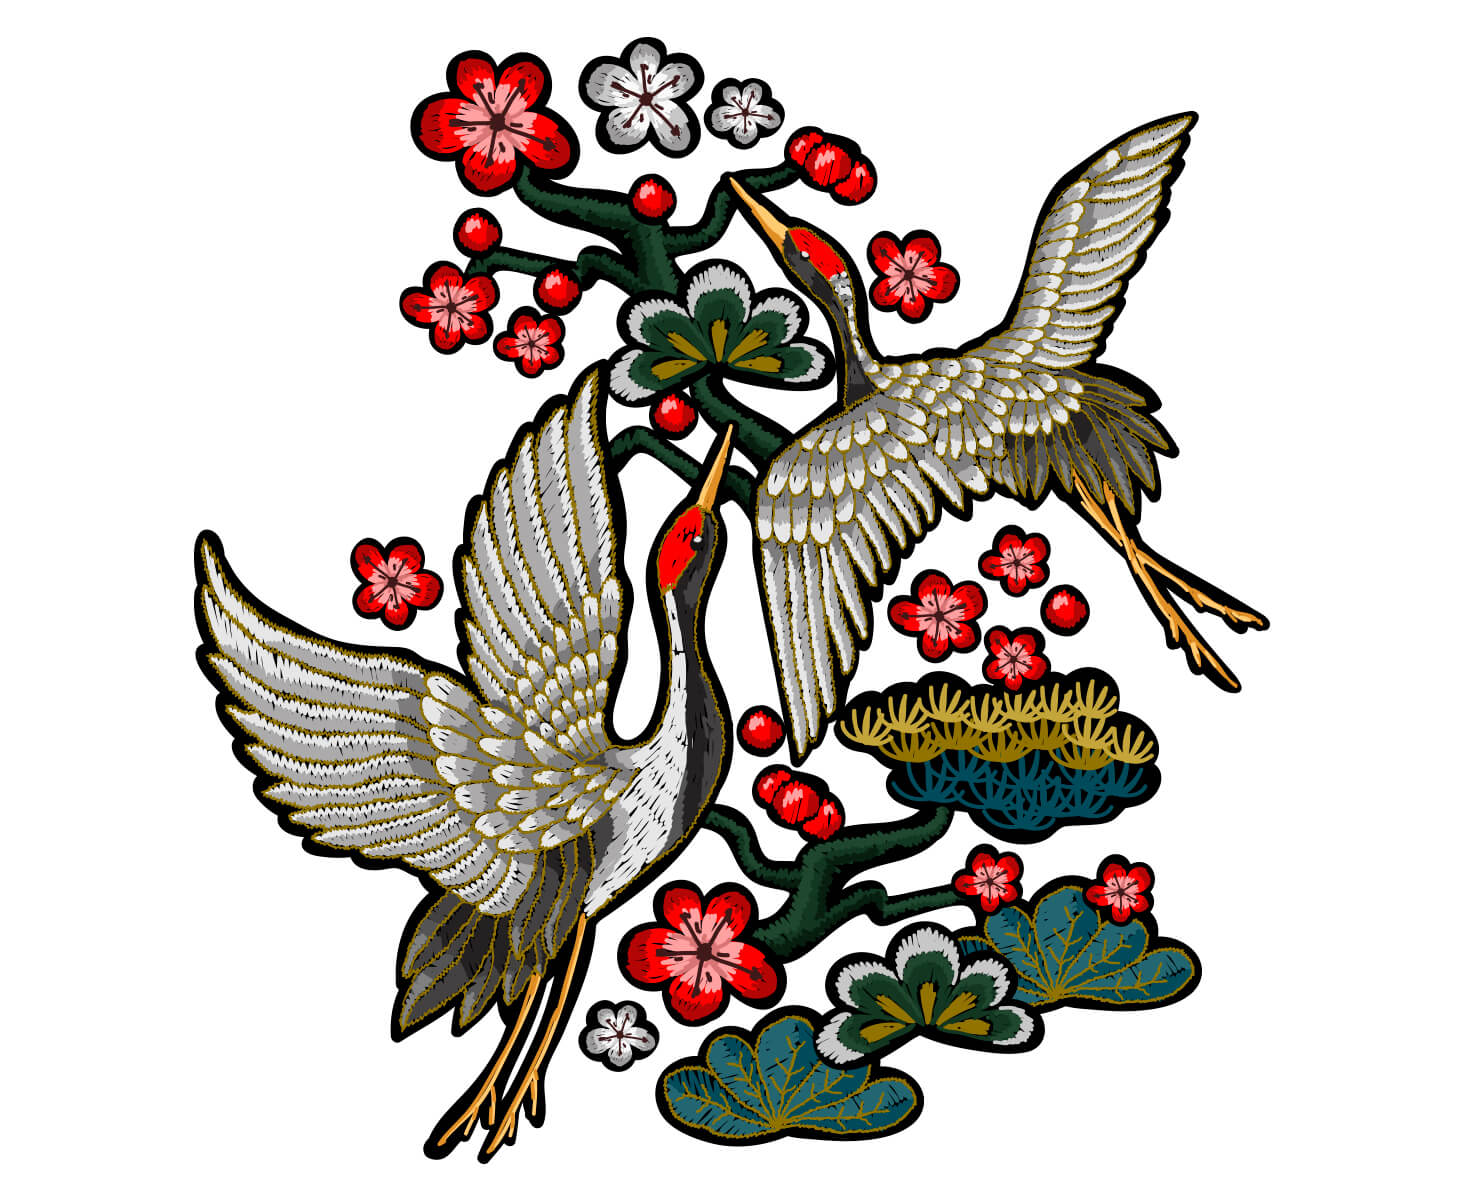
Check out our recent vector victories
-
What are vector conversion services?
Most photos are raster files in their original state, and have filenames that end in .jpg, .png, .gif, .pdf, or .psd. Raster files are made up of a series of pixels, so they’re great for use online in places like your website or online store.
But when you resize raster files — to put on a huge poster, for example — the images can get pixelated because they rely on the resolution of the image.
Vector files are more mathematical. They’re made up of a series of points on a graph with an X and Y axis that create straight and/or curved paths. Since they’re not made up of pixels, vector images can be resized to any size without sacrificing quality. -
-
Why isn’t automated raster-to-vector conversion ideal?
The best way to truly convert a raster to a vector file is to expertly recreate the original image by hand. Converting an image from raster to vector involves manually recreating the image in vector format. This process can be automated, but the results usually aren’t ideal.
Automated raster-to-vector conversion creates large files with limited colors that tend to be very inaccurate. The software attempts to understand edges and shapes based off of the colors within the image, but it doesn’t usually get it quite right.
Especially with more detailed images, there’s no substitute for the human eye. Only a real person can interpret what the object is, and understand where the line between object edge and shadow — or object and background — exists. -
What are the best uses for vector conversion services?
Vector files are great for most printed materials, including banners, business cards, t-shirts and mugs. They’re also a good way to sharpen older, fuzzy graphics or images you can only find in low resolution. And if you’re creating a new graphic or logo, having the vector helps you avoid any distortion or quality loss when it’s enlarged or printed.
Here are some of the top reasons our clients convert raster images to vector images:
- To convert a photo or hand-drawn image into a graphic
- To lower printing costs by reducing the number of color plates the printer needs to print your image
- To provide vector line art for engraving
- To create and print a sign with custom graphics to promote your business
-
How can I convert a vector image to a raster image?
Vector images have more detail, so you can easily convert vector images to raster on your own.
Here’s how:- Open your image in a raster-based photo-editing application such as Adobe Photoshop, Adobe Lightroom, or Corel Paintshop Pro. You may see a pop-up window asking you to input the dimensions of your rasterized graphic. If so, set your dimensions to at least 3,000 pixels on the largest side should give you a final graphic large enough for most print and digital retina display applications.
- Click Save As. If you’re using Adobe Illustrator to convert your vector files to raster graphics, choose Export > Export As.
- Under File Type, choose any of these file types to save your image as a raster file:
- .jpg
- .png
- .tif
- .psd
- If you want to preserve the transparency of your graphic, choose .png (for web or PowerPoint graphics) or .psd (for print graphics or images that require further processing).
That’s it! Once you save your image in one of those formats, it will automatically be saved as a raster image.
-
What file types do you accept? In which file types will I receive my vector images?
Accepted file types
- .jpg
- .png
- .gif
- .psd
You can receive vectors in the following file types:
- .eps
- .ai
- .svg
Find out more about how our image editing process works.
-
How much do vector conversion services cost?
Vector conversion projects can be as simple as a single-color logo, and as complicated as a detailed piece of artwork with dozens of colors — and the price is set to match the level of complexity and work involved.
Every image is different, but we follow standard pricing guidelines to make sure your rate is always clear and objective, even if you’re working with a different designer. Here’s an overview of how we price vector conversion projects:Simple logos – $3.99 per image
Great for:
- Simple logos
- Icons
Medium complexity logo – $7.99 per image
These vector conversions involve slightly more complex shapes, often with multiple objects, detailed and curving lines, three or more colors, or more text.
Great for:
- Simple illustrations and graphics
Complex logos – $16.99 per image
Complex vector conversion is used for logos with lots of detail, intricate edges, and multiple colors or shades.
Great for:
- Highly detailed logos
- School or family crests
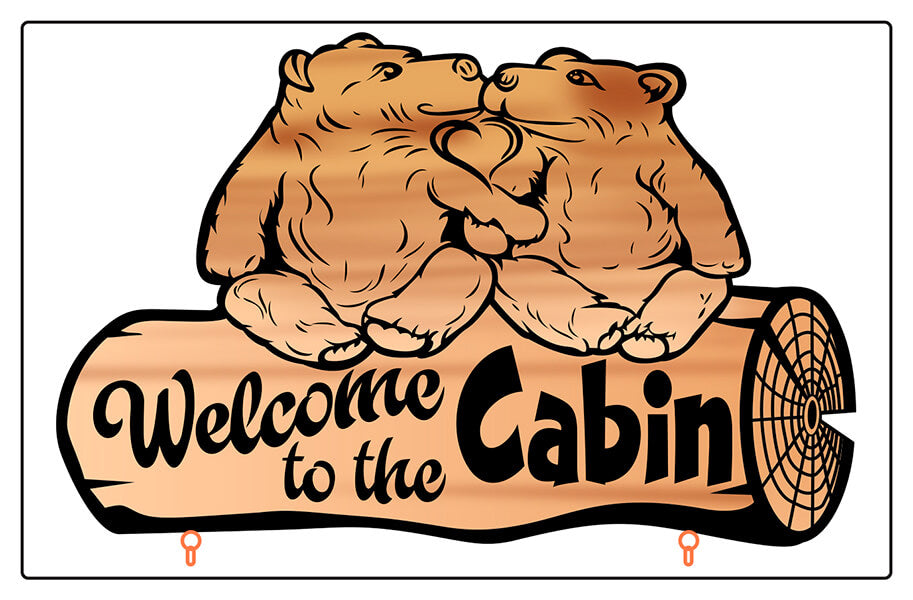
Simple artwork – $8.99 per image
Simple artwork vector conversion is used to convert illustrations with simple shapes, basic typography and a few different colors into vector files.
Great for:
- Simple illustrations and graphics
- Images with simple fonts or lettering
Medium complexity artwork – $22.99 per image
Medium complexity artwork conversion is used for illustrations and graphics with lots of detail, complex shapes, and multiple colors and shading. These images also often include words with complex lettering or typography.
Great for:
- Detailed illustrations and graphics
- Complex lettering or calligraphy
Complex artwork – $44.99 per image
Finely detailed illustrations and artwork require high complexity vector conversion. These images are quite intricate, with complex shapes and linework, as well as many colors and shading.
Great for:
- Finely detailed and shaded images
- More realistic illustrations
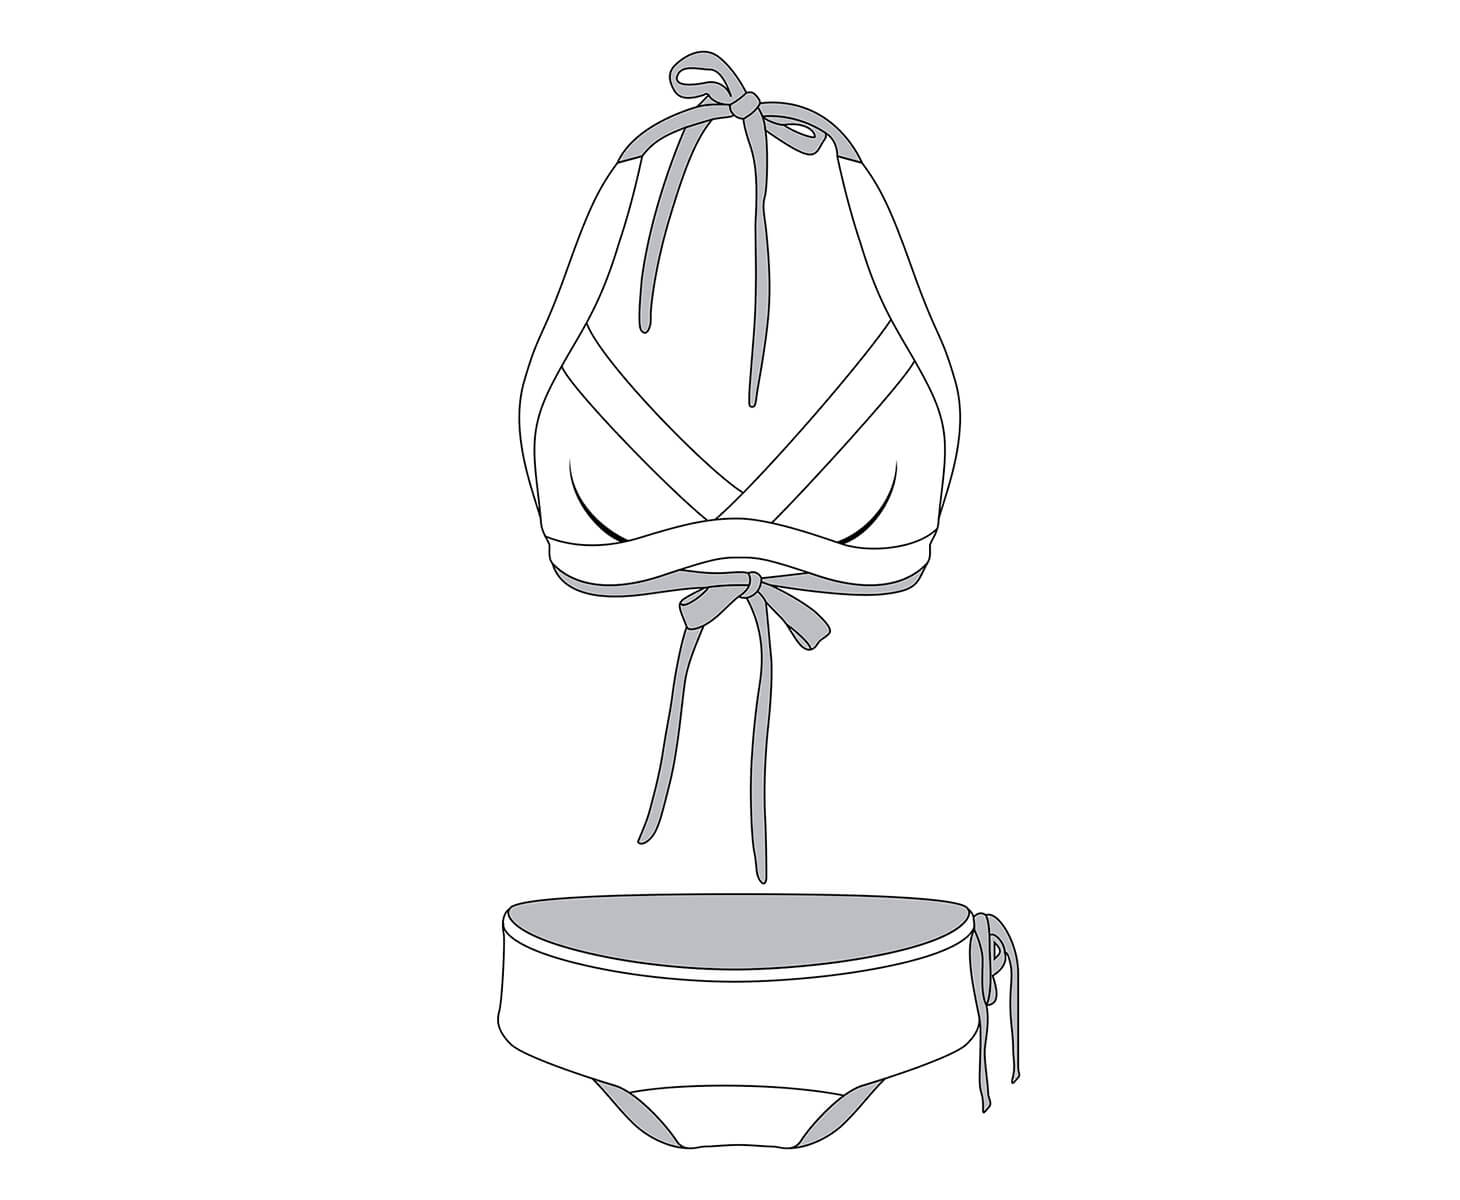
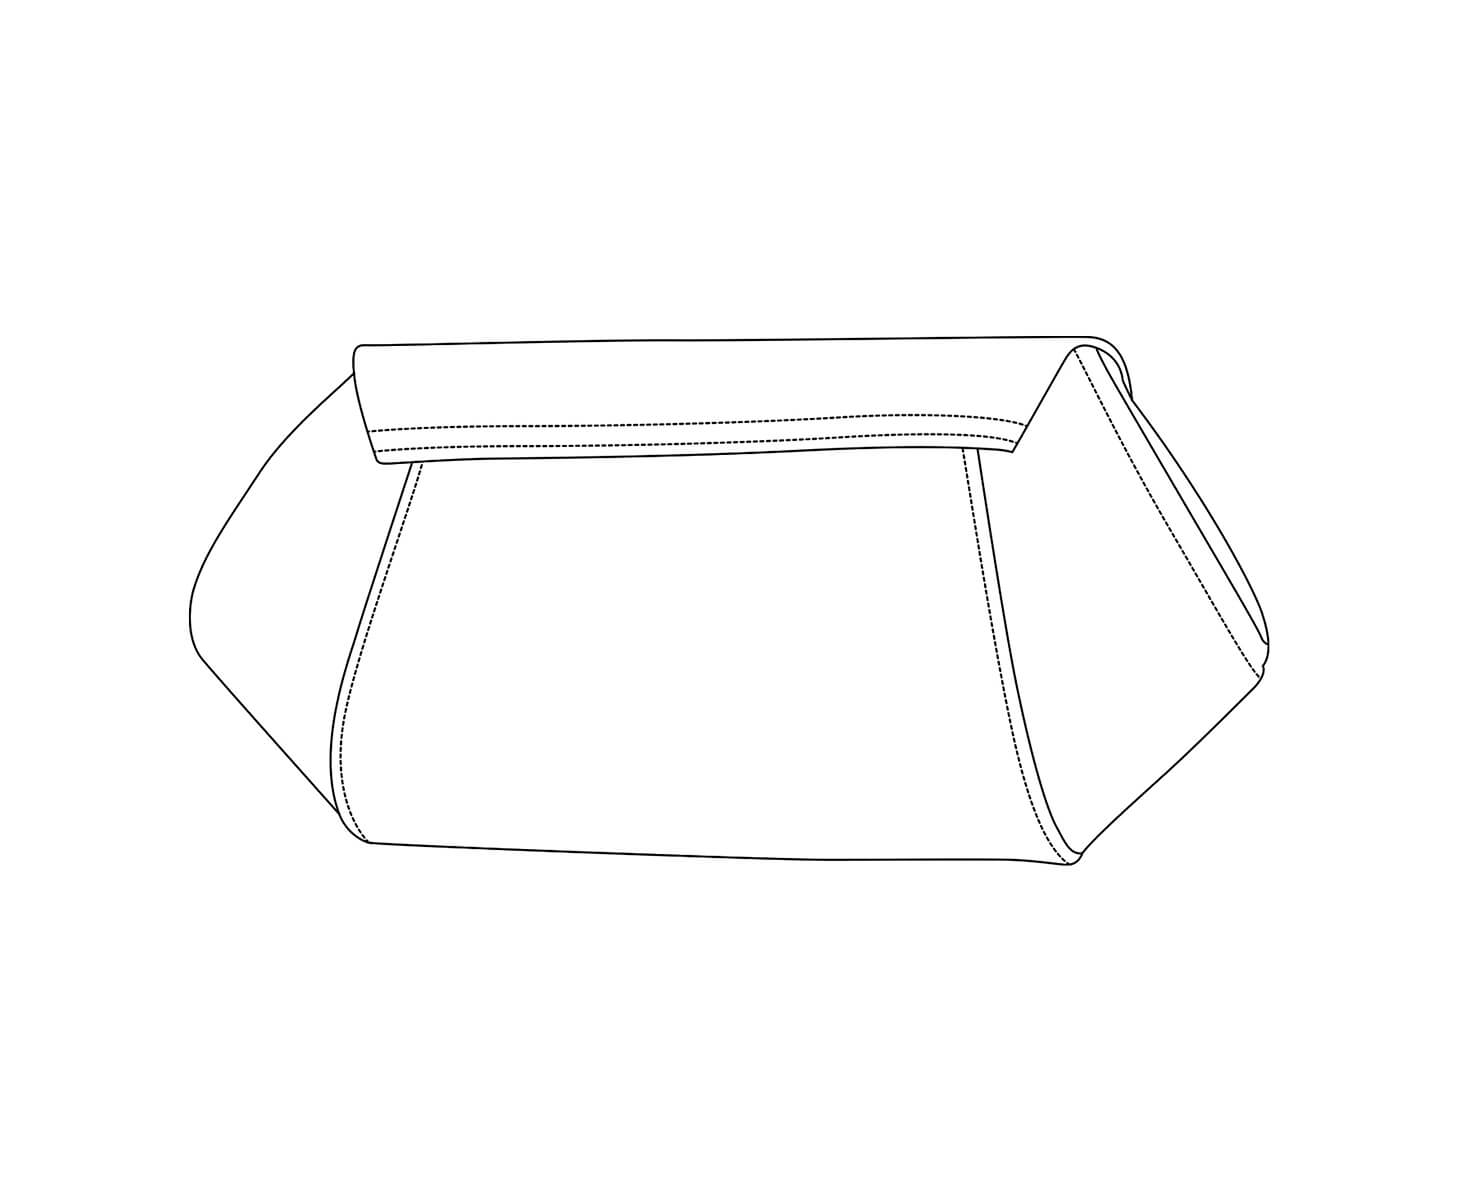
Simple line drawings – $13.99 per image
If you’re starting with an image or photograph and want to convert it into a simple line drawing, this is the way we’ll do it. Simple line drawings include a basic outline and major components of an object, but won’t include intricate linework or fine details.
Great for:
- Simple objects
- Basic outlines of more complex items
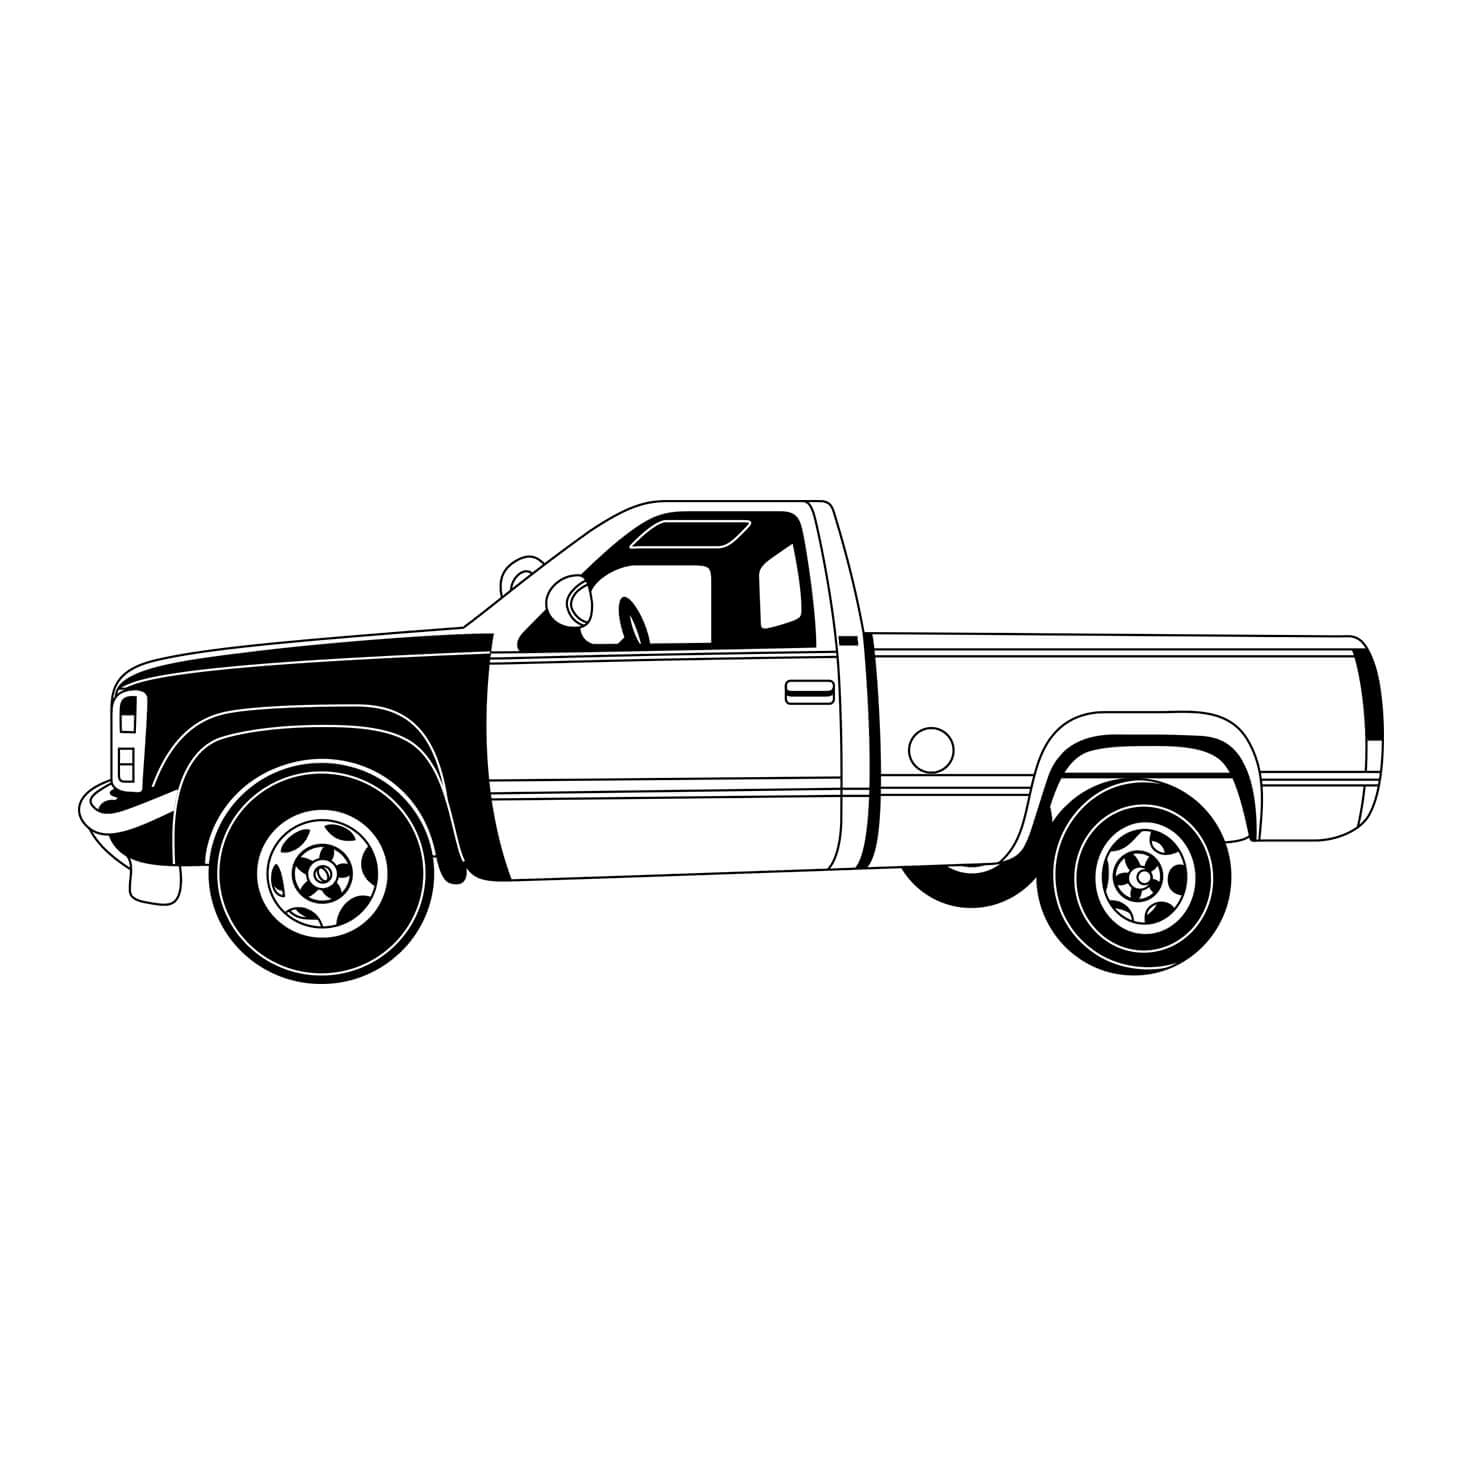
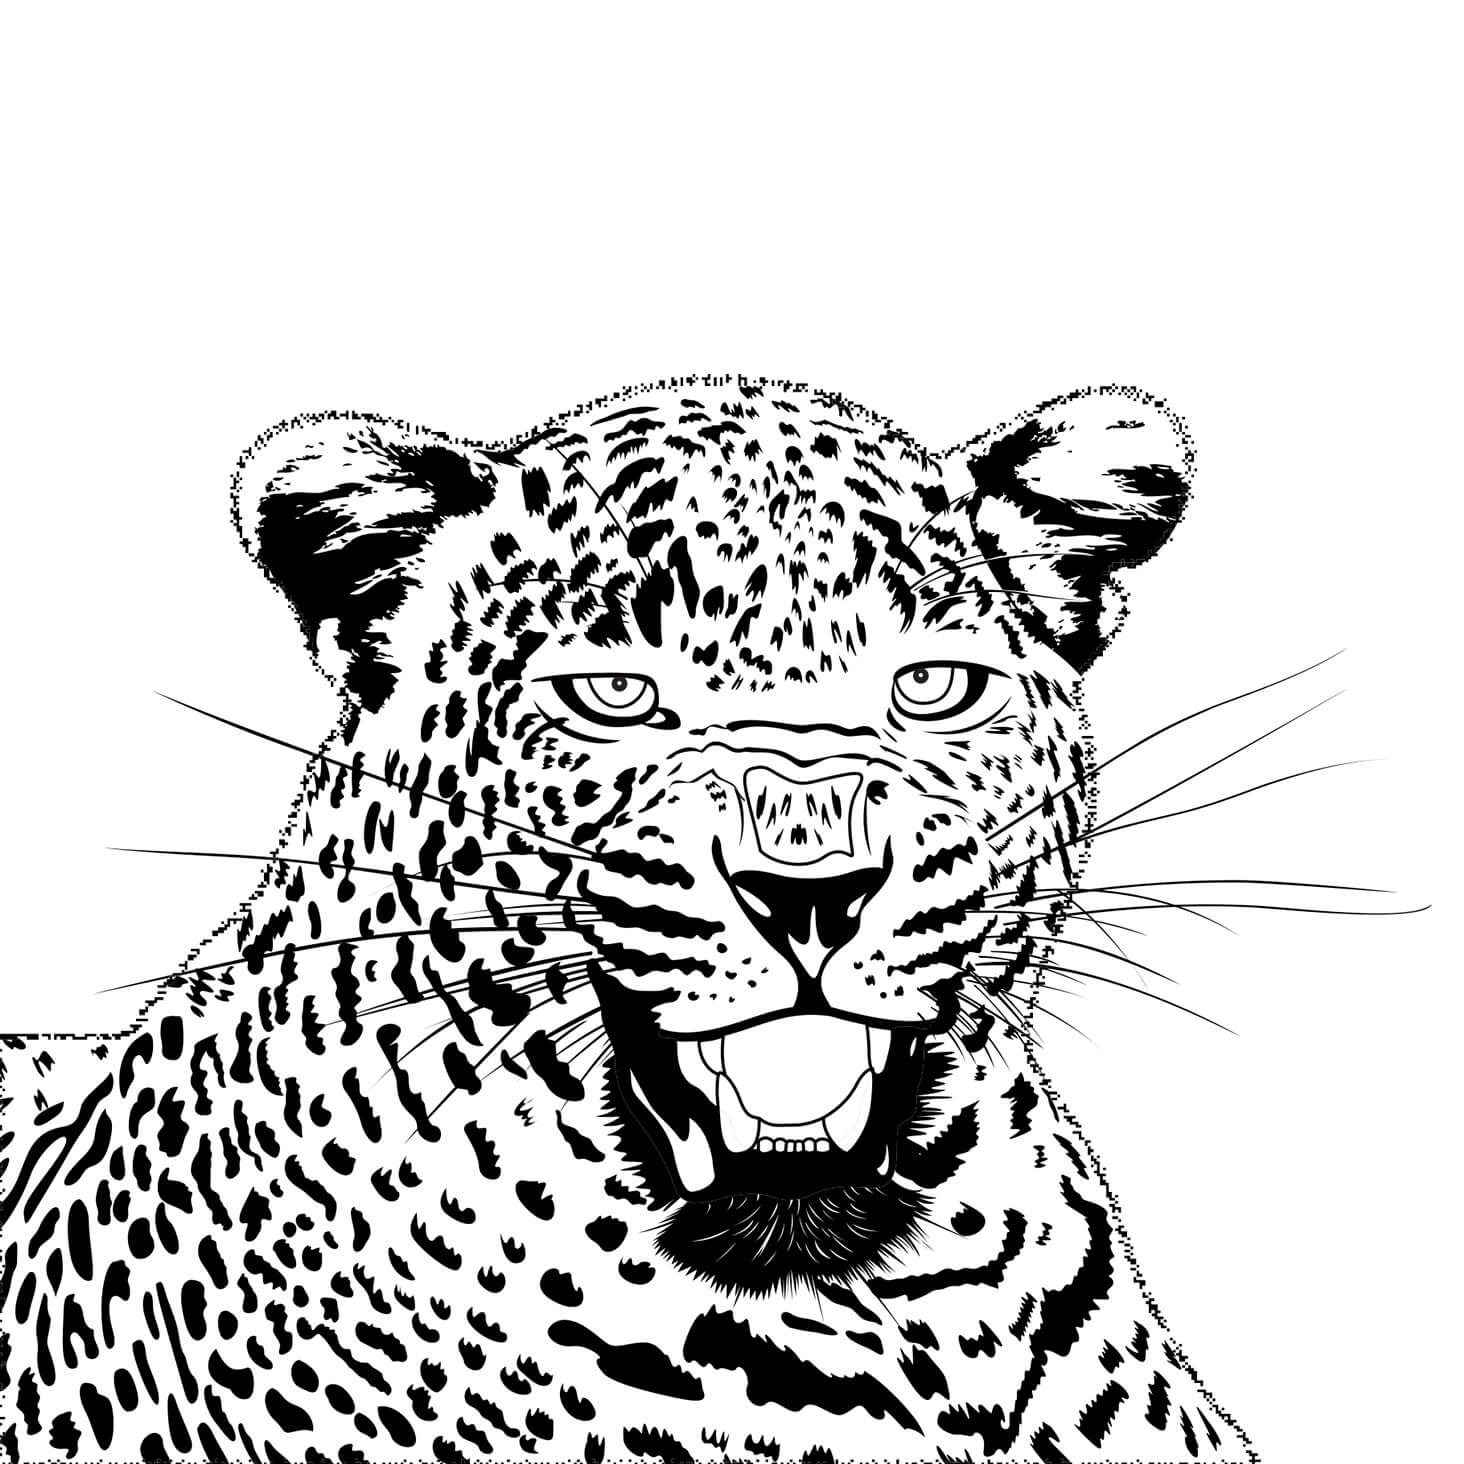
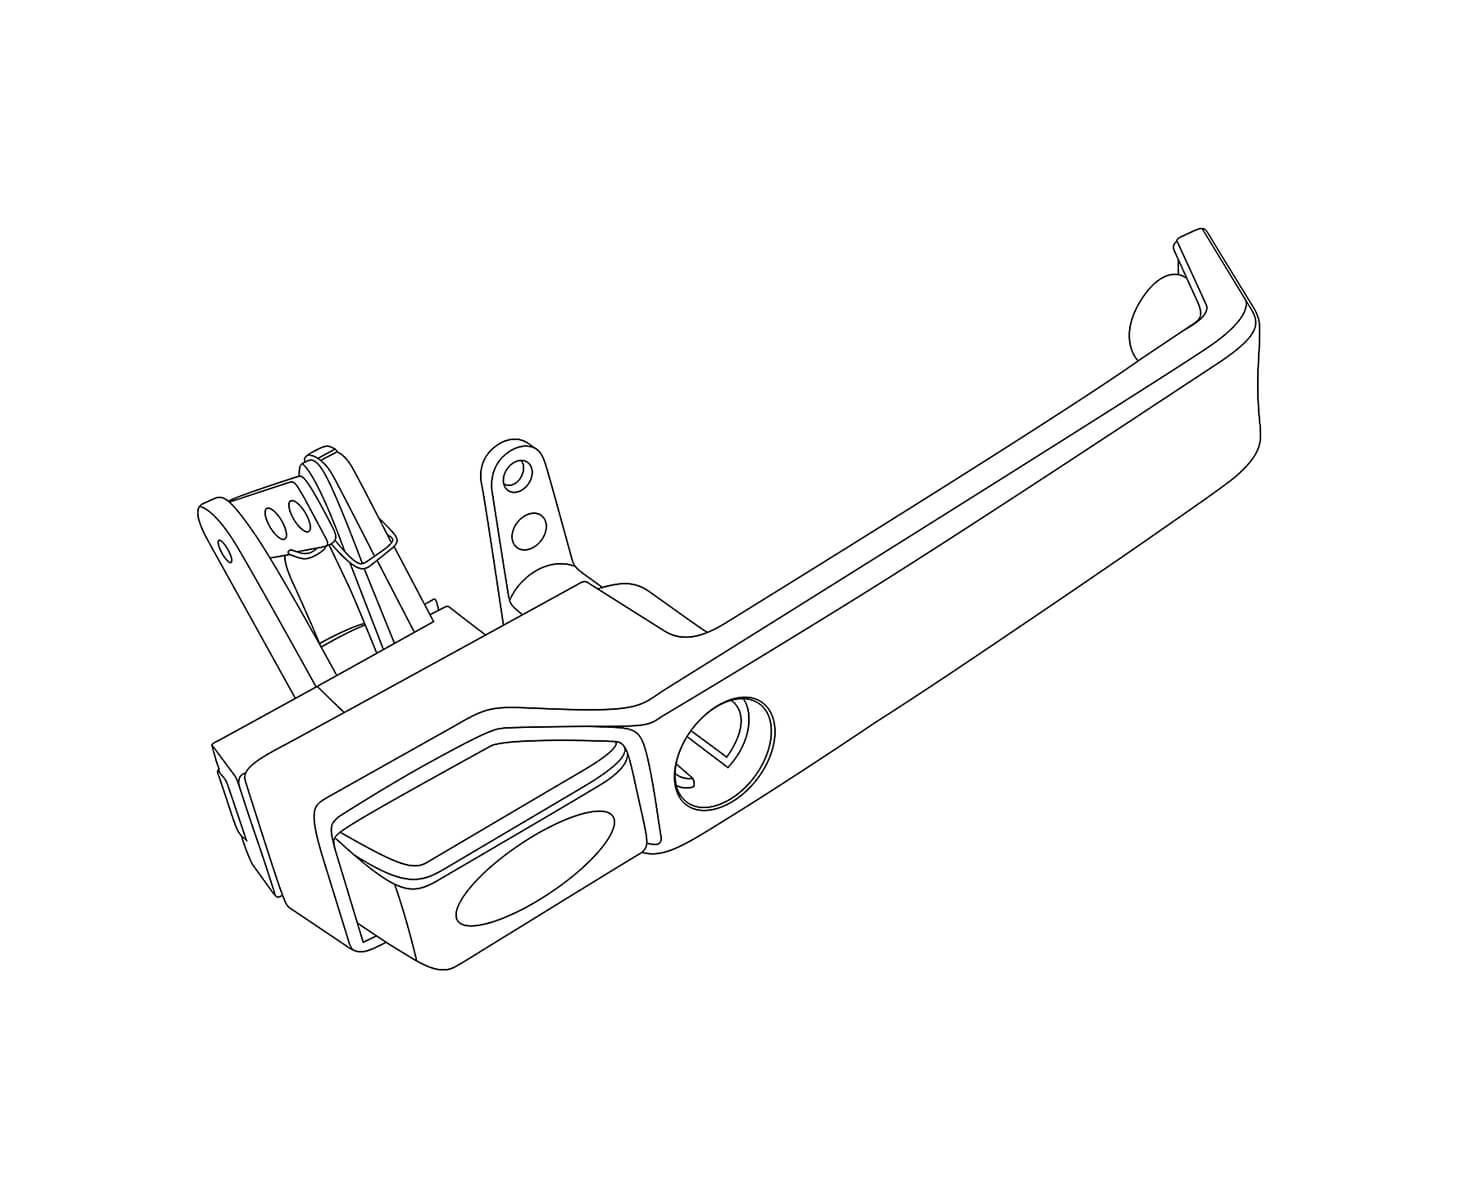
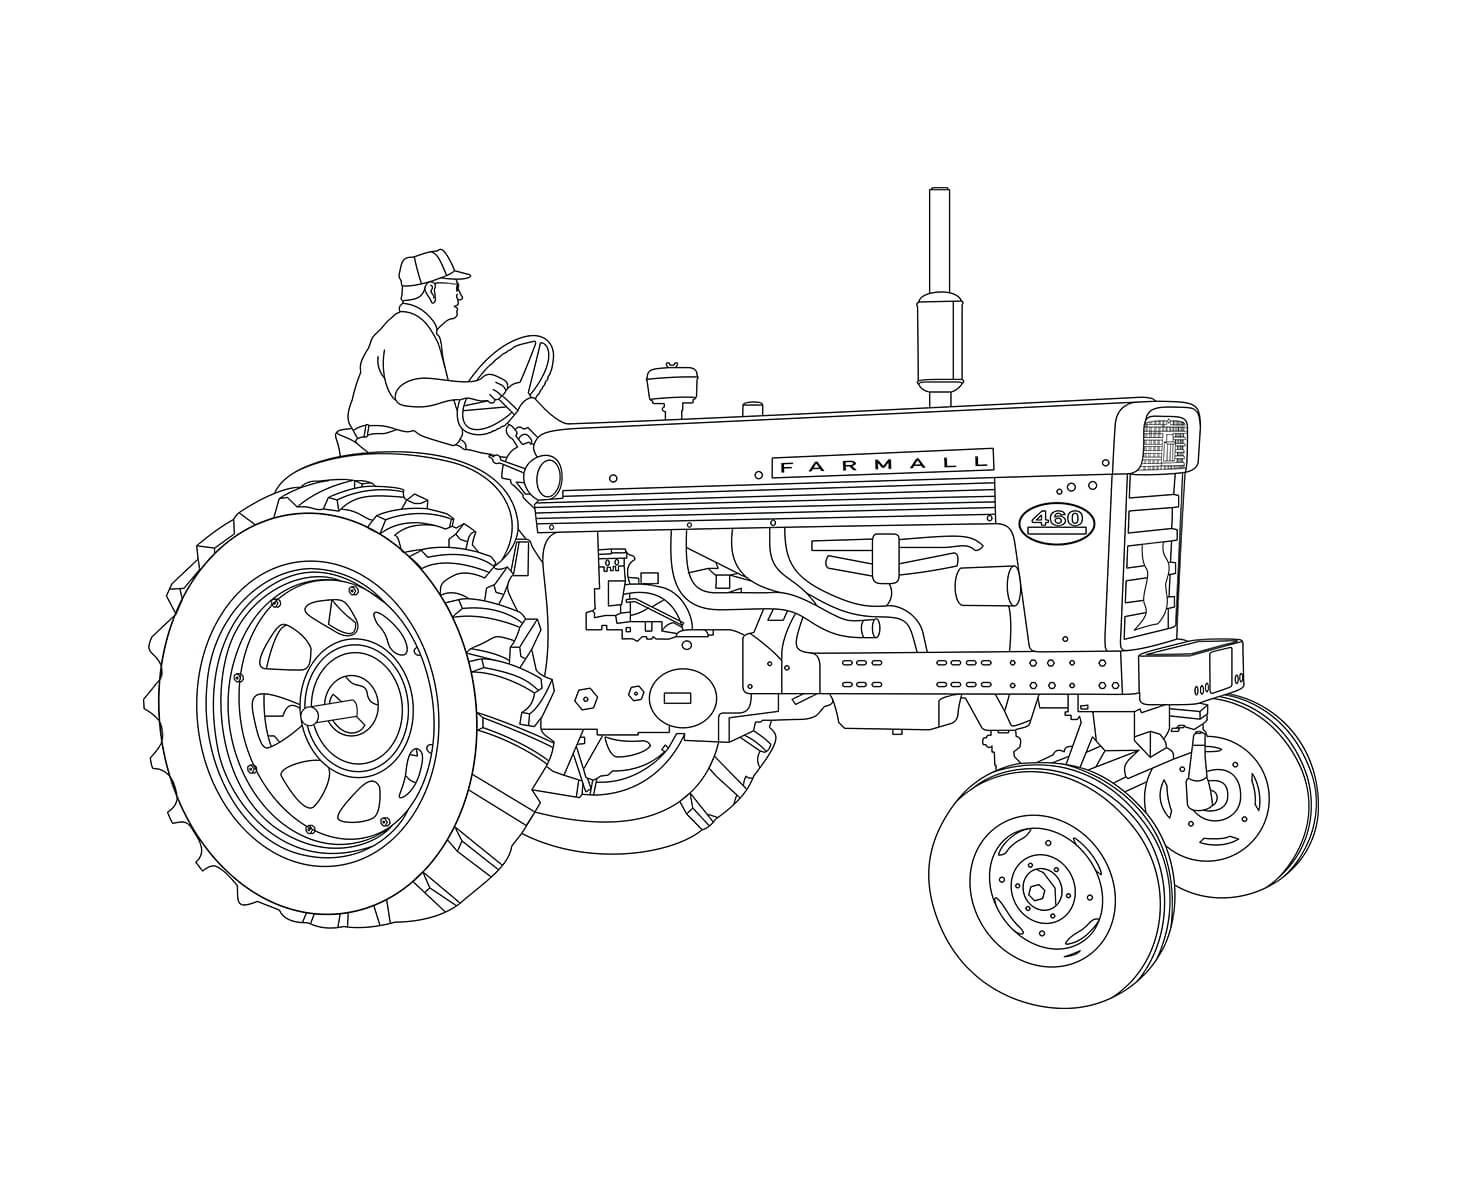
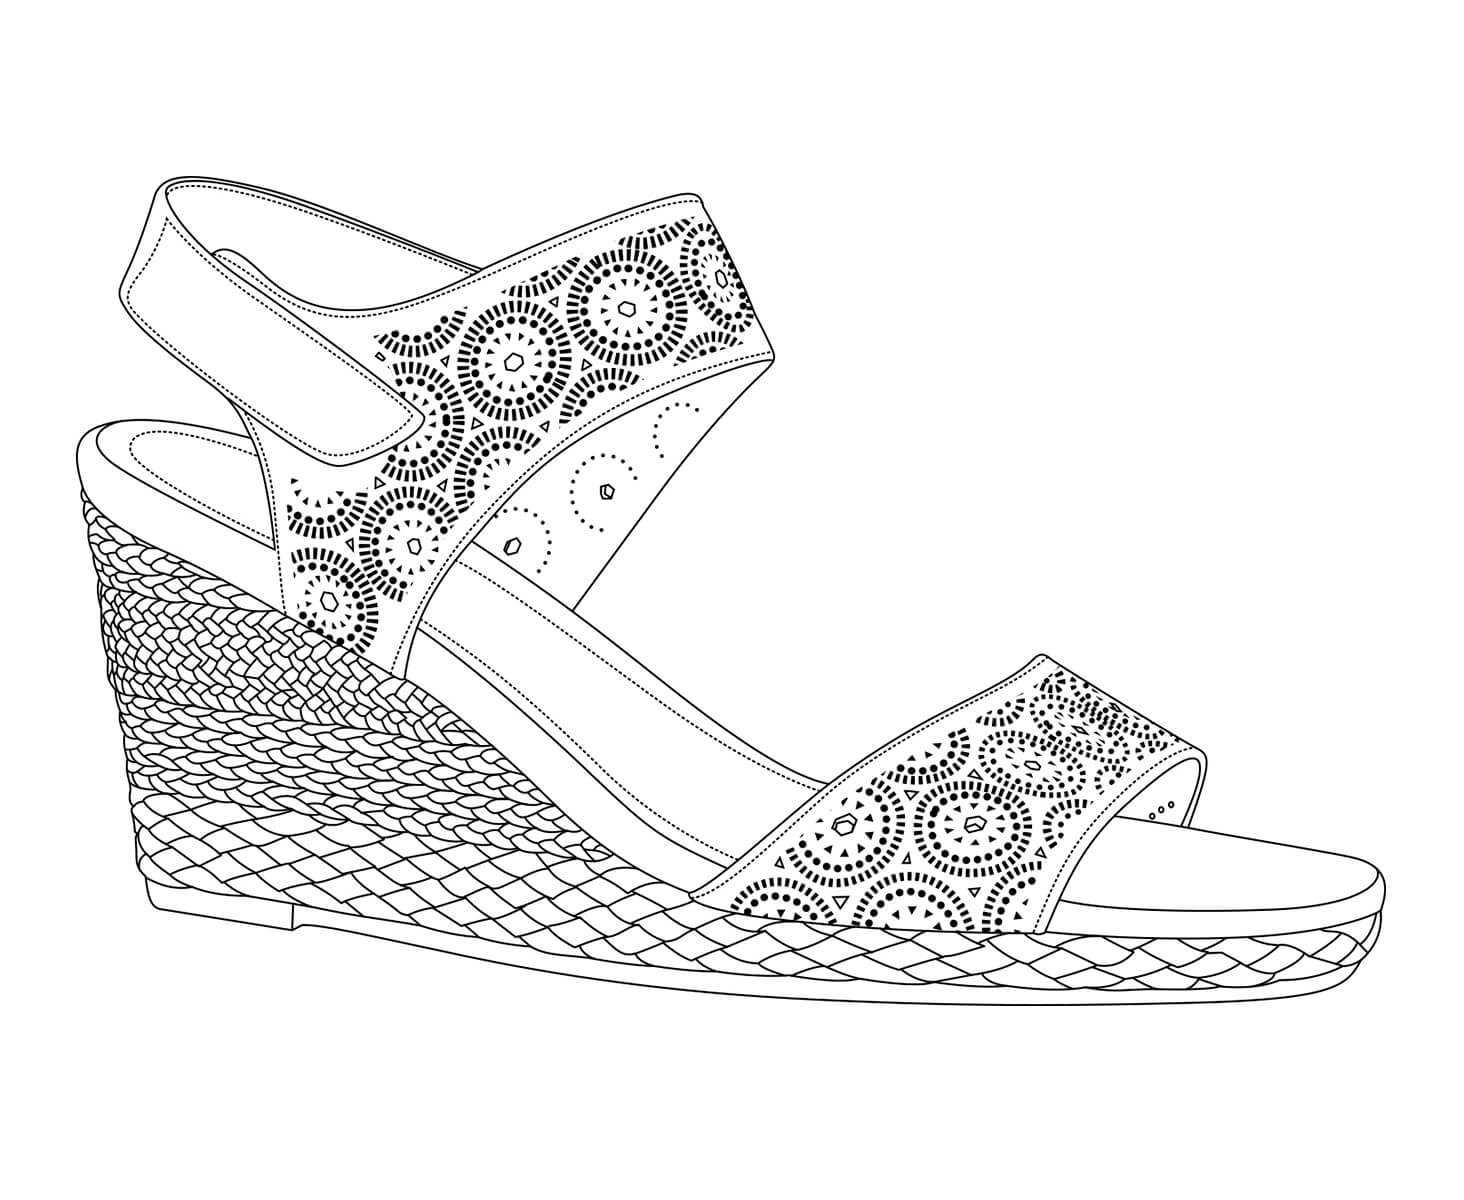
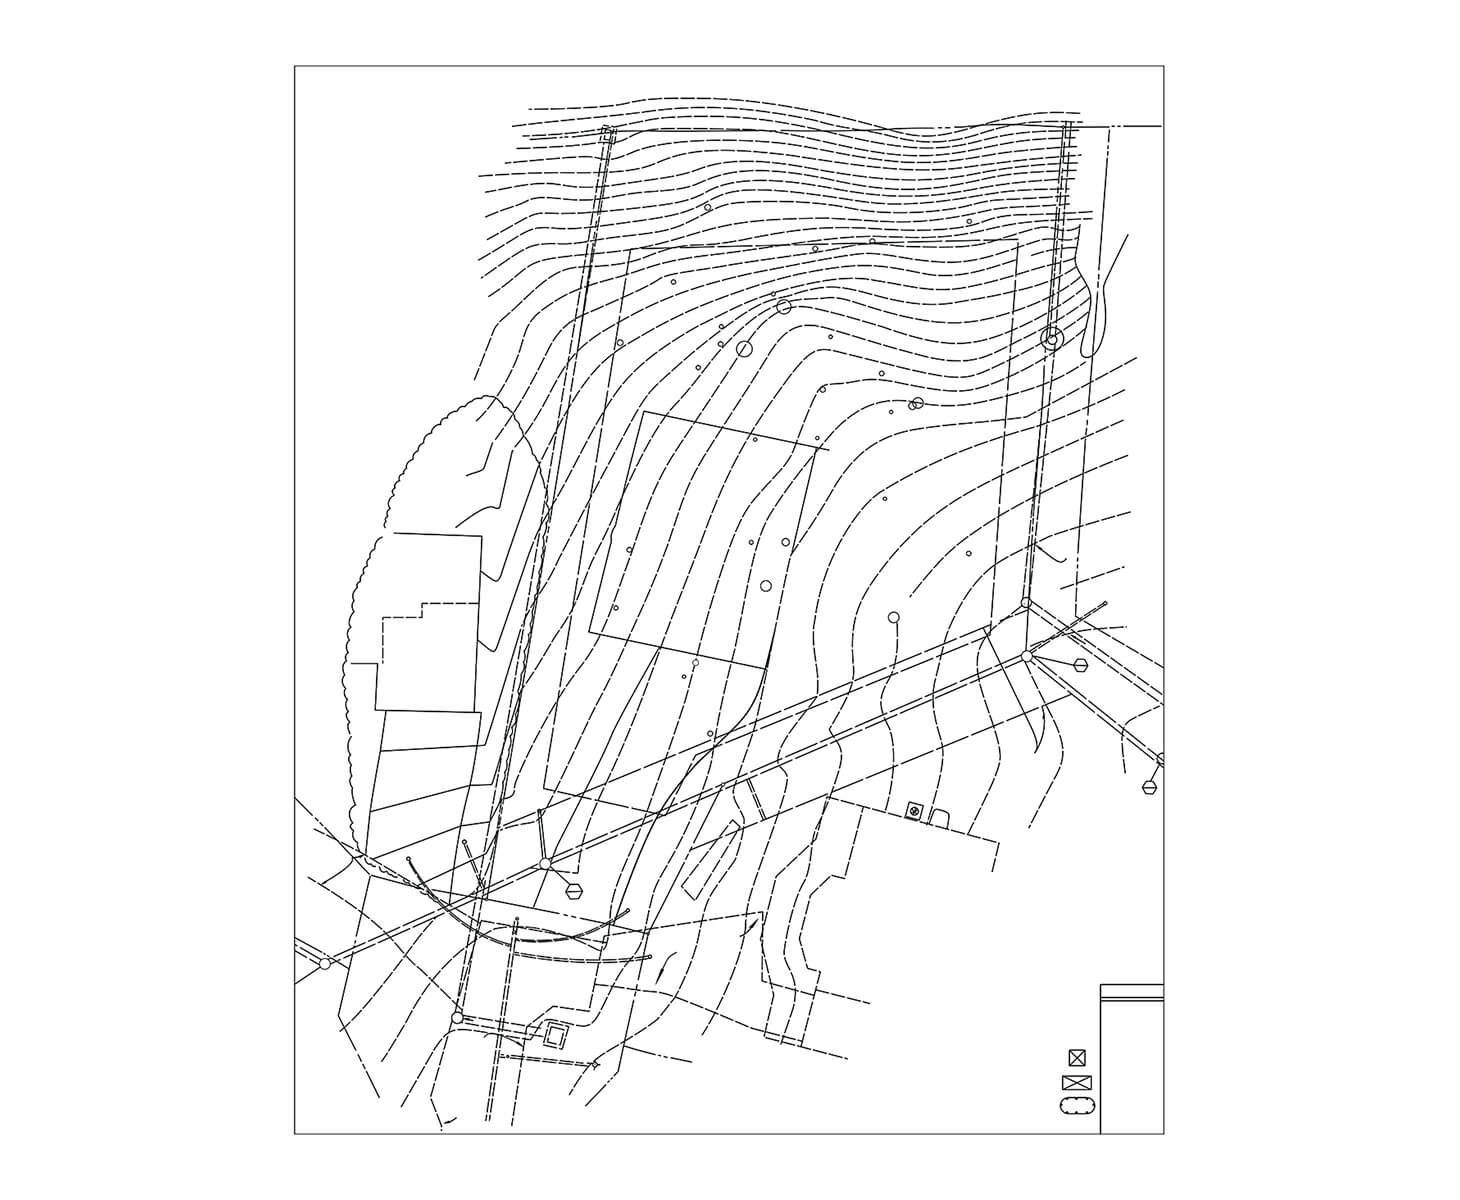
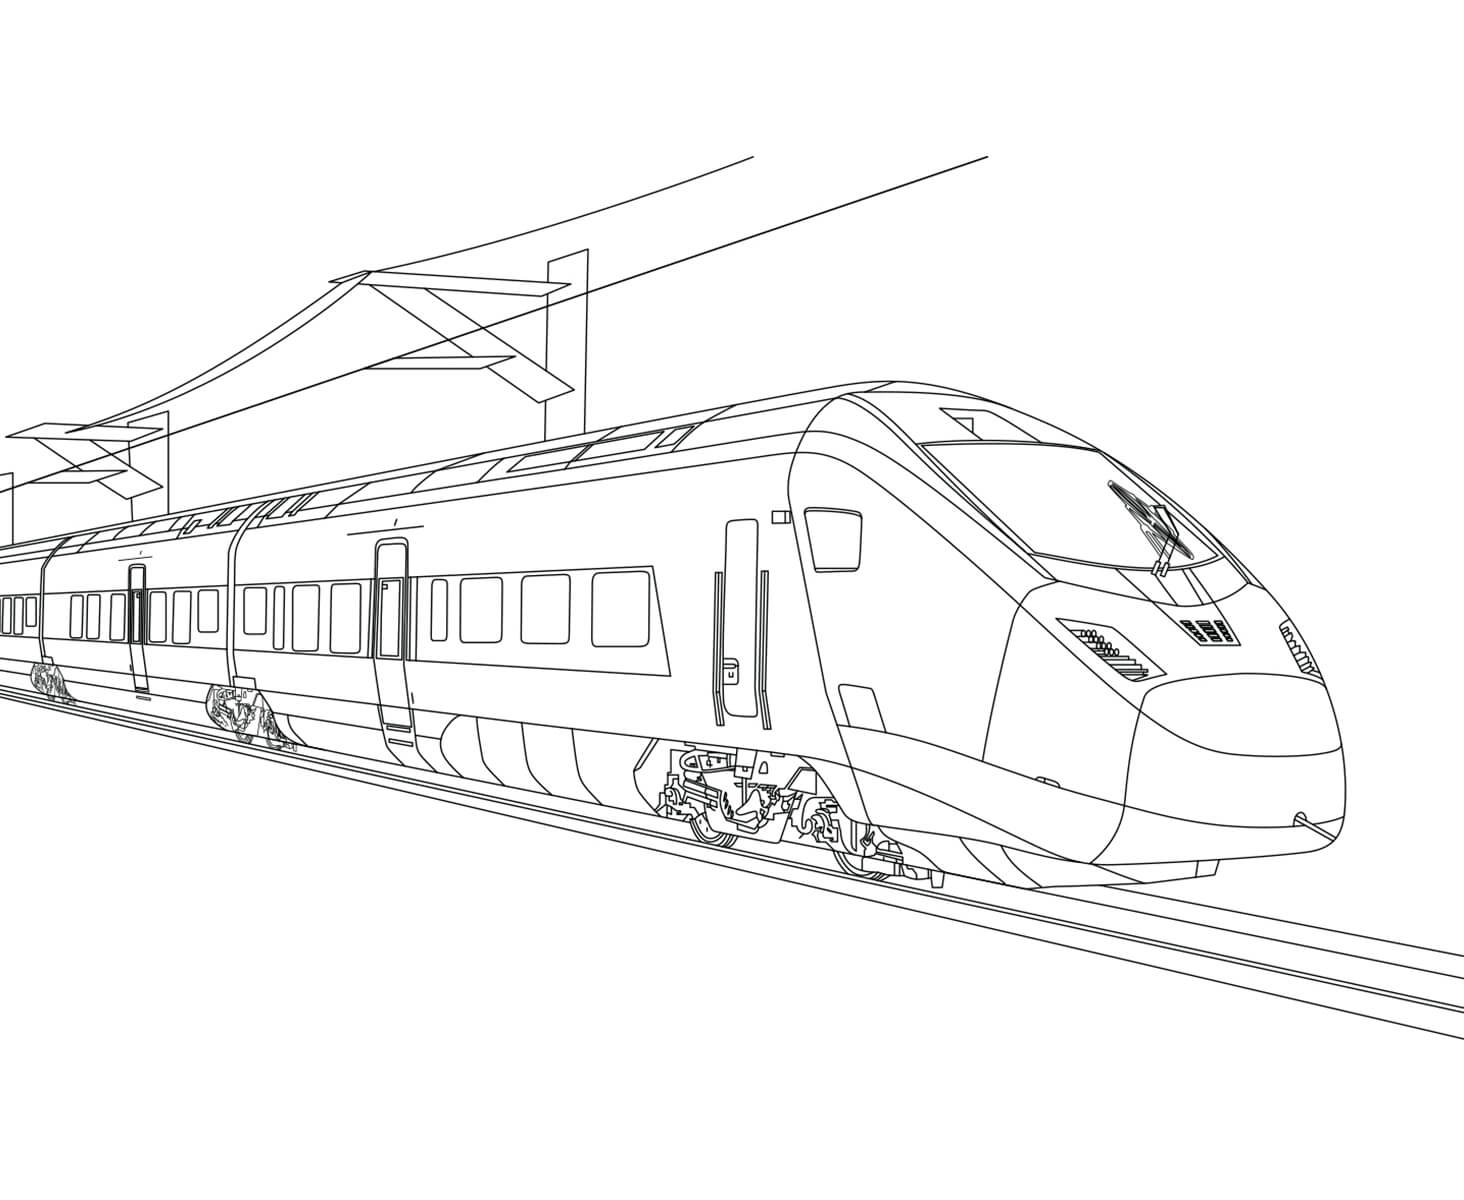
Complex line drawings – $35.99 per image
If you want to capture more detail or convert a complex image into a line drawing, this is how we’ll do it.
Great for:
- Complex objects, vehicles or machinery
- Finely detailed items
- Topographic maps
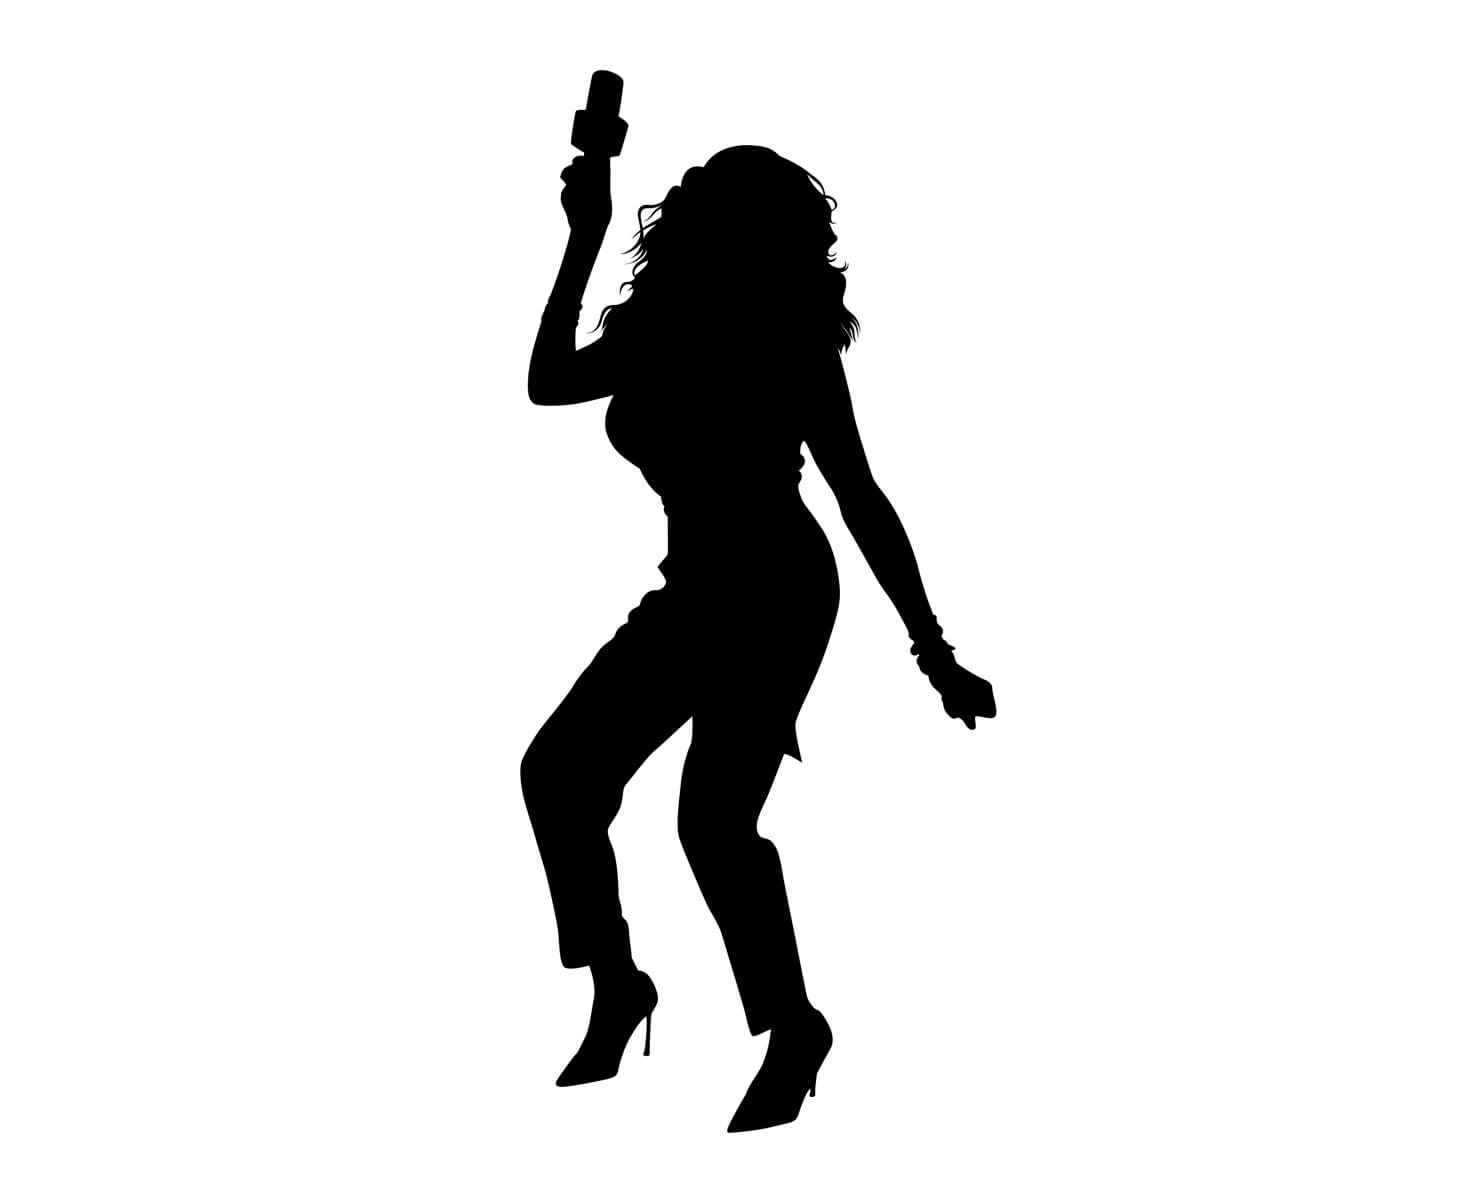
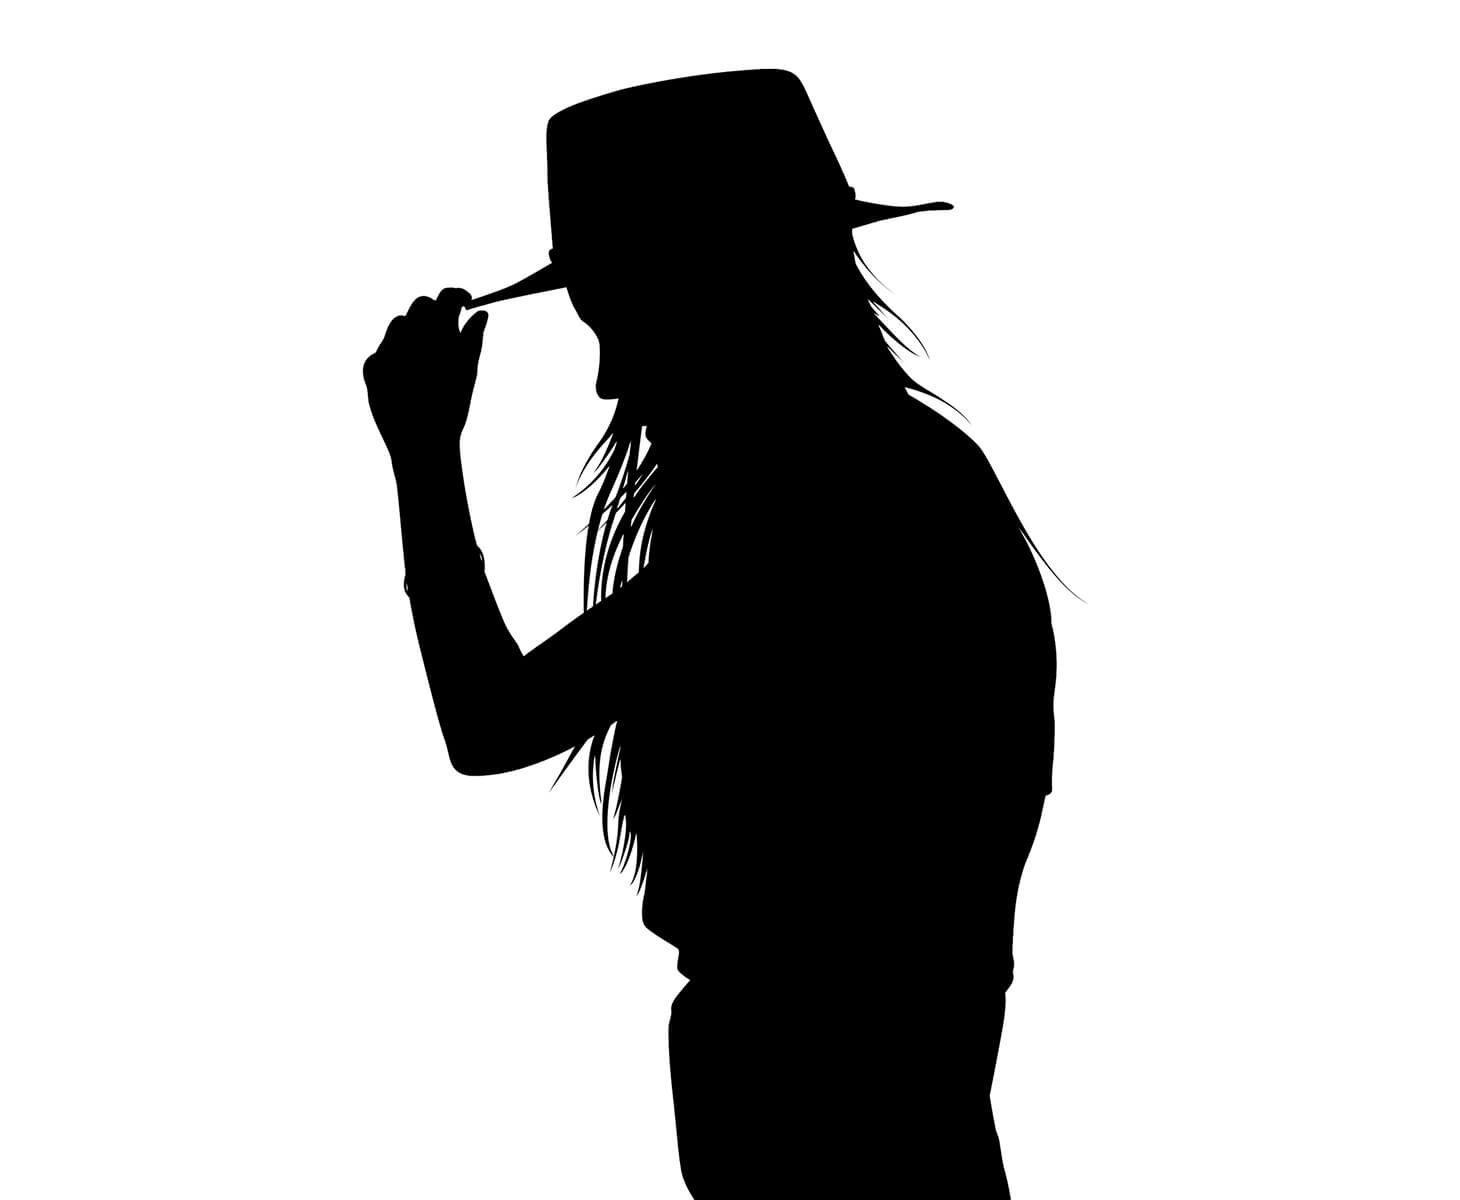
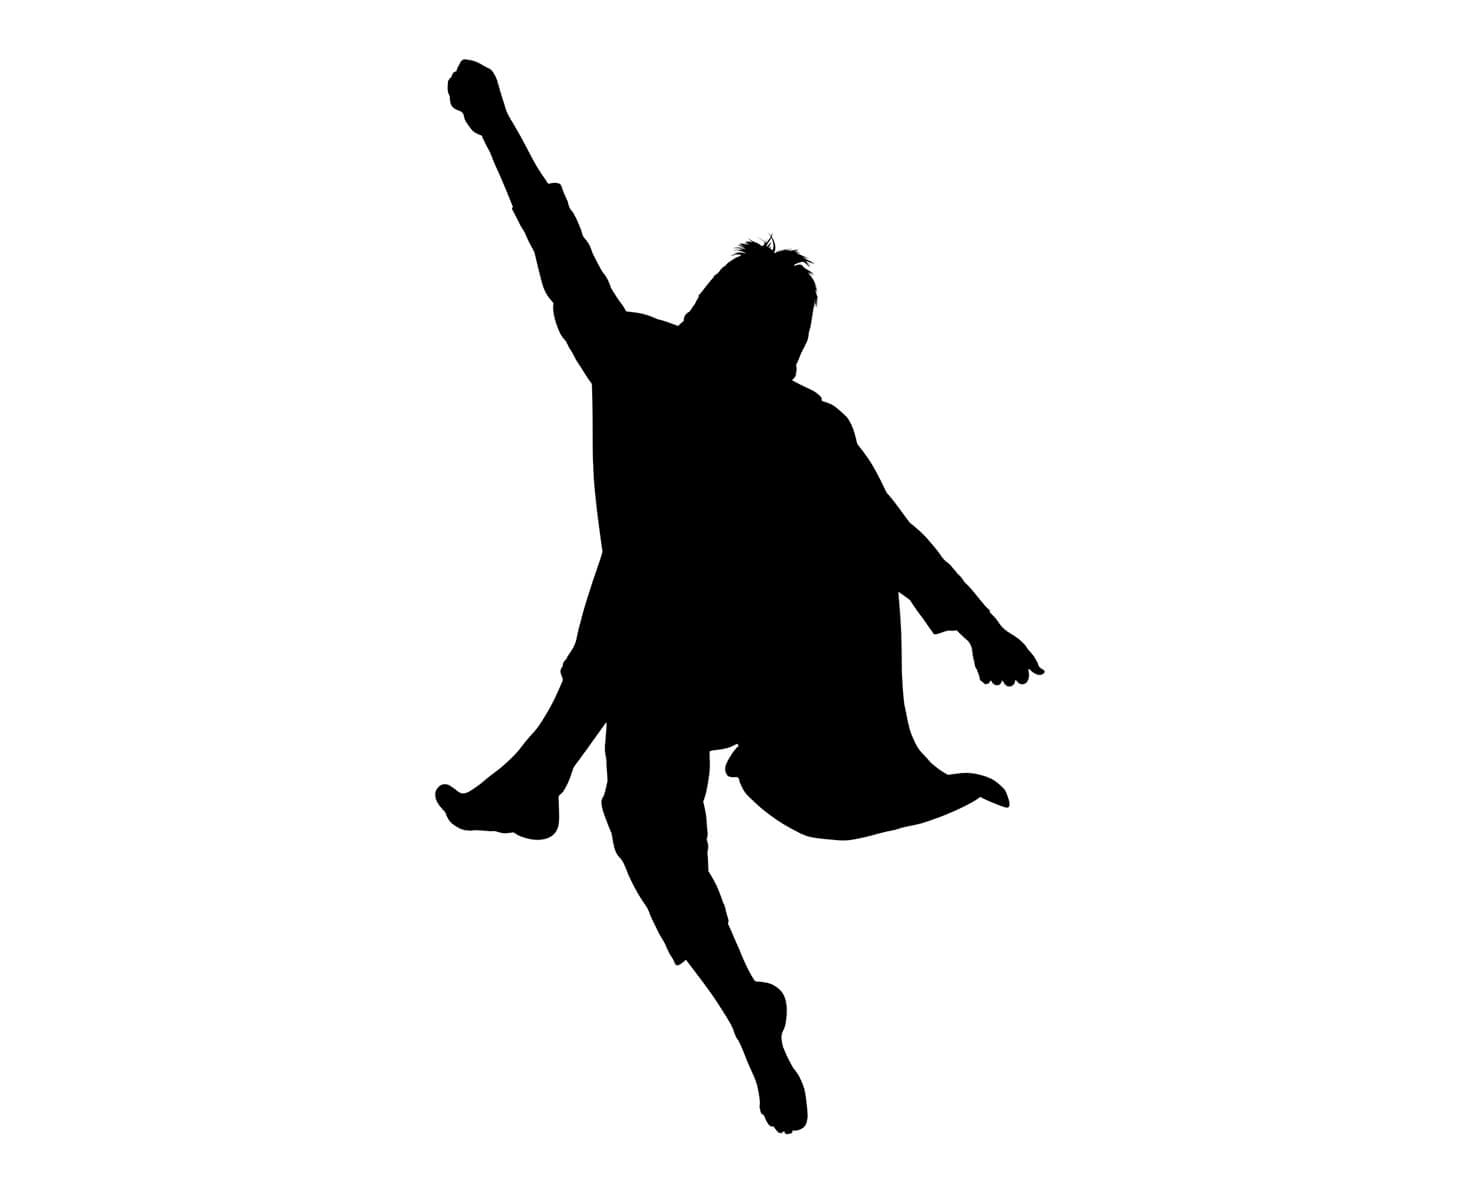
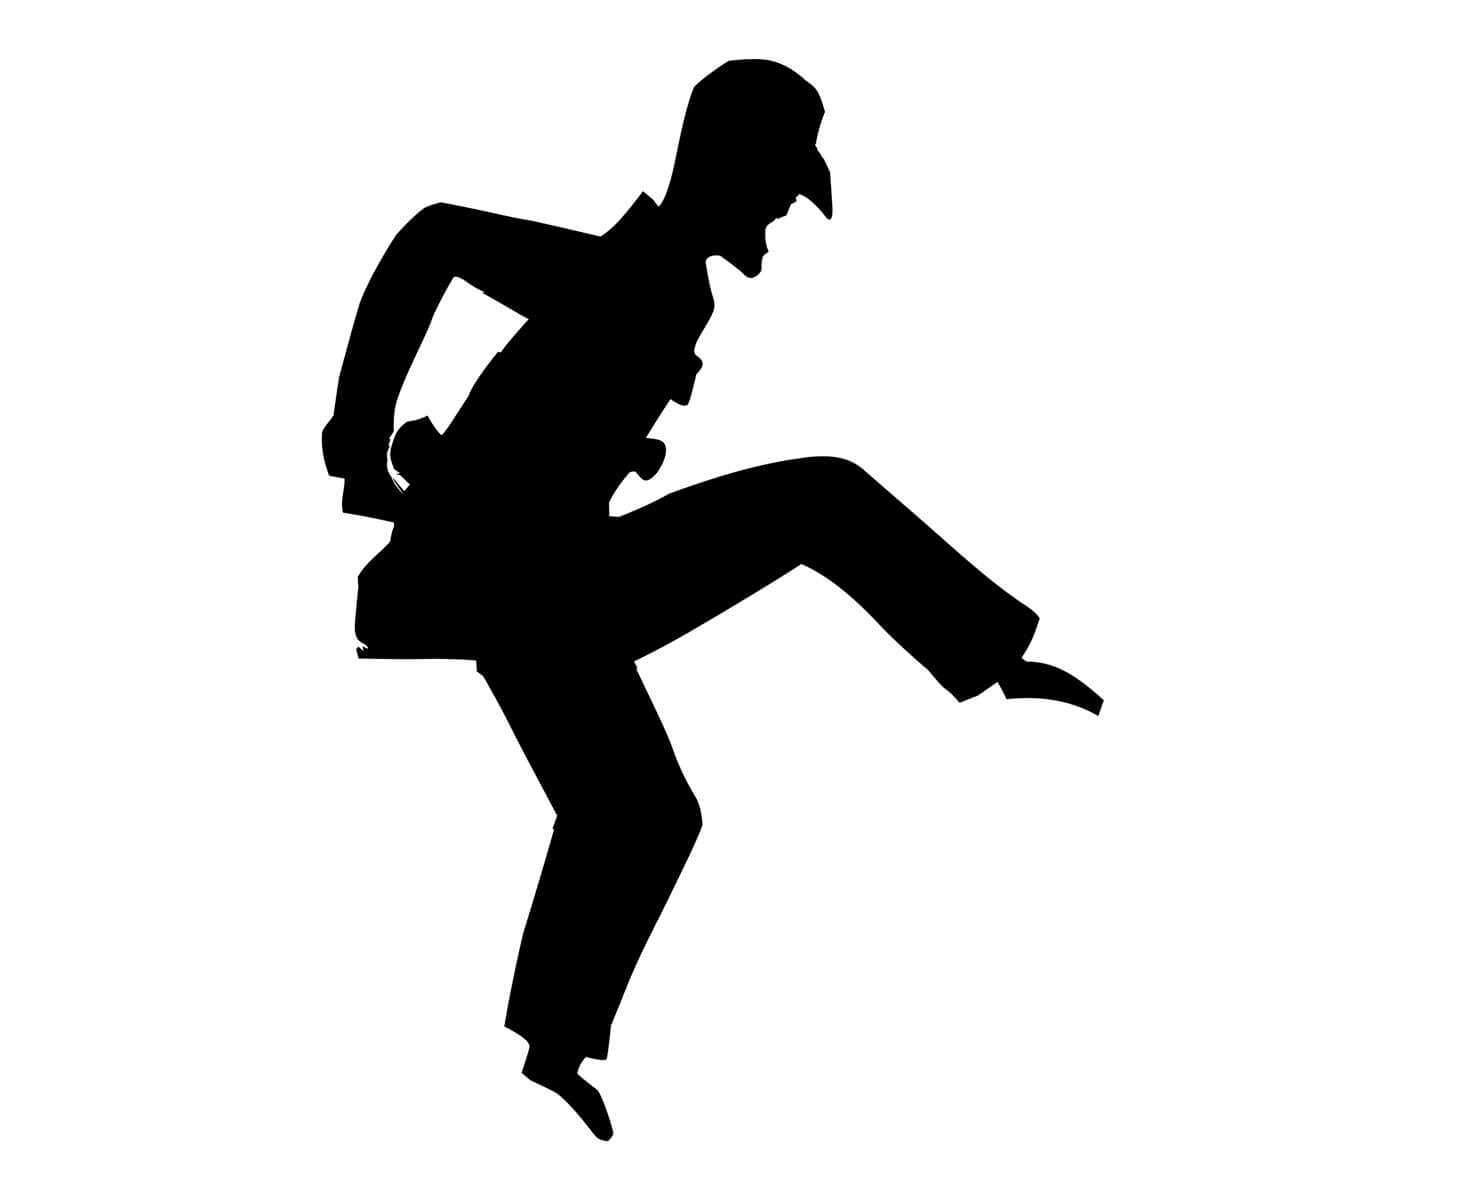
Simple silhouette or illustration – $6.99 per image
Convert a photograph or other image into a simple, one-color silhouette image with a detailed outline and solid fill.
Great for:
- Portrait profile silhouettes
- Action shot silhouettes
- Product silhouettes
Medium complexity silhouette or illustration – $17.99 per image
If your illustration or image has shapes that require some added linework to capture details, more than one color, but isn’t too intricate, it will fit into this category.
Great for:
- Colored illustrations
- Black and white illustrations with added detail
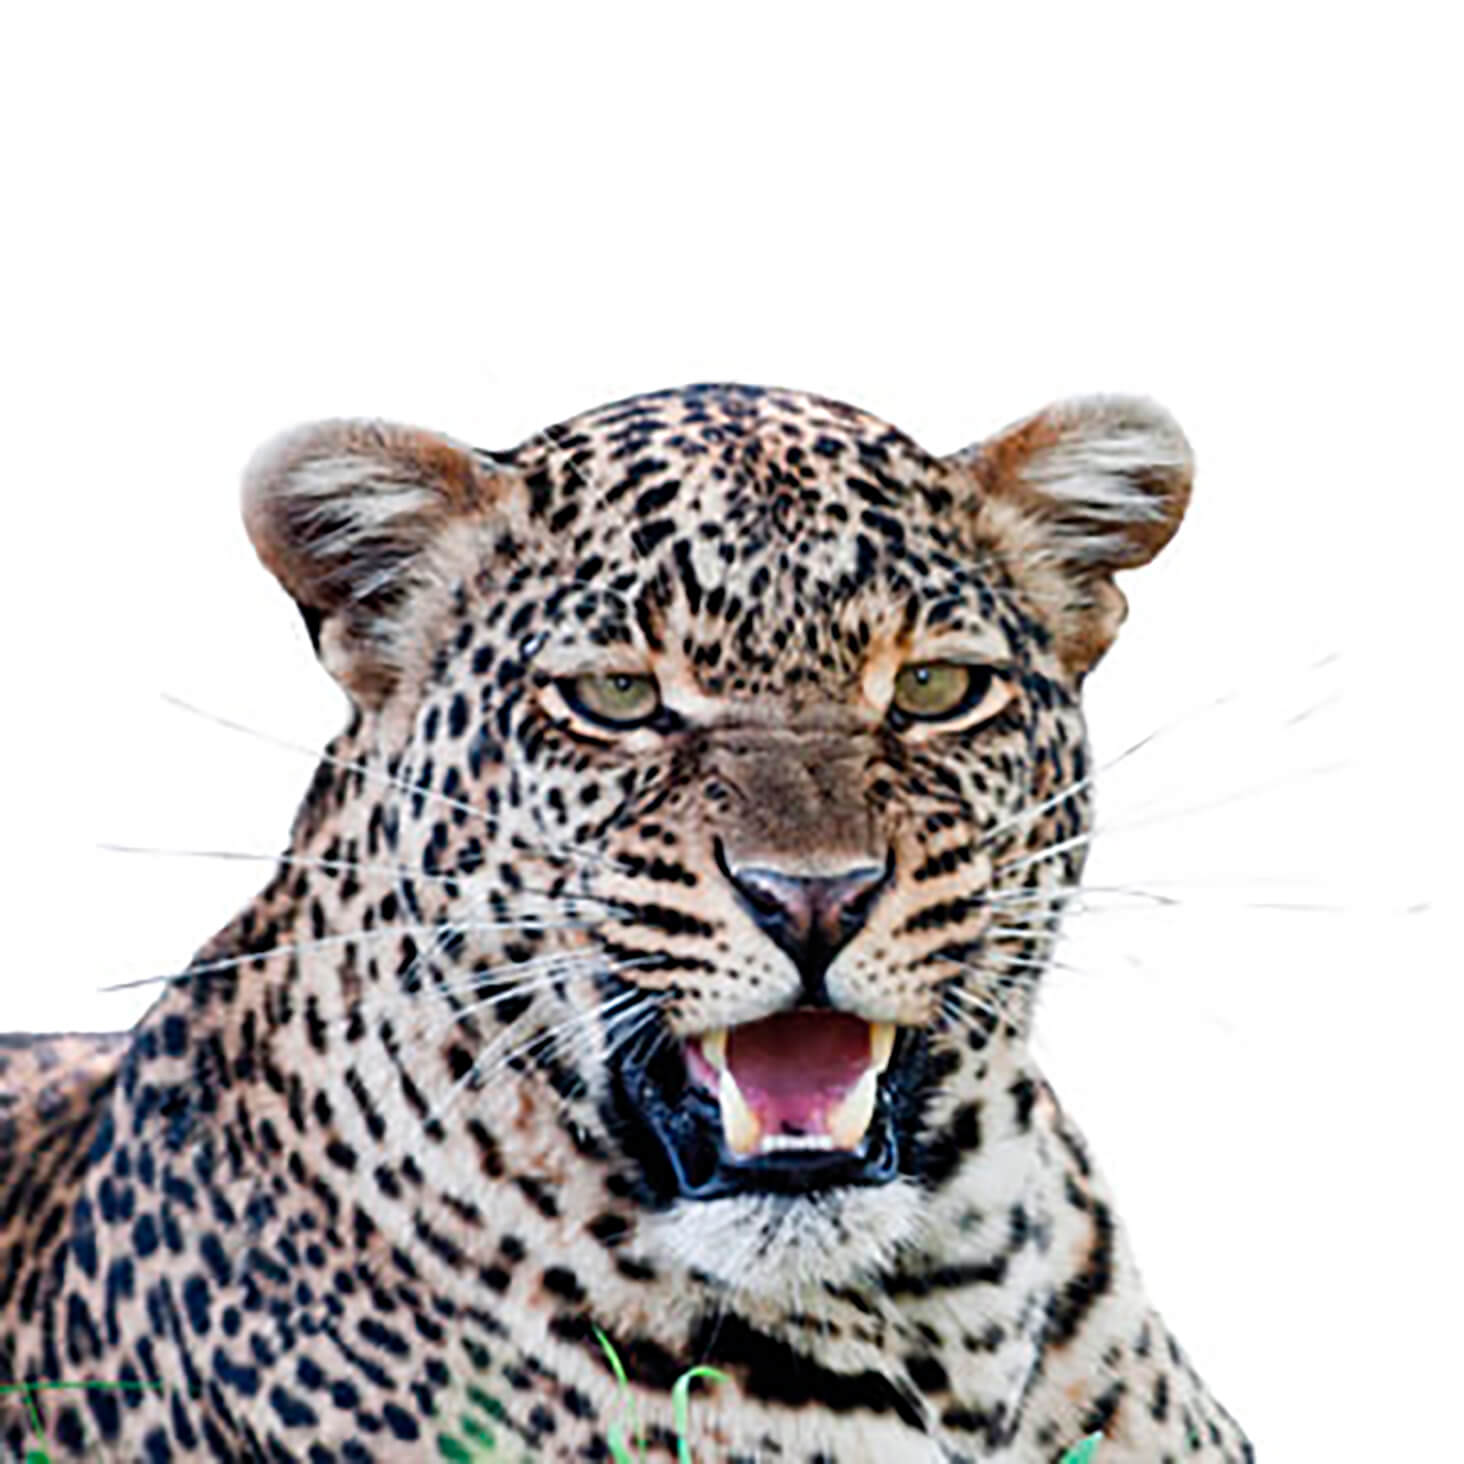
Complex silhouette or illustration – $44.99 per image
If your image or illustration is quite detailed, includes intricate lines or lots of complex colors — including color gradients — it will fit into this category. This category will also fit if you want to convert a photograph into a semi-realistic illustration.
Great for:
- Detailed illustrations
- Images with lots of colors and shading


Why business owners and graphic designers outsource their vector conversion projects to Path
Your talent and creative energy is best spent on doing what you love — not fiddling in Illustrator for hours converting vectors by hand.
-
 40,000+ customers have trusted us with their image edits.
 -
 8 million images enhanced and brought to life.


We vectorize every image by expertly recreating the original image by hand. We’re not finished until every edge is sharp and smooth, and every little detail captured.
How it works

-
Order your edits
Upload your images, tell us a bit about what you need, and get a clear, budget-friendly price on the spot.
-
Your designer edits your images by hand
Our pro designers will tackle those tedious image edits, while you get back to the fun stuff.
-
Get your images back in as little as 6 hours
We’ll double-check your images to make sure they’re pixel perfect, and then send them right over.
How to know if outsourced vector conversion services are right for you
You don’t have to do everything yourself. Outsourced vector conversion services are ideal if you are...
-

A busy professional photographer with batches of edits due from a recent product photoshoot
-

An ecommerce retailer who wants to use their time to move the needle instead of fiddling around in Photoshop
-

A freelancer or agency with tight client deadlines and tons of other deliverables to wrangle


Backed by thousands of 5-star reviews
Path has saved 40,000+ businesses valuable time and money with premium image editing services.

